
Listen to this Post
Introduction:
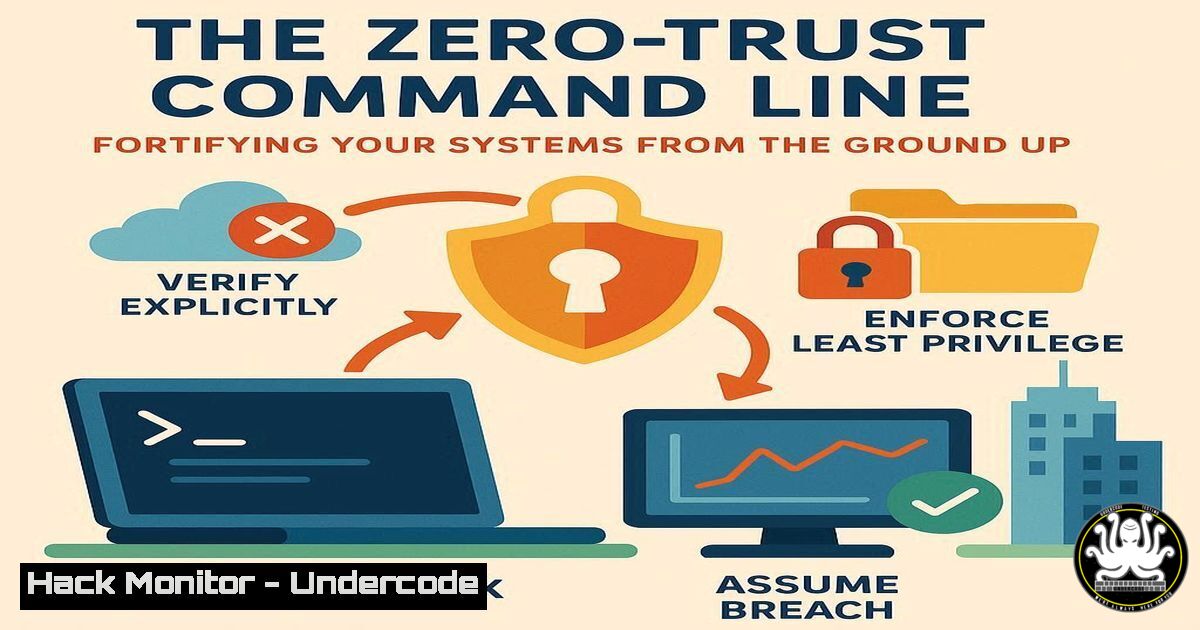
The traditional security model of a hardened perimeter and a trusted internal network is obsolete in the modern threat landscape. Adopting a Zero-Trust architecture, which operates on the principle of “never trust, always verify,” is critical for defending against advanced persistent threats and insider risks. This article provides the essential command-line tools and configurations to implement Zero-Trust principles directly on your Linux and Windows systems.
Learning Objectives:
- Understand and apply command-line controls to enforce least privilege access.
- Implement advanced logging and monitoring to verify all system activity.
- Harden system configurations to minimize the attack surface across endpoints.
You Should Know:
- Enforcing Least Privilege with User and Group Management
A core tenet of Zero-Trust is limiting user access to only what is necessary. The command line offers precise control over user privileges.
Linux:
`sudo adduser
`sudo usermod -aG
`sudo visudo` – Safely edits the sudoers file to grant precise administrative privileges.
`getent group
`chmod 600
`chown
Step-by-step guide:
To enforce least privilege, avoid giving users full `sudo` access. Instead, use `sudo visudo` to grant specific permissions. For example, to allow a user ‘john’ to only restart the web server, you would add the line: john ALL=(ALL) /bin/systemctl restart nginx. This ensures john cannot execute any other privileged commands. Regularly audit group memberships with `getent group sudo` or `getent group wheel` to ensure no unauthorized users have been granted elevated access.
Windows (PowerShell):
`New-LocalUser -Name “UserName” -Description “Description”` – Creates a new local user.
`Add-LocalGroupMember -Group “Remote Desktop Users” -Member “UserName”` – Adds a user to a group.
`Get-LocalGroupMember -Group “Administrators”` – Lists members of the Administrators group.
`icacls “C:\Sensitive\File.txt” /grant:r “UserName:(R)”` – Grants a user read-only access to a specific file.
2. Implementing Advanced Audit Policies for Verification
Zero-Trust requires continuous verification. Comprehensive logging is non-negotiable for detecting anomalous activity.
Linux (using `auditd`):
`sudo auditctl -w /etc/passwd -p wa -k user_account_changes` – Monitors the /etc/passwd file for write or attribute changes.
`sudo auditctl -a always,exit -F arch=b64 -S execve` – Logs all executed commands system-wide.
`ausearch -k user_account_changes` – Searches the audit log for events tagged with a specific key.
`aureport -l` – Generates a report of all login events.
Step-by-step guide:
Install `auditd` (sudo apt install auditd). To monitor a critical directory like `/etc/` for changes, use: sudo auditctl -w /etc/ -p wa -k etc_changes. The `-w` specifies the file/directory to watch, `-p wa` filters for write and attribute change events, and `-k` applies a searchable key. Regularly generate reports with `aureport -m` to see account modifications or `aureport -f` for file access events, feeding this data into your SIEM for analysis.
Windows (PowerShell):
`AuditPol /set /subcategory:”Process Creation” /success:enable /failure:enable` – Enables auditing for process creation.
`Get-WinEvent -LogName Security -MaxEvents 10 | Where-Object {$_.Id -eq 4688}` – Retrieves the latest process creation events (Event ID 4688).
`AuditPol /get /category:` – Displays the current audit policy.
3. Hardening Network Configurations with Built-in Firewalls
Micro-segmentation is a key component of Zero-Trust, limiting lateral movement.
Linux (using `ufw` or `iptables`):
`sudo ufw default deny incoming` – Sets the default policy to deny all incoming traffic.
`sudo ufw allow from 192.168.1.0/24 to any port 22` – Allows SSH only from a specific subnet.
`sudo iptables -A OUTPUT -p tcp –dport 443 -j ACCEPT` – Allows outbound HTTPS traffic.
`sudo iptables -A INPUT -m state –state RELATED,ESTABLISHED -j ACCEPT` – Allows established connections.
Step-by-step guide:
On Ubuntu, enable the Uncomplicated Firewall (ufw) with sudo ufw enable. Start by denying everything: `sudo ufw default deny incoming` and sudo ufw default deny outgoing. Then, explicitly allow necessary services. For a web server, you would run `sudo ufw allow 80/tcp` and sudo ufw allow 443/tcp. This “default deny” approach ensures only explicitly authorized network traffic is permitted.
Windows (PowerShell):
`New-NetFirewallRule -DisplayName “Block SMB Outbound” -Direction Outbound -Protocol TCP -LocalPort 445 -Action Block` – Blocks outbound SMB traffic to prevent lateral movement.
`Get-NetFirewallRule -DisplayGroup “Remote Desktop” | Enable-NetFirewallRule` – Enables all Remote Desktop firewall rules.
`Set-NetFirewallProfile -Profile Domain,Public,Private -Enabled True` – Ensures the firewall is enabled for all profiles.
4. Securing Application Execution
Controlling what software can run prevents the execution of malware and unauthorized tools.
Linux (using `chattr`):
`sudo chattr +i /usr/bin/malicious-script` – Makes a file immutable, preventing deletion, renaming, or modification.
`sudo chattr -i /usr/bin/malicious-script` – Removes the immutable attribute.
Windows (using AppLocker/Software Restriction Policies – PowerShell):
`Get-AppLockerPolicy -Effective | Test-AppLockerPolicy -UserName “Domain\User” -Path “C:\temp\evil.exe”` – Tests if a file would be blocked by the effective AppLocker policy.
`Get-SmbShare | Where-Object {$_.Name -eq “ADMIN$”} | Block-SmbShareAccess -Force` – Blocks access to the administrative share.
Step-by-step guide:
On Windows, AppLocker is a powerful tool for application whitelisting. Policies can be configured via Group Policy Editor (gpedit.msc) under Computer Configuration -> Windows Settings -> Security Settings -> Application Control Policies -> AppLocker. You can create rules to allow executables only from `%PROGRAMFILES%` and %WINDIR%, effectively blocking malware running from user directories like `Downloads` or Temp.
5. Vulnerability Management and System Hardening
Continuously assessing and hardening your systems is a fundamental Zero-Trust activity.
Linux:
`sudo apt update && sudo apt upgrade` – Updates all system packages on Debian/Ubuntu.
`sudo grep PASS_MAX_DAYS /etc/login.defs` – Checks the maximum password age policy.
`sudo ss -tuln` – A modern tool to list all listening ports.
`sudo systemctl disable –now apache2` – Disables and stops a service if it is not required.
Step-by-step guide:
Regularly audit for unnecessary services. Use `ss -tuln` to see what ports are open and listening. For each service, ask if it is essential. If not, disable it: sudo systemctl disable --now <service-name>. Furthermore, enforce password policies by editing `/etc/login.defs` and setting PASS_MAX_DAYS 90, PASS_MIN_DAYS 1, and PASS_WARN_AGE 14.
Windows (PowerShell):
`Get-WindowsFeature | Where-Object InstallState -Eq Installed` – Lists installed Windows features (on Server).
`Disable-WindowsOptionalFeature -Online -FeatureName “SMB1Protocol”` – Disables the vulnerable SMBv1 protocol.
`Get-HotFix | Sort-Object InstalledOn -Descending | Select-Object -First 10` – Lists the 10 most recently installed patches.
- Proactive Threat Hunting with Process and Network Inspection
Assume a breach and actively hunt for evidence of malicious activity.
Linux:
`ps aux –sort=-%mem | head` – Shows processes sorted by memory usage.
`lsof -i :443` – Lists processes using a specific port (e.g., 443).
`netstat -tunlp` – Displays listening ports and the associated processes.
`find / -uid 0 -perm -4000 2>/dev/null` – Finds all SUID binaries, which can be a privilege escalation vector.
Step-by-step guide:
Hunt for suspicious network connections. Use `netstat -tunlp` or `ss -tuln` to map listening ports to processes. If you see an unknown process listening on a port, investigate immediately. The command `lsof -p
Windows (PowerShell):
`Get-Process | Sort-Object CPU -Descending | Select-Object -First 10` – Lists top 10 processes by CPU usage.
`Get-NetTCPConnection | Where-Object {$_.State -eq “Listen”}` – Lists all listening TCP ports.
`tasklist /svc` – Lists all running processes and their associated services.
What Undercode Say:
- The command line is the bedrock of system control; mastering it is non-negotiable for effective Zero-Trust implementation. GUI tools often abstract away critical details and granular controls.
- Automation of these commands through configuration management tools (Ansible, Puppet, DSC) is essential for enforcing consistent, drift-free security postures across an entire enterprise estate.
Analysis:
The shift to Zero-Trust is not merely about buying new products; it’s a philosophical and operational change that must be rooted in the fundamental layers of the system. The commands and techniques outlined here provide the granular, enforceable controls needed to make “never trust, always verify” a reality. Relying solely on perimeter defenses and endpoint protection platforms creates a brittle security posture. By embedding these practices into your standard operating procedures, you build a resilient environment where trust is earned continuously through strict adherence to policy, comprehensive logging, and proactive hardening. This approach significantly raises the cost and complexity for an adversary, making your network a less attractive target.
Prediction:
The convergence of AI-powered threat detection with automated, command-line-driven remediation scripts will define the next era of defensive cybersecurity. We will see the rise of “self-healing” systems where SIEM alerts automatically trigger orchestrated response playbooks. These playbooks will execute a curated set of the commands discussed—killing malicious processes, blocking IPs via firewalls, and temporarily suspending user accounts—at machine speed, drastically reducing the time between detection and mitigation from days to milliseconds, fundamentally altering the attacker-defender balance.
🎯Let’s Practice For Free:
IT/Security Reporter URL:
Reported By: Christine Raibaldi – Hackers Feeds
Extra Hub: Undercode MoN
Basic Verification: Pass ✅


