
Listen to this Post
Introduction:
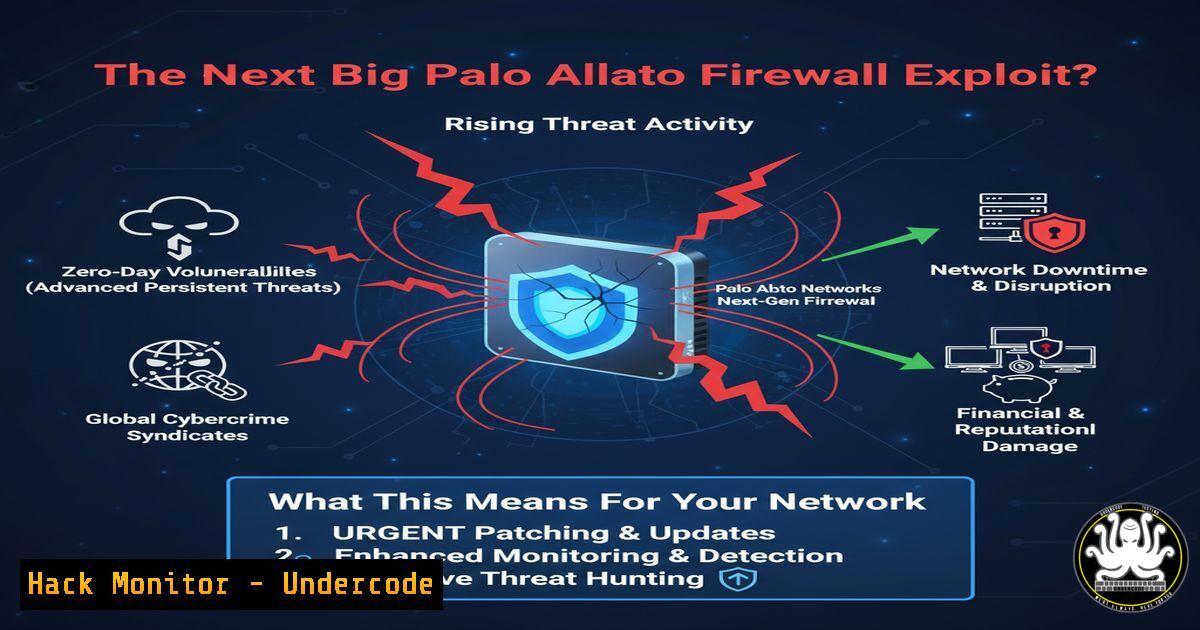
Sensors are detecting a significant spike in reconnaissance and scanning activities targeting Palo Alto Networks firewalls, a clear precursor to a potential zero-day exploit. This anomalous traffic pattern suggests threat actors are actively mapping and probing for a vulnerability that may not yet be publicly known. Organizations relying on these critical perimeter defenses must act immediately to harden their environments against an imminent attack.
Learning Objectives:
- Understand the critical indicators of compromise (IoCs) and pre-attack reconnaissance techniques targeting Palo Alto firewalls.
- Implement immediate hardening steps for PAN-OS, including command-line configurations and security policy adjustments.
- Develop a proactive incident response and hunting strategy to detect and mitigate exploitation attempts.
You Should Know:
1. Detecting Pre-Exploit Network Reconnaissance
Threat actors are scanning for specific service ports to fingerprint Palo Alto firewalls. Use these commands to monitor for and block this activity.
On a Security Onion or SIEM Sensor:
 Monitor for Palo Alto specific service scans
sudo tshark -i eth0 -Y "tcp.port == 443 && http.host contains paloalto" -c 100
 Analyze netflow for scanning patterns
nfdump -R /var/log/nfdump -o extended -A srcip,dstip,dstport 'dst port 443 and host 192.168.1.1'
Step-by-step guide:
- Capture Traffic: The first `tshark` command listens on your monitoring interface (
eth0) for HTTP traffic over port 443 that contains “paloalto” in the host header, capturing 100 packets. - Analyze Flow Data: The `nfdump` command reads netflow data, filtering for connections to destination port 443 on a specific internal IP (replace `192.168.1.1` with your firewall’s IP), and displays extended output focused on source/destination IPs and ports.
- Identify Patterns: Look for a single source IP generating a high volume of sessions to your firewall’s management interface in a short time frame, indicating a targeted scan.
2. Hardening PAN-OS Management Interface
The management interface is a primary target. Restrict access and enforce strict security policies directly from the CLI.
Palo Alto CLI Commands:
<blockquote>
  configure
   Set management interface to a non-default port
   set deviceconfig system port 8443
   Create a management security rule to restrict source IPs
  set rulebase management rules "Strict MGMT Access" from untrust
  set rulebase management rules "Strict MGMT Access" source [list-of-trusted-IPs]
  set rulebase management rules "Strict MGMT Access" to trust
  set rulebase management rules "Strict MGMT Access" service service-https
  set rulebase management rules "Strict MGMT Access" action allow
  set rulebase management rules "Strict MGMT Access" log-setting alert
  commit
Step-by-step guide:
- Access CLI: Log into your Palo Alto firewall via SSH.
- Enter Configuration Mode: Type `configure` to enter configuration mode.
- Change Management Port (Optional but Recommended): The command `set deviceconfig system port 8443` changes the HTTPS management port from the default 443 to 8443 to evade simple internet-wide scans.
- Build Management Rule: The subsequent commands create a new management rule named “Strict MGMT Access” that only allows HTTPS connections from a pre-defined list of trusted source IP addresses (e.g., your SOC’s IP range).
- Commit Changes: The `commit` command applies the new configuration. Always test this rule from a trusted IP before logging out.
3. Validating System Integrity and Patch Levels
Ensure your system is patched and check for signs of compromise or unauthorized changes.
Palo Alto CLI and Linux Commands:
<blockquote>
  show system info
  request content upgrade check
  show high-availability state
   On the firewall (expert mode) or a connected log collector
   Check for unexpected processes
  ps aux | grep -E '(bash|sh|curl|wget)' | grep -v grep
   Check for unauthorized SSH keys
  cat /home/admin/.ssh/authorized_keys
Step-by-step guide:
- Check Version: `show system info` displays the current PAN-OS version. Cross-reference this with the latest advisories from Palo Alto.
- Check for Updates: `request content upgrade check` verifies if new threat definition or app updates are available.
- Verify HA Status: `show high-availability state` confirms the firewall is in a healthy state, as exploits can sometimes disrupt HA.
- Inspect for Anomalies: In expert mode, the `ps aux` command lists running processes; filter for common shells or download tools that shouldn’t be active. Check the `authorized_keys` file for any unknown SSH public keys that would grant backdoor access.
4. Implementing Custom Threat Signatures
Proactively block exploitation attempts by creating custom vulnerability signatures based on initial IoCs.
Palo Alto Security Policy CLI Configuration:
<blockquote>
  set vulnerability-protection signature "CUSTOM-PAN-EXPLOIT-ATTEMPT" threat-name "Custom Palo Alto Exploit Attempt"
  set vulnerability-protection signature "CUSTOM-PAN-EXPLOIT-ATTEMPT" vendor-id 1
  set vulnerability-protection signature "CUSTOM-PAN-EXPLOIT-ATTEMPT" severity medium
  set vulnerability-protection signature "CUSTOM-PAN-EXPLOIT-ATTEMPT" affected-host client
  set vulnerability-protection signature "CUSTOM-PAN-EXPLOIT-ATTEMPT" pattern "eyJhbGciOiJSUzI1NiIsInR5cCI6IkpXVCJ9"
  set vulnerability-protection signature "CUSTOM-PAN-EXPLOIT-ATTEMPT" action block
  commit
Step-by-step guide:
- Create Signature: This series of commands creates a new custom vulnerability signature.
- Define Pattern: The `pattern` field is critical. Replace `”eyJhbGciOiJSUzI1NiIsInR5cCI6IkpXVCJ9″` with a unique Base64-encoded or plaintext string identified in the exploit’s network traffic from threat intelligence feeds.
- Set Action: The `action block` directive will drop any packet matching this signature.
- Commit and Test: After committing, generate test traffic containing the pattern to ensure the rule triggers and blocks as expected.
5. Windows Endpoint Hardening Against Firewall Bypass
If the firewall is compromised, lateral movement is the next step. Harden Windows endpoints.
Windows Command Line and PowerShell:
 Disable unnecessary services that facilitate lateral movement
sc config "Spooler" start= disabled
sc stop "Spooler"
 Enable Windows Defender Attack Surface Reduction (ASR) rules
Set-MpPreference -AttackSurfaceReductionRules_Ids <Rule_ID> -AttackSurfaceReductionRules_Actions Enabled
 Harden network-level authentication
Set-ItemProperty -Path "HKLM:\SYSTEM\CurrentControlSet\Control\Lsa" -Name "DisableRestrictedAdmin" -Value 1
Step-by-step guide:
- Stop Print Spooler: From an elevated command prompt, `sc config` disables the Print Spooler service, a common lateral movement vector, and `sc stop` halts it immediately.
- Enable ASR Rules: In an elevated PowerShell session, use `Set-MpPreference` to enable specific ASR rules (replace `
` with GUIDs like `d4f940ab-401b-4efc-aadc-ad5f3c50688a` to block Office macro Win32 API calls). - Restrict RDP: The `Set-ItemProperty` command modifies the registry to disable Restricted Admin mode for RDP, mitigating pass-the-hash attacks over Remote Desktop.
6. Cloud Instance Metadata Shield
Attackers exploiting a firewall may steal cloud tokens to access the cloud environment.
AWS CLI and Instance User Data:
 Block access to instance metadata service from processes (Linux)
sudo iptables -A OUTPUT -m owner ! --uid-owner root -d 169.254.169.254 -j DROP
 Cloud-Init script for automatic hardening at boot
!/bin/bash
 Prevent container escape to host metadata
echo 'version: "3.7"
services:
myapp:
image: myapp:latest
network_mode: "none"' > docker-compose.yml
Step-by-step guide:
- Block Non-Root Metadata Access: The `iptables` command prevents any process not running as root from reaching the AWS Instance Metadata Service at IP
169.254.169.254, a common target for token theft. - Harden Containers at Deployment: For cloud instances running Docker, using a `docker-compose.yml` file with `network_mode: “none”` for non-networked services prevents a compromised container from accessing the host’s network and, by extension, the metadata service.
7. Proactive Hunt with EDR Query
Assume breach and hunt for artifacts associated with firewall appliance compromise.
KQL (Microsoft Sentinel) or Splunk SPL:
// Hunt for suspicious processes spawned by network device IPs
DeviceProcessEvents
| where InitiatingProcessParentFileName contains "pan" or DeviceName contains "paloalto"
| where ProcessCommandLine contains "certutil" or ProcessCommandLine contains "bitsadmin"
| project Timestamp, DeviceName, FileName, ProcessCommandLine, InitiatingProcessParentFileName
// Splunk search for outbound connections from internal infrastructure
index=firewall src_ip=10.0.0.0/8 dest_ip!=10.0.0.0/8 dest_port=443 OR dest_port=8443
| stats count by src_ip, dest_ip, dest_port
| where count > 50
Step-by-step guide:
- Identify Suspicious Processes: The KQL query looks for processes on endpoints where the parent process is related to Palo Alto (
pan) and the command line includes tools like `certutil` or `bitsadmin` often used for downloading payloads. - Analyze Firewall Egress: The Splunk query examines firewall logs for internal IPs (e.g.,
10.0.0.0/8) making a high volume of outbound HTTPS connections, which could indicate a compromised device beaconing to a command-and-control server.
What Undercode Say:
- Pre-Breach Indicators are Critical. The current scanning activity is not noise; it is the digital equivalent of casing a neighborhood before a robbery. Ignoring these signals drastically reduces the time available for mitigation once a full exploit is released.
- Zero-Trust for Infrastructure is Non-Negotiable. Network security appliances must themselves be treated as untrustworthy from a certain perspective, subject to the same strict access controls and least-privilege principles as any other asset. Hardening the management plane is the single most effective defensive measure.
The analysis from sensor data indicates a coordinated effort by advanced threat actors. This is not random scanning but a targeted campaign to inventory vulnerable Palo Alto deployments. The sophistication suggests the actors likely possess a functional exploit, or are exceedingly confident one is imminent. The focus for defenders must shift from pure prevention to assuming the vulnerability will be exploited, making detection and response hardening the immediate priority. The window to prepare is closing rapidly.
Prediction:
The public release of a functional Palo Alto Networks firewall exploit will trigger a wave of ransomware and state-sponsored intrusions within 72 hours. Critical infrastructure and financial sectors will be disproportionately targeted due to their reliance on these perimeter devices. This event will serve as a catalyst, forcing the industry to accelerate the adoption of zero-trust architectures, fundamentally moving security away from the “hard shell, soft center” model and towards intrinsic security within workloads and identities themselves.
🎯Let’s Practice For Free:
IT/Security Reporter URL:
Reported By: Balgan New – Hackers Feeds
Extra Hub: Undercode MoN
Basic Verification: Pass ✅


