
Listen to this Post
Introduction:
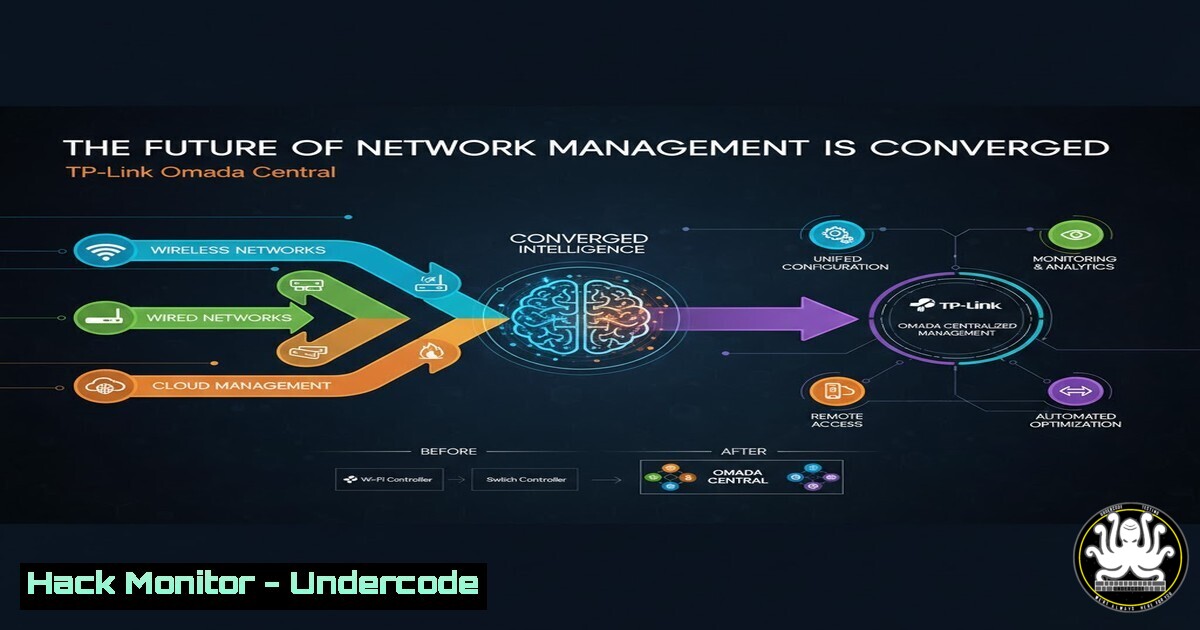
The modern IT landscape demands integrated solutions that simplify the management of complex network infrastructure and security systems. TP-Link’s Omada Central platform represents a significant shift towards this convergence, offering a single pane of glass for controlling wired and wireless networks alongside video surveillance. This article provides a technical exploration of the core functionalities and security implications of a unified management ecosystem.
Learning Objectives:
- Understand the architecture and core components of the TP-Link Omada ecosystem.
- Learn the essential commands and configurations for deploying and securing an Omada network.
- Analyze the security benefits and potential risks associated with network and surveillance convergence.
You Should Know:
1. Omada Controller Deployment & Initial Hardening
The Omada Software Controller is the brain of the operation, typically deployed on a dedicated server or hardware appliance. Initial setup is critical for establishing a secure foundation.
Step-by-step guide:
Download & Install: Fetch the controller software for your platform (e.g., Linux).
`wget https://static.tp-link.com/upload/software/2025/202501/Omada_Controller_5.13.31_Linux_x64.deb && sudo dpkg -i Omada_Controller_5.13.31_Linux_x64.deb`
Verify Service Status: Ensure the controller service is running correctly.
`sudo systemctl status tp-omada-controller`
Configure Firewall: Open the necessary ports for controller communication (8088 for HTTP, 8043 for HTTPS, 29810/29811/29812 for device adoption).
`sudo ufw allow 8043/tcp && sudo ufw allow 29811/udp`
Forced HTTPS: Immediately disable HTTP and enforce HTTPS-only access within the controller’s web interface under Settings > Maintenance > System Settings.
- Device Adoption via Secure Link Layer Discovery Protocol (LLDP)
Omada switches and access points can be automatically discovered by the controller using LLDP, a vendor-neutral protocol.
Step-by-step guide:
Enable Discovery: In the Omada controller web interface, navigate to Settings > Wired Networks > LLDP. Ensure “Device Discovery” is enabled.
Verify on Switch (CLI): Connect to a compatible Omada switch via SSH and check the LLDP status.
`show lldp configuration`
`show lldp neighbors` (This should list the controller if connected to the same management VLAN).
Adopt Device: In the controller’s Devices view, any discovered, unadopted device will appear. Select it and click “Adopt.” The device will automatically download its configuration from the controller.
- Creating a Segmented Guest Network with Client Isolation
Isolating guest traffic from your primary corporate network is a fundamental security practice.
Step-by-step guide:
Create Wireless SSID: Go to Settings > Wireless Networks > Create New Wireless Network. Name it “Corp-Guest”.
Assign to VLAN: Create or select a dedicated Guest VLAN (e.g., VLAN 30). In the SSID settings, under the “Network” tab, assign the SSID to this VLAN.
Enable Client Isolation: In the advanced settings for the “Corp-Guest” SSID, locate and enable “Client Isolation” or “Wireless Client Isolation.” This prevents guest devices from communicating with each other.
Configure Bandwidth Profile: Apply a bandwidth profile to limit guest network usage, preventing it from consuming all available bandwidth.
4. Implementing Advanced Switch Security with ACLs
Access Control Lists (ACLs) on Omada switches provide granular control over traffic flowing between VLANs.
Step-by-step guide:
Navigate to ACL Settings: In the controller, go to Settings > Wired Networks > ACL.
Create a New Rule: Create a rule to block traffic from the Guest VLAN (30) to the Corporate VLAN (10).
Rule Type: IPv4
Action: Deny
Service: Any
Source: Network: Guest-VLAN (VLAN 30)
Destination: Network: Corporate-VLAN (VLAN 10)
Apply the ACL Policy: Create an ACL Policy, add the newly created rule, and apply this policy to the switch ports that serve the guest network.
5. Surveillance System Integration and Network Segmentation
Converging surveillance cameras onto the same management platform requires careful network design to prevent a compromised camera from becoming a network pivot point.
Step-by-step guide:
Create a Camera VLAN: In Settings > Wired Networks > LAN Networks, create a new VLAN specifically for IP cameras (e.g., VLAN 99).
Configure Camera Ports: On the switch port where a camera is connected, set the PVID (Port VLAN ID) to the Camera VLAN (99). Disable unnecessary services like STP if not needed and set the port to “Port Fast” mode.
`interface gigabitethernet 1/0/5`
`switchport mode access`
`switchport access vlan 99`
`spanning-tree portfast`
Configure Firewall Rules: Create ACLs that only allow the camera VLAN to communicate with the Video Recording Server’s IP on the specific RTSP port (e.g., 554) and block all other outbound traffic from the camera VLAN.
6. Leveraging EAP-TLS for Secure Enterprise Wi-Fi
Moving beyond Pre-Shared Keys (PSK) to certificate-based authentication (EAP-TLS) significantly enhances Wi-Fi security.
Step-by-step guide:
Set up a CA: Use a Linux server to act as a Certificate Authority (CA).
`openssl genrsa -out ca.key 4096`
`openssl req -new -x509 -days 3650 -key ca.key -out ca.crt`
Generate Server Certificate: Create a certificate for the Omada controller to present to clients.
Configure Omada for 802.1X: In the Wireless Network settings, set the Security Mode to “WPA3-Enterprise” or “WPA2-Enterprise.” Select “EAP-TLS” as the method and upload the server certificate and CA certificate.
Distribute Client Certificates: Generate and install client certificates (derived from your CA) on end-user devices. The device will use this certificate to authenticate to the Wi-Fi network.
7. Automated Backup and Configuration Versioning
Maintaining versioned backups of your controller configuration is crucial for disaster recovery and change management.
Step-by-step guide:
Schedule Backups: In the Omada controller, navigate to Settings > Maintenance > Backup & Restore. Configure an automatic backup schedule to run daily or weekly.
Export via API (Optional): For advanced users, leverage the Omada REST API to trigger a configuration backup programmatically.
`curl -X POST -H “Content-Type: application/json” -d ‘{}’ https://
`curl -X GET -b cookies.txt https://
Secure Backup Storage: Ensure backup files are encrypted and transferred to a secure, off-site location, not stored on the controller itself.
What Undercode Say:
- Centralization is a Double-Edged Sword: A unified management console drastically reduces administrative overhead and human error, but it also creates a single, high-value target for attackers. A compromise here could lead to a total network and surveillance takeover.
- Inherent Trust Model Poses Risk: The seamless integration between network and surveillance systems relies on an inherent trust model. A vulnerability in one component (e.g., a camera’s firmware) could be exploited to jump to the core network if segmentation is not rigorously enforced.
The convergence seen in Omada Central is the undeniable future of mid-market IT infrastructure. The operational efficiency gains are too significant to ignore. However, this shift demands a corresponding evolution in security posture. Organizations must not be lulled into a false sense of security by the streamlined interface. The underlying principles of Zero Trust—micro-segmentation, least privilege, and rigorous device identity—must be applied with even greater discipline. The platform’s power makes it possible to implement robust security, but it does not do it by default; the responsibility lies with the administrator to properly configure and harden the environment against internal and external threats.
Prediction:
The successful convergence of networking and physical security systems, as demonstrated by TP-Link Omada, will become the standard expectation for business IT within five years. This will fuel a new wave of automated cyber-physical attacks, where adversaries first breach a low-security IoT device (like a camera) and use the trusted pathways within these converged systems to launch lateral attacks against high-value corporate data and intellectual property. The industry will respond with integrated AI-driven anomaly detection that correlates network events with physical surveillance footage to identify and mitigate threats in real-time.
🎯Let’s Practice For Free:
IT/Security Reporter URL:
Reported By: It Connect – Hackers Feeds
Extra Hub: Undercode MoN
Basic Verification: Pass ✅


