Listen to this Post
Introduction:
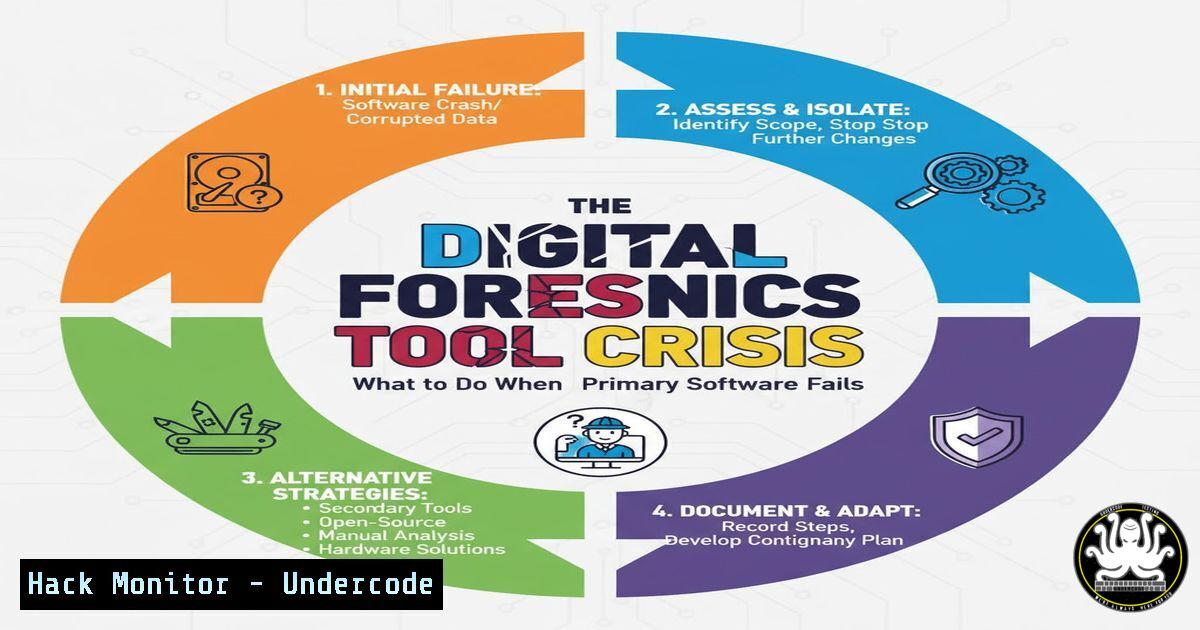
In digital forensics, examiners rely on a suite of specialized tools to image, parse, and analyze digital evidence. However, as a recent real-world case demonstrates, even trusted tools can fail under the strain of large, complex data sets, potentially jeopardizing an investigation. This article provides a technical contingency plan, detailing the commands and methodologies to pivot effectively when your primary forensic tool crashes, ensuring evidence integrity and analysis continuity.
Learning Objectives:
- Understand how to verify disk image integrity after a software failure.
- Learn command-line techniques for manual data triage and extraction.
- Build a resilient forensic workflow with alternative tools for data carving and analysis.
You Should Know:
1. Verifying Evidence Integrity Post-Failure
When a forensic tool crashes during an operation, the first step is to ensure the integrity of your disk image was not compromised. This is a non-negotiable step in the forensic process.
`certutil -hashfile C:\Evidence\disk_image.001 SHA256`
Step-by-step guide:
This Windows command calculates the SHA-256 hash of the specified file. After your tool crashes, run this command on your forensic image and compare the output to the original hash taken when the image was created. If the hashes match, the image is intact and the failure was application-specific, not data-centric. This confirms you can safely proceed with alternative analysis methods.
2. Mounting a Disk Image for Manual Triage
Before diving into a full-scale automated parse, manually exploring the image can provide quick insights and validate data accessibility. The Linux `mount` command is invaluable for this.
`sudo mount -o ro,loop,offset=$((5122048)) /mnt/evidence/disk_image.dd /mnt/analysis/`
Step-by-step guide:
This command mounts a raw disk image (disk_image.dd) as a read-only (ro) filesystem. The `loop` device allows a file to be accessed as a block device. The `offset` is critical; it specifies where the partition begins (sector 2048 in this example, multiplied by 512 bytes/sector). You must adjust this offset based on the partition table. Use `fdisk -l disk_image.dd` to identify the correct starting sector. Once mounted at /mnt/analysis/, you can use standard shell commands to navigate and inspect the files.
3. Command-Line File Carving with `foremost`
When a graphical tool fails to extract files, a robust, command-line carver like `foremost` can be a lifesaver, especially for recovering files based on their headers and footers.
`sudo foremost -t pdf,jpg,docx -i /mnt/evidence/disk_image.001 -o /mnt/output/carved_files/`
Step-by-step guide:
This command will scour the `disk_image.001` file for all files with signatures matching PDF, JPEG, and DOCX formats. The `-i` flag specifies the input file, and `-o` defines the output directory. `foremost` operates at a binary level, ignoring filesystem structures, making it ideal for recovering data from corrupted drives or unallocated space where your primary tool might fail.
4. Rapid Timeline Generation for Triage
Creating a system-wide timeline of file activity can quickly spotlight relevant evidence without loading the entire image into a unstable GUI. The `log2timeline` tool (part of the Plaso framework) is the industry standard.
`log2timeline.py –parsers filestat,winreg,chrome_history /mnt/output/plaso_timeline.plaso /mnt/evidence/disk_image.E01`
Step-by-step guide:
This command processes the `disk_image.E01` file using a subset of parsers (filestat for file system metadata, `winreg` for Windows Registry, `chrome_history` for browser activity) to create a centralized timeline database (plaso_timeline.plaso). By limiting the parsers, you speed up the initial triage. The resulting `.plaso` file can later be analyzed with `psort.py` or imported into other tools for detailed review.
5. PowerShell for Selective File Extraction
If you need to extract specific files quickly from a mounted image or a live system, PowerShell offers powerful, scriptable capabilities.
`Get-ChildItem -Path E:\ -Recurse -Include .txt, .log | Copy-Item -Destination C:\ExtractedFiles\ -Verbose`
Step-by-step guide:
This PowerShell command recursively searches the E: drive (which could be your mounted forensic image) for all files with `.txt` and `.log` extensions. It then copies each found file to the `C:\ExtractedFiles\` directory. The `-Verbose` flag provides real-time feedback in the console. This is an efficient way to perform a targeted extraction based on file type when a full-featured forensic suite is not an option.
6. Leveraging Sleuth Kit for Core Filesystem Analysis
The Sleuth Kit (TSK) is a foundational, command-line library and collection of tools for forensic analysis of disk images. When GUI tools fail, TSK provides reliable, low-level access.
`fls -r -m C: /mnt/evidence/disk_image.dd > /mnt/output/bodyfile.txt`
`icat /mnt/evidence/disk_image.dd 158-128-1 > /mnt/output/recovered_document.pdf`
Step-by-step guide:
The `fls` command lists files and directories in a disk image. The `-r` flag enables recursion, and `-m C:` prepends a Windows drive letter to the paths. The output is redirected to a “body file” for timeline analysis. The `icat` command is used to extract the content of a specific file by its inode number (e.g., 158-128-1), which can be obtained from `fls` or istat. This allows for precise, programmatic file recovery.
7. Validating Tool Output with Cross-Comparison
After using alternative methods, it’s crucial to validate your findings. Comparing the output of multiple tools ensures accuracy and strengthens your conclusions.
`diff <(find /mnt/mount_point/ -type f -exec sha256sum {} \; | sort) <(sort /mnt/output/foremost_hashes.txt)`
Step-by-step guide:
This advanced bash command compares two lists of file hashes. The first part `(find …)` generates SHA-256 hashes for all files in the mounted image. The second part `(sort …)` reads a list of hashes from files carved by foremost. The `diff` command then highlights any discrepancies. This process helps verify that your carver recovered all expected files and that their contents are consistent with the filesystem view.
What Undercode Say:
- Tool Redundancy is Not Optional: Relying on a single forensic application, no matter how capable, introduces a critical point of failure. A professional’s lab must include licensed, proven alternatives like WinHex/X-Ways and mastery of open-source CLI tools like TSK and Plaso.
- The CLI is Your Safety Net: When graphical interfaces become unstable with large datasets, the command line remains the most reliable and performant environment for data manipulation and extraction. The ability to script these operations separates competent examiners from experts.
The case described is not an anomaly but a foreseeable event in a field defined by exponentially growing data volumes. The examiner’s successful pivot to WinHex underscores a fundamental principle: the tool is an extension of the examiner’s skill, not a replacement for it. The core competency in modern digital forensics is not just knowing how to use a specific GUI, but understanding the underlying data structures and having the procedural flexibility to apply multiple methods to achieve the investigative goal. Building a resilient workflow that incorporates verification at every stage and leverages both commercial and open-source tools is the only way to ensure consistent results under pressure.
Prediction:
As storage densities continue to outpace single-threaded CPU performance, forensic examiners will increasingly encounter “big data” scenarios that push conventional GUI-based tools to their limits. This will accelerate a shift towards distributed, scriptable forensic processing frameworks that can leverage cloud or multi-core architectures. The future forensic examiner will need to be as proficient in data engineering and scripting as they are in evidence law, using code to orchestrate analysis across clustered systems, with traditional GUI tools serving primarily for visualization and final reporting on pre-processed data sets.
🎯Let’s Practice For Free:
IT/Security Reporter URL:
Reported By: Husamshbib I – Hackers Feeds
Extra Hub: Undercode MoN
Basic Verification: Pass ✅


