Listen to this Post
Introduction:
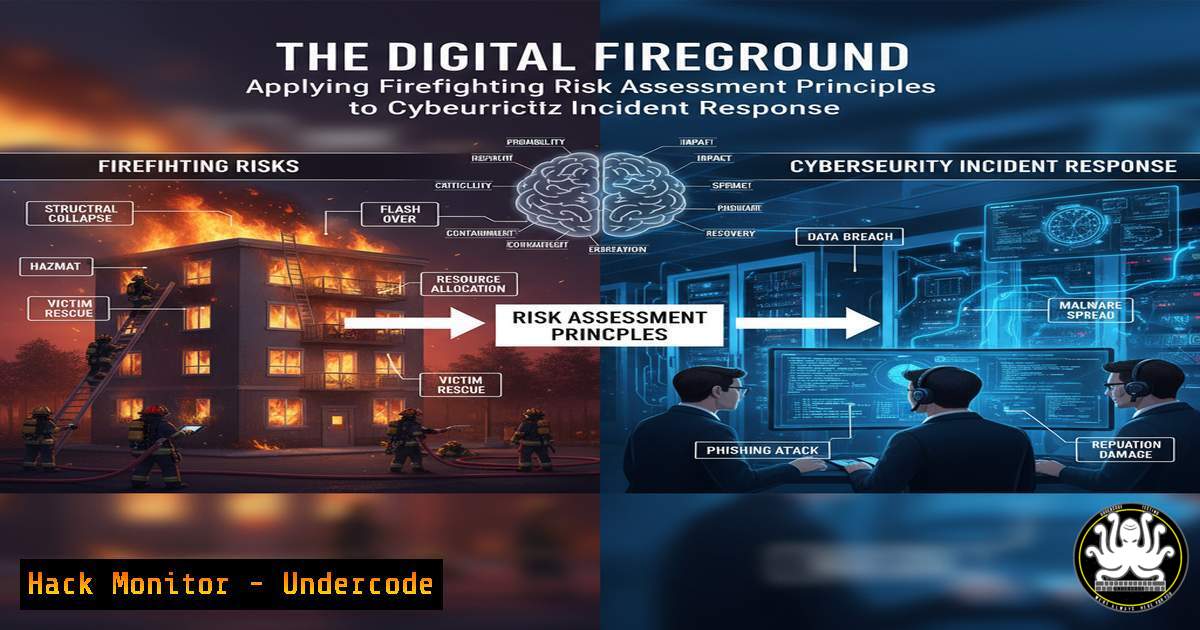
In both firefighting and cybersecurity, professionals face dynamic, high-stakes environments where a systematic risk assessment is the difference between containment and catastrophe. This article translates the proven principles of on-scene fireground risk assessment into a actionable framework for cybersecurity incident responders, providing the technical commands and procedures to identify, evaluate, and neutralize digital threats.
Learning Objectives:
- Translate firefighting risk assessment steps into a parallel process for cybersecurity incidents.
- Apply specific Linux, Windows, and security tool commands to execute each phase of the digital risk assessment.
- Develop a proactive security posture through documentation and post-incident review techniques.
You Should Know:
1. Pre-Incident Information Gathering & Asset Visibility
Just as firefighters gather pre-arrival intel, defenders must have continuous visibility into their digital environment. This involves enumerating assets, users, and network services.
Verified Commands & Tutorials:
`nmap -sV -sC -O [bash]` (Linux): A comprehensive Nmap scan to discover hosts, services, versions, and OS fingerprints.
`netstat -ano` (Windows): Displays all active network connections and the processes (PIDs) that own them.
`Get-ADComputer -Filter | Select-Object Name, IPv4Address` (PowerShell): Queries Active Directory for all joined computers and their IP addresses.
`aws s3 ls` / `az storage account list` (Cloud CLI): Lists S3 buckets or storage accounts to map the cloud attack surface.
Step-by-step guide:
This initial reconnaissance is critical for understanding the scope of an incident. Upon alert, use `nmap` to quickly scan affected subnets for unusual open ports or services. Cross-reference with `netstat` on a potentially compromised Windows host to identify unauthorized connections. The AD and cloud commands provide a baseline of what assets should exist, helping to pinpoint rogue or unknown entities.
2. On-Scene Survey & Threat Identification
The “scene survey” in cybersecurity is the initial analysis of the compromised system to identify the threat’s nature, scope, and entry point.
Verified Commands & Snippets:
`ps aux –sort=-%mem | head` (Linux): Lists running processes, sorted by memory usage, to identify resource-hogging malware.
`Get-Process | Sort-Object WS -Descending | Select-Object -First 10` (PowerShell): The Windows equivalent for identifying processes with the largest working set.
Wireshark filter:http.request.method == “POST” && ip.src == [bash]“ (Tool): Captures and filters outbound POST requests, which may indicate data exfiltration.
`find / -name “.php” -mtime -1 2>/dev/null` (Linux): Finds all PHP files modified in the last 24 hours, useful for identifying web shells.
Step-by-step guide:
After isolating the host from the network, start by analyzing running processes. A process consuming excessive CPU or memory is a primary suspect. Use the `ps` or `Get-Process` commands to quickly surface these. Simultaneously, use Wireshark to capture live traffic from the host (if not fully isolated) to look for command-and-control (C2) beacons or data exfiltration attempts.
3. Hazard Classification & Impact Analysis
Classify the identified threats (e.g., ransomware, data breach, insider threat) and assess their potential impact on confidentiality, integrity, and availability.
Verified Commands & Snippets:
`chkrootkit` / `rkhunter -c` (Linux): Classic rootkit hunters to check for known kernel-level compromises.
`clamscan -r -i /home` (Linux): Scans the home directory recursively for viruses and malware, reporting only infected files.
`Get-MpThreatDetection` (PowerShell): Retrieves the latest threat detections from Windows Defender.
`virustotal-search -k [bash] -m [bash]` (API): Queries VirusTotal’s API to get a crowd-sourced threat assessment of a file hash.
Step-by-step guide:
Run `chkrootkit` to rule out a deep, persistent threat. Use `clamscan` to check for common malware. The output from `Get-MpThreatDetection` provides Microsoft’s own threat classification, which can help in understanding the malware family. For any suspicious file, calculate its MD5/SHA256 hash and query it via the VirusTotal API to understand its global reputation and impact.
4. Implementing Immediate Controls & Containment
This is the digital equivalent of establishing a firebreak. The goal is to prevent the threat from spreading.
Verified Commands & Snippets:
`iptables -A INPUT -s [bash] -j DROP` (Linux): Immediately blocks all incoming traffic from a known malicious IP address.
`netsh advfirewall firewall add rule name=”Block Attacker” dir=in action=block remoteip=[bash]` (Windows): Creates a Windows Firewall rule to block the IP.
`fail2ban-client set [bash] banip [bash]` (Linux): Uses Fail2ban to dynamically ban an IP address that is brute-forcing a service.
`aws ec2 revoke-security-group-ingress –group-id sg-… –protocol tcp –port 22 –cidr 0.0.0.0/0` (AWS CLI): Removes a dangerously permissive SSH rule from a security group.
Step-by-step guide:
Upon identifying the attack vector, use host-based firewalls (iptables or netsh) to block the source IP. If the attack is a brute-force attempt, `fail2ban` can automate the blocking. In the cloud, immediately review and tighten security groups to remove any overly broad rules that allowed initial access, such as exposing SSH to the entire internet.
5. Evidence Collection & Documentation
For accountability, legal purposes, and lessons learned, meticulous documentation of the incident is crucial.
Verified Commands & Snippets:
`tar -czvf evidence_$(hostname)_$(date +%F).tar.gz /var/log /etc/passwd /etc/shadow` (Linux): Creates a compressed archive of critical log files and system configuration.
`logexport –log “Windows PowerShell” –csv ps_logs.csv` (Tool): Exports Windows PowerShell operational logs to a CSV for analysis.
`md5sum /path/to/suspicious_file | tee -a hashes.txt` (Linux): Calculates and records the hash of a file for integrity preservation.
`screencap -p /sdcard/incident_screen.png` (Android ADB): Takes a screenshot of a mobile device during an investigation.
Step-by-step guide:
Before making any drastic changes, collect volatile data. Archive log directories from `/var/log` and C:\Windows\System32\winevt\Logs. Export specific application logs. Most importantly, take cryptographic hashes of all suspicious binaries and dropped files to maintain a chain of evidence.
6. Post-Incident Review & System Hardening
The “post-incident review” is where true resilience is built. Analyze what happened and harden systems against a repeat attack.
Verified Commands & Snippets:
`lynis audit system` (Linux): A comprehensive security auditing tool that provides hardening advice.
`Get-LocalUser | Where-Object { $_.Enabled -eq $True }` (PowerShell): Lists all enabled local user accounts for review.
`aide –check` (Linux): Runs a file integrity check against a pre-created database to detect unauthorized changes.
`terraform plan -var=”enable_public_ips=false”` (Infra-as-Code): A Terraform command to preview infrastructure changes that would disable public IPs on resources.
Step-by-step guide:
Run a tool like Lynis to get a tailored list of hardening recommendations for your specific OS. Review and disable any non-essential user accounts. Re-configure AIDE or a similar HIDS (Host-based Intrusion Detection System) to monitor critical files and directories. Finally, use infrastructure-as-code to enforce stricter security configurations moving forward.
What Undercode Say:
- The methodology of risk assessment is universally applicable, transforming chaotic incident response into a disciplined, repeatable process.
- Technical proficiency with command-line tools is the modern equivalent of a firefighter knowing their equipment; it enables speed, precision, and effectiveness under pressure.
The parallels between firefighting and cybersecurity are not merely metaphorical but methodological. The core discipline of “size-up”—rapidly assessing a situation, identifying hazards, and executing a contained response—is directly transferable. By adopting this structured approach, CSIRTs can move from a reactive posture to a controlled, strategic one. The technical commands are the tools, but the risk assessment framework is the strategy that ensures they are used effectively to protect the most critical assets, minimize downtime, and build a more resilient security posture for the future.
Prediction:
The convergence of physical and digital risk assessment frameworks will become standard practice. As cyber-physical systems (like smart buildings and industrial control systems) become more prevalent, the line between a digital breach and a physical catastrophe will blur. Incident responders with a cross-disciplinary understanding of both IT and operational technology (OT) risk assessment will be in high demand, and the principles outlined here will form the bedrock of defending critical infrastructure against sophisticated, multi-vector attacks.
🎯Let’s Practice For Free:
IT/Security Reporter URL:
Reported By: Abdullah Cfi – Hackers Feeds
Extra Hub: Undercode MoN
Basic Verification: Pass ✅


