
Listen to this Post
Introduction:
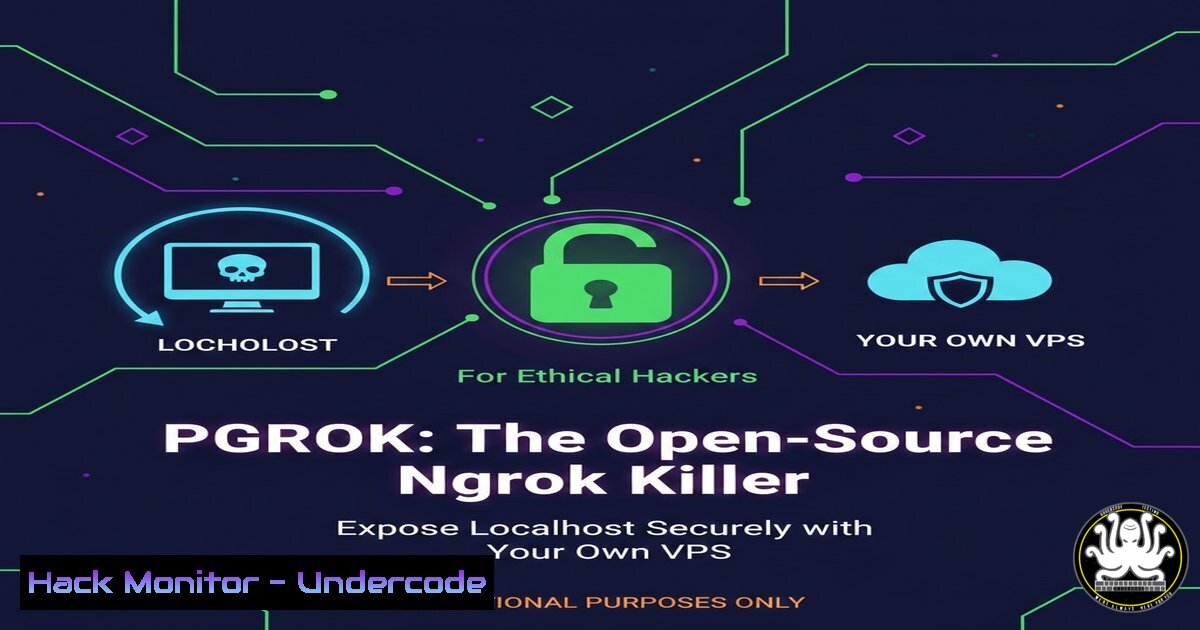
In the world of penetration testing and development, the need to expose a local server to the internet is ubiquitous. While tools like ngrok have dominated this space, they often come with bandwidth limitations, random URLs, and the inherent risk of routing sensitive traffic through third-party servers. Enter pgrok, a powerful, open-source alternative that allows you to tunnel local ports to the internet using your own Virtual Private Server (VPS). For cybersecurity professionals, this means full control over the data path, persistent subdomains, and the ability to inspect live HTTP traffic without compromising client confidentiality.
Learning Objectives:
- Understand the architecture of reverse SSH tunneling and how pgrok differs from commercial alternatives.
- Learn to deploy and configure a pgrok server on a personal VPS for complete traffic control.
- Master the pgrok client to expose local web applications and APIs with automatic HTTPS.
- Utilize the built-in HTTP request inspection TUI for real-time debugging and security analysis.
You Should Know:
1. Deploying the pgrok Server on a VPS
To cut out the middleman, you must first host the “broker” on your own Linux server. This component handles the public internet traffic and forwards it securely to your local machine.
First, connect to your VPS (Ubuntu/Debian recommended) and download the latest pgrok server binary from the official releases page. While the link in the post directs to the repository, you can typically fetch it via `wget` using the latest release URL from GitHub.
 Example: Download the server binary (check the repo for the latest version)
wget https://github.com/pgrok/pgrok/releases/download/v1.4.1/pgrokd_1.4.1_linux_amd64.tar.gz
tar -xzf pgrokd_1.4.1_linux_amd64.tar.gz
sudo mv pgrokd /usr/local/bin/
Next, create a configuration directory and set up the server. You need to generate a secret token for client authentication.
sudo mkdir /etc/pgrokd
 Generate a secure random token for clients to authenticate with the server
openssl rand -base64 32 | sudo tee /etc/pgrokd/auth_token.txt
To run this as a persistent service, create a systemd unit file (/etc/systemd/system/pgrokd.service):
[bash]
Description=pgrok Server
After=network.target

[bash]
Type=simple
ExecStart=/usr/local/bin/pgrokd --domain yourdomain.com --auth-token-file /etc/pgrokd/auth_token.txt --http-port :8080 --https-port :443 --tunnel-port :4443
Restart=always
User=pgrok
Group=pgrok

[bash]
WantedBy=multi-user.target
Note: You must own a domain (e.g., yourdomain.com) and point an A record to your VPS IP. The `–domain` flag ensures all subdomains (like test.yourdomain.com) are routed correctly.
2. Configuring the pgrok Client for Local Exposure
With the server live, focus shifts to the local machine—typically your attack box or development environment. The pgrok client acts as the bridge, initiating the SSH tunnel.
Install the client on your local Linux machine or Windows Subsystem for Linux (WSL):
 Download client binary
wget https://github.com/pgrok/pgrok/releases/download/v1.4.1/pgrok_1.4.1_linux_amd64.tar.gz
tar -xzf pgrok_1.4.1_linux_amd64.tar.gz
sudo mv pgrok /usr/local/bin/
Now, configure the client to point to your server. Create a config file at ~/.pgrok.yml:
server_addr: "yourdomain.com:4443"
auth_token: "YOUR_SECRET_TOKEN_FROM_THE_SERVER"  Use the token you generated
tunnels:
web-app:
proto: http
addr: 8080
subdomain: testproject
To expose a local web server running on port 8080, simply run:
pgrok web-app
The terminal will output a public HTTPS URL like `https://testproject.yourdomain.com`. pgrok automatically provisions a Let’s Encrypt certificate for your subdomain, ensuring all traffic is encrypted in transit.
3. Real-Time HTTP Inspection for Security Testing
One of the standout features for cybersecurity professionals is the built-in inspection dashboard. Unlike ngrok’s web interface which can be clunky or restricted in free tiers, pgrok offers a Text-based User Interface (TUI) that runs directly in your client terminal.
To inspect traffic, you can run the client with the `–inspect` flag or enable it globally in the config. As requests hit your public URL, the TUI displays raw HTTP headers, request bodies, and response data in real-time. This is invaluable for debugging API integrations during a red team engagement or analyzing exactly what payloads are being passed through the tunnel. You can scroll through the history of requests to spot malformed data or sensitive information leakage without ever leaving the command line.
4. Securing the Tunnel: Firewall and Access Control
Since you control the server, you can implement strict security measures. On the VPS, configure the firewall (ufw) to only allow necessary ports:
sudo ufw allow 22/tcp  SSH
sudo ufw allow 80/tcp  HTTP redirect to HTTPS
sudo ufw allow 443/tcp  HTTPS traffic
sudo ufw allow 4443/tcp  pgrok control/tunnel port (restrict to specific IPs if possible)
For enterprise environments, you can modify the server configuration to only accept connections from whitelisted client IPs using `iptables` or by setting environment variables in the systemd service. This ensures that even if an auth token is leaked, unauthorized machines cannot establish tunnels to your domain.
5. Exposing Non-HTTP Services (TCP Tunneling)
While the example focuses on HTTP/S, pgrok supports raw TCP tunnels. This is essential for SSH access to a device behind a firewall, exposing a Minecraft server, or testing RDP services internally.
To set up a TCP tunnel, modify your ~/.pgrok.yml:
tunnels:
ssh-server:
proto: tcp
addr: 22
remote_port: 2222
This forwards the local SSH port to yourdomain.com:2222. Note that for TCP tunnels, pgrok cannot automatically provision SSL certificates; you are responsible for securing the traffic at the application layer (e.g., using SSH keys).
6. Troubleshooting Common Connectivity Issues
If the tunnel fails to establish, use verbose logging to diagnose the issue. Stop the client and run it with debug flags:
pgrok web-app --log-level debug
Common issues include:
- Firewall blocking port 4443: Ensure the VPS firewall allows outbound and inbound on this port.
- Domain misconfiguration: Verify that `.yourdomain.com` resolves to your VPS IP using
dig test.yourdomain.com. - Auth token mismatch: Ensure the token in `~/.pgrok.yml` exactly matches the one on the server.
What Undercode Say:
- Data Sovereignty: By self-hosting pgrok, penetration testers and IT admins reclaim control over their data, eliminating the risk of sensitive corporate traffic being logged by third-party tunneling services.
- Cost-Effective Scalability: For teams requiring multiple simultaneous tunnels or custom subdomains, pgrok on a $5 VPS outperforms the escalating costs of commercial plans, while offering superior inspection capabilities.
- Operational Security (OpSec): Using your own domain and server for tunnels blends malicious testing traffic with legitimate business operations, potentially evading simplistic threat detection models that blacklist known ngrok IP ranges. However, this also places the responsibility of hardening the VPS on the user.
Prediction:
As privacy regulations tighten and corporations become wary of data residency, the shift toward self-hosted, open-source tunneling solutions like pgrok will accelerate. We will likely see the integration of these tools into mainstream red-team frameworks and CI/CD pipelines, forcing commercial providers to offer on-premise versions or risk becoming obsolete in security-sensitive sectors.
▶️ Related Video (76% Match):
🎯Let’s Practice For Free:
IT/Security Reporter URL:
Reported By: Pethu %F0%9D%90%A9%F0%9D%90%A0%F0%9D%90%AB%F0%9D%90%A8%F0%9D%90%A4 – Hackers Feeds
Extra Hub: Undercode MoN
Basic Verification: Pass ✅


