Listen to this Post
Introduction:
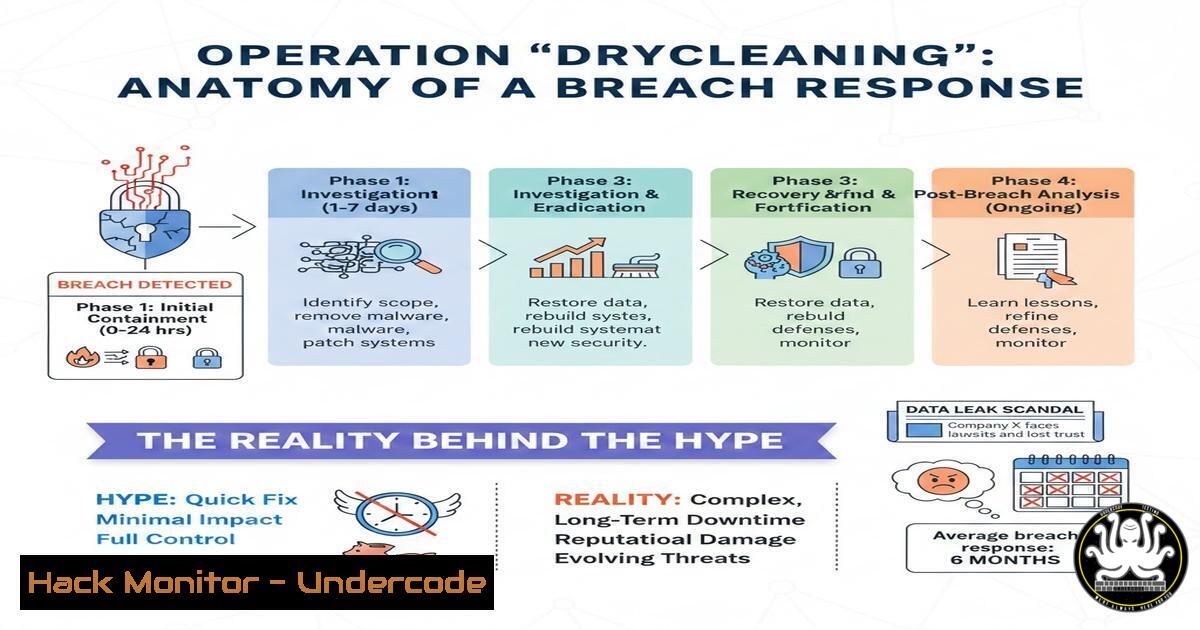
In the high-stakes world of cybersecurity, the nomenclature of an incident response can often overshadow the technical gravity of the situation. While public relations teams may craft dramatic monikers like “Operation Epic Fury” to capture headlines, seasoned analysts understand that true incident response is a meticulous, often mundane process of scrubbing compromised systems and rebuilding from the ground up. This article delves into the technical realities of breach mitigation, moving beyond the cringe-worthy branding to explore the forensic commands, system hardening techniques, and vulnerability exploitation pathways that define a professional response.
Learning Objectives:
- Understand the difference between public relations narratives and the technical reality of incident response.
- Learn essential Linux and Windows command-line tools for system analysis and remediation.
- Identify key indicators of compromise (IOCs) and methods for their eradication.
You Should Know:
- Initial Triage: Identifying the “Stain” on the System
Before any “drycleaning” can occur, an analyst must locate the source of the contamination. This phase involves scanning for unauthorized access, anomalous processes, and persistence mechanisms. The goal is to understand the scope of the compromise without alerting the attacker.
Step‑by‑step guide for initial system analysis:
On a Linux system, after isolating the machine from the network, begin with process auditing:
 List all running processes with their full command-line arguments
ps auxf

Check for unusual network connections from established processes
ss -tunap

Examine recent logins and authentication failures
last -F
lastb
On a Windows system, use PowerShell with administrative privileges to look for persistence:
 List scheduled tasks that might be used for persistence
Get-ScheduledTask | Where-State -EQ Ready

Check for suspicious services
Get-Service | Where-Object {$_.Status -eq "Running"}

Examine active network connections and associated processes
netstat -ano
 Cross-reference the PIDs from netstat with Get-Process
Get-Process -Id <PID>
2. Memory Forensics: Analyzing the “Wash Cycle”
If a process seems malicious but is hiding its disk artifacts, memory analysis is required. This involves capturing the RAM contents and analyzing them for injected code or rootkits.
Step‑by‑step guide for memory capture and analysis:
First, capture the memory. On a Windows system, use a trusted tool like `FTK Imager` via command line to create a memory dump:
 Assuming FTK Imager is installed
"C:\Program Files\AccessData\FTK Imager\ftkimager.exe" \.\PhysicalMemory C:\memdump.mem --memory
On Linux, use `LiME` (Linux Memory Extractor) to capture memory:
 Load the LiME module to dump memory to a file
insmod lime.ko "path=/home/analyst/memory.lime format=lime"
Once captured, use `Volatility 3` for analysis, regardless of the source OS, to list processes and network artifacts:
 Identify the profile/image type (though Volatility 3 tries to auto-detect)
 List all processes at the time of capture
python3 vol.py -f memory.lime windows.pslist.PsList

Check for hidden or unlinked processes (indicative of rootkits)
python3 vol.py -f memory.lime windows.psscan.PsScan

Dump a suspicious process for further static analysis
python3 vol.py -f memory.lime windows.dumpfiles.DumpFiles --pid <SUSPICIOUS_PID>
- Reverse Engineering the Malware: What’s Eating My Clothes?
After extracting a suspicious binary or script from memory or disk, static and dynamic analysis reveals its capabilities. This is crucial for understanding the encryption used, the C2 (Command and Control) infrastructure, and the lateral movement techniques.
Step‑by‑step guide for basic static analysis:
On a Linux analysis sandbox, use standard tools to inspect a binary:
 Check the file type and hashes
file suspicious_binary.exe
md5sum suspicious_binary.exe
sha256sum suspicious_binary.exe

View imported functions to guess functionality (Windows binaries)
strings suspicious_binary.exe | grep -i "http|wininet|socket|crypt|regset"
 Use objdump for Linux ELF files
objdump -T suspicious_binary.elf | grep "GLIBC_"

Use pestr (part of pev package) to extract strings from PE headers
pestr suspicious_binary.exe
For dynamic analysis, use `strace` (Linux) or `API Monitor` (Windows) to see system calls and file interactions without fully executing the malicious payload.
4. Eradication: The “Drycleaning” Process
Once the vector is identified, the eradication phase begins. This involves removing the malicious files, reverting registry changes (Windows), killing malicious processes, and patching the initial entry point.
Step‑by‑step guide for removing persistence:
On Windows, remove a malicious scheduled task and service:
 Stop the malicious process identified earlier
Stop-Process -Id <PID> -Force

Remove the scheduled task
Unregister-ScheduledTask -TaskName "MaliciousTaskName" -Confirm:$false

Delete the malicious service
sc.exe delete "MaliciousServiceName"

Clean up registry run keys
Remove-ItemProperty -Path "HKLM:\SOFTWARE\Microsoft\Windows\CurrentVersion\Run" -Name "MaliciousEntry"
On Linux, kill the process and remove its cron job:
 Kill the process
kill -9 <PID>

Edit crontabs for all users to remove malicious entries
crontab -u compromised_user -e
 Also check system-wide crons in /etc/crontab and /etc/cron.d/

Remove the malicious binary
rm -f /path/to/malicious/binary
5. Hardening and Patching: Preventing the Next “Stain”
The final step of “drycleaning” is to ensure the system isn’t vulnerable to the same attack again. This involves applying security patches, changing compromised credentials, and tightening firewall rules.
Step‑by‑step guide for system hardening:
Linux (Ubuntu/Debian example):
 Update all packages to patch known vulnerabilities
sudo apt update && sudo apt upgrade -y

Harden SSH configuration
sudo nano /etc/ssh/sshd_config
 Set: PermitRootLogin no, PasswordAuthentication no, Protocol 2
sudo systemctl restart sshd

Implement a host-based firewall (UFW)
sudo ufw default deny incoming
sudo ufw default allow outgoing
sudo ufw allow ssh
sudo ufw enable
Windows (PowerShell):
 Ensure Windows is up to date
Install-Module PSWindowsUpdate
Get-WUInstall -AcceptAll -AutoReboot

Enforce strong password policies
net accounts /minpwlen:12 /maxpwage:30 /uniquepw:5

Enable and configure Windows Defender Firewall
New-NetFirewallRule -DisplayName "Block All Inbound by Default" -Direction Inbound -Action Block
Enable-NetFirewallRule -DisplayGroup "File and Printer Sharing"

Rotate all local admin passwords
Get-LocalUser | Where-Object {$_.Enabled -eq $true} | Set-LocalUser -Password (ConvertTo-SecureString "NewStrongP@ssw0rd" -AsPlainText -Force)
What Undercode Say:
- Hype vs. Hygiene: While the security community may mock dramatic operation names, the underlying principle remains sound—effective response relies on boring, methodical system cleaning and hardening, not flashy branding.
- Verification is Key: The commands and techniques outlined above are the real tools of the trade. An analyst’s ability to pivot between Linux `ps auxf` and Windows `Get-Service` defines their effectiveness in a heterogeneous enterprise environment. The shift from public announcement to private investigation requires a deep, verified understanding of operating system internals to ensure the “stain” is truly gone.
Prediction:
As AI-generated malware becomes more polymorphic and adept at evading signature-based detection, the “drycleaning” phase will evolve. Future incident response will rely less on static file hashes and more on behavioral analysis and automated remediation scripts generated by AI co-pilots. However, the human element—knowing exactly which `regedit` key to scrub or which kernel module to unload—will remain the critical bottleneck and the most valuable asset in any operation, regardless of its name.
▶️ Related Video (80% Match):
🎯Let’s Practice For Free:
IT/Security Reporter URL:
Reported By: Malwaretech Personally – Hackers Feeds
Extra Hub: Undercode MoN
Basic Verification: Pass ✅


