
Listen to this Post
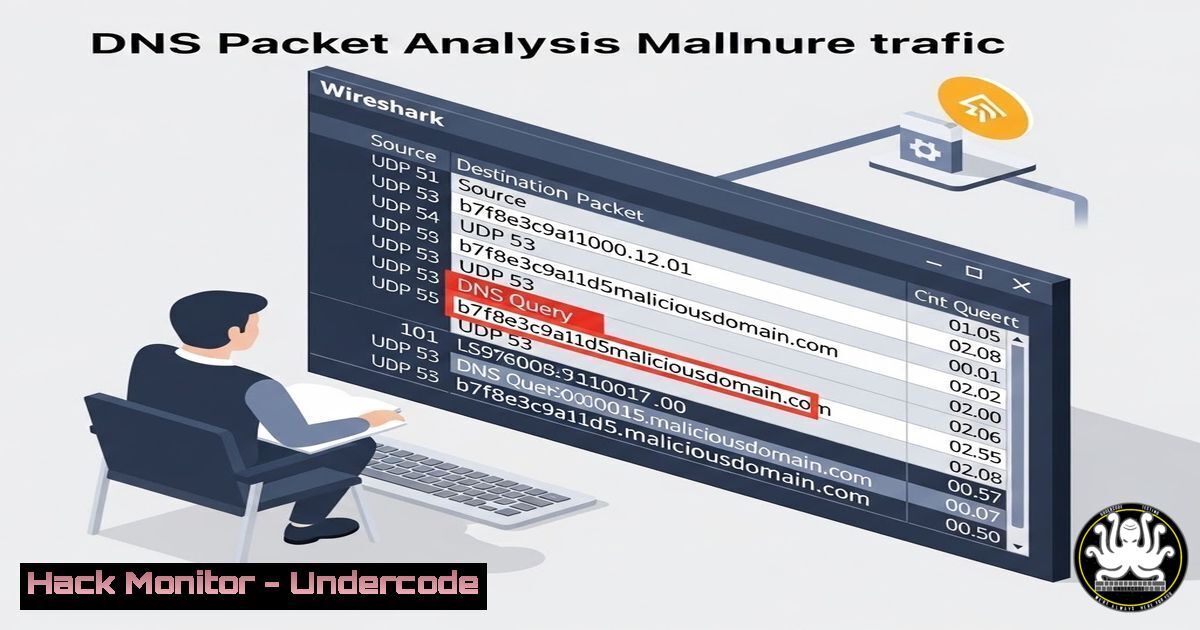
Introduction:
The Domain Name System (DNS) is the phonebook of the internet, silently translating human-readable domain names into machine IP addresses. However, because it is so foundational and often weakly monitored, DNS is a primary vehicle for malware command-and-control (C2) traffic, data exfiltration, and phishing. With over 92% of malicious activities leveraging DNS in some form, understanding its raw packet-by-packet operation is critical for cybersecurity professionals. This article breaks down the anatomy of a DNS query using Wireshark, mirroring the techniques used by security analysts to uncover anomalies hidden in plain sight.
Learning Objectives:
- Understand the step-by-step packet flow of a recursive DNS query (Root → TLD → Authoritative).
- Master Wireshark filters to isolate and analyze DNS traffic for forensic investigations.
- Learn to identify signs of DNS tunneling and cache poisoning in packet captures.
- Differentiate between standard DNS operations and malicious indicators.
You Should Know:
1. Dissecting the Query: From Resolver to Root
When you type a domain like `undercode.test` into a browser, your computer first checks its local DNS cache. If the record isn’t there, it initiates a recursive query to a DNS resolver (usually provided by your ISP or a public service like Google’s 8.8.8.8). In a packet capture, you can observe this starting point.
Step‑by‑step analysis with Wireshark:
- Capture Filter: To see only DNS traffic, use `udp port 53` (or TCP port 53 for large responses).
- Trigger a Query: On your machine, force a lookup using `nslookup` (Windows) or `dig` (Linux/Mac).
– Windows Command: `nslookup undercode.test`
– Linux Command: `dig undercode.test`
3. Wireshark Observation: Look for the initial packet sent from your IP to the resolver (e.g., 8.8.8.8). This is a Standard Query (0x0010). The “Queries” section will show the requested domain and record type (usually Type A for IPv4 address).
2. The Hierarchical Journey: Root, TLD, and Authority
The resolver does not know the IP of `undercode.test` by heart. It performs a iterative query on behalf of the client. A pcap will show this as a cascade of requests and responses.
Step‑by‑step guide to tracing the hierarchy:
- Filter for the Resolver: In Wireshark, use `ip.addr == [bash]` to isolate the resolver’s conversation.
- Identify the Root Hints Query: The first packet from the resolver will go to a Root Server (e.g., 198.41.0.4). It asks, “Who manages the `.test` top-level domain?” The root server doesn’t know the IP of the website, but it replies with a Referral to the TLD servers for
.test. - Follow the Referral: The resolver then queries a TLD Server. The TLD server responds with a referral to the Authoritative Name Server for
undercode.test. - The Final Answer: Finally, the resolver queries the Authoritative Server, which provides the actual IP address. The resolver caches this answer and forwards it back to your machine.
Security Context: Malware often hardcodes IP addresses to skip this entire process, avoiding DNS logs. If you see traffic to an IP with no preceding DNS query, that is a massive red flag.
3. Identifying DNS Caching and “Non-Existent” Domains
Caching improves performance but can also serve malicious content if poisoned. Similarly, response codes can indicate reconnaissance activity.
Step‑by‑step guide to reading DNS flags:
- Cached Responses: If you run the same `dig` command twice, the second response time will be near zero. In Wireshark, you might not even see a query leave your network if the browser cached it, or you will see a very fast response from the local resolver with the “Authoritative Answer” flag potentially unset.
- NXDOMAIN Analysis: Attackers often use NXDOMAIN (Non-Existent Domain) responses to perform “DNS Water Torture” attacks, attempting thousands of random subdomains to overwhelm a server.
– Wireshark Filter: `dns.flags.rcode == 3` (Rcode 3 stands for NXDOMAIN).
– If you see a massive spike in NXDOMAIN responses from your internal servers, it suggests a botnet attempting to call home to a domain that no longer exists, or a DGA (Domain Generation Algorithm) brute force.
4. Spotting DNS Tunneling and Data Exfiltration
DNS tunneling encodes data in queries and responses, allowing attackers to bypass firewalls. Since DNS traffic is usually allowed out, it is a prime exfiltration channel.
Step‑by‑step detection using statistics:
- Check Query Length: Normal DNS queries are short (e.g.,
www.google.com). Tunneling uses long, encoded subdomains.
– Wireshark Filter: Look for queries with unusually long lengths. A practical approach is to filter for queries containing “==” (Base64 padding) or hexadecimal strings.
– `dns.qry.name matches “([a-fA-F0-9]{50,})”` (Filters for long hex strings).
2. Analyze Request Frequency: Use Wireshark’s Statistics → DNS menu. Look for a single client making thousands of DNS requests to a single domain. That domain is likely the “C2 server” acting as the tunnel endpoint.
3. Check Record Types: While most queries are Type A (address), tunneling often uses TXT records because they allow arbitrary text payloads.
– Wireshark Filter: `dns.qry.type == 16` (TXT record).
5. Manipulating DNS for Spoofing (MITM Demonstration)
In a lab environment, you can simulate a DNS poisoning attack to understand how an attacker redirects traffic. This should only be done on your own network.
Step‑by‑step with `ettercap` or `dnsspoof`:
- Setup (Linux): Enable IP forwarding to act as a router:
echo 1 > /proc/sys/net/ipv4/ip_forward. - Craft the hosts file: Create a file (
dns.txt) with the spoof entry:[bash] facebook.com. - Execute Attack: Use
dnsspoof -i eth0 -f dns.txt. - Victim Verification: When the victim pings
facebook.com, they will ping the attacker’s IP. In Wireshark, the victim will see the response come from the attacker’s machine (the spoofed DNS server) rather than the legitimate resolver.
6. Hardening DNS Against Cache Poisoning (Kaminsky Attack)
The classic Kaminsky attack floods a resolver with requests for non-existent subdomains, hoping to inject a malicious record before the legitimate one arrives.
Mitigation Commands and Configurations:
- Enable DNSSEC: This digitally signs DNS records so resolvers can verify authenticity.
– Configuration (BIND): In /etc/named.conf, enable `dnssec-enable yes;` and dnssec-validation yes;.
2. Randomize Source Ports: Modern resolvers randomize the source port for queries, making it exponentially harder for an attacker to guess the transaction ID and port simultaneously.
– Linux Check: `sysctl net.ipv4.ip_local_port_range` shows the range of ports available for randomization.
3. Limit Recursion: Ensure your DNS servers only perform recursion for trusted internal clients, not the entire internet.
– BIND config: Use `allow-recursion { 192.168.1.0/24; };` to restrict access.
What Undercode Say:
- Visibility is Non-Negotiable: The statistic regarding 92% of malware using DNS is not just a number; it is a mandate. Security teams must move beyond simple logging and adopt full packet capture analysis for DNS to catch low-and-slow data exfiltration.
- The Protocol is the Vulnerability: The hierarchical trust model of DNS was designed for a different era. Without defenses like DNSSEC and robust monitoring, the very features that make it efficient (caching, recursion) become attack vectors. Engineers must treat DNS traffic with the same scrutiny as they do HTTP traffic.
- Analysis over Tools: While tools like Wireshark are essential, the skill lies in interpretation. Knowing that a single long TXT query to an unusual domain is more dangerous than a thousand standard A-record failures is what separates a packet analyst from a security professional.
Prediction:
As encrypted DNS protocols like DNS-over-HTTPS (DoH) and DNS-over-TLS (DoT) become ubiquitous, traditional network-based monitoring will be blinded. The battleground will shift to the endpoint and the logs of the DoH resolvers themselves. Attackers will increasingly weaponize these encrypted channels, forcing security architects to adopt “east-west” inspection within the cloud and endpoints, rather than relying on perimeter-based DNS monitoring.
▶️ Related Video (84% Match):
🎯Let’s Practice For Free:
IT/Security Reporter URL:
Reported By: Cgreer How – Hackers Feeds
Extra Hub: Undercode MoN
Basic Verification: Pass ✅


