
Listen to this Post
Introduction:
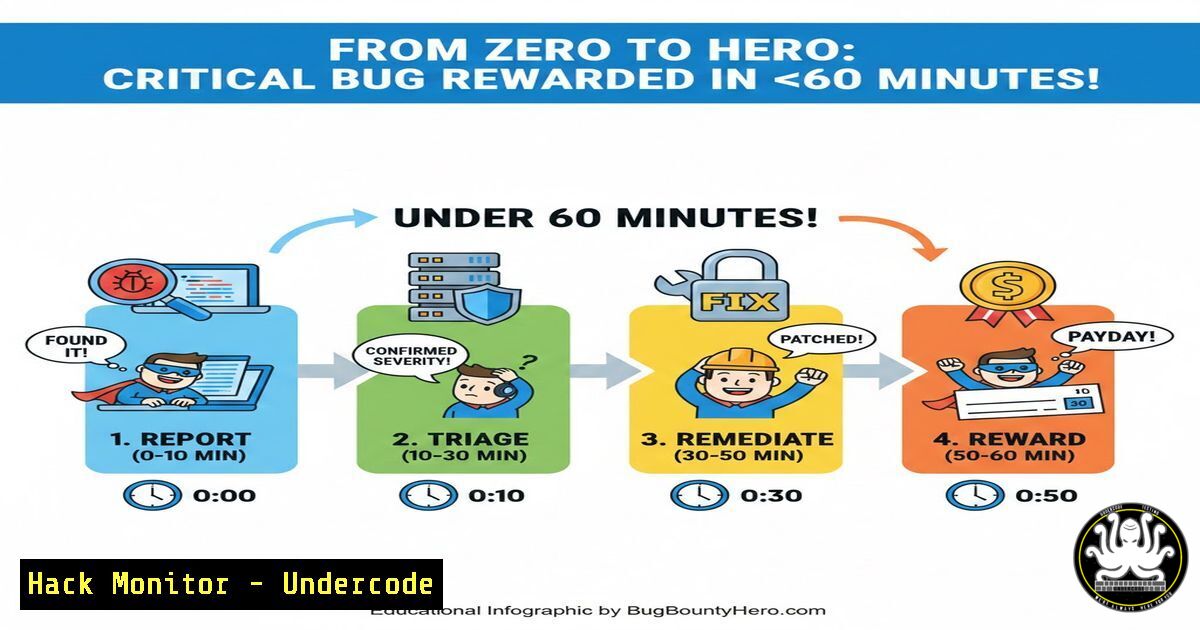
In the competitive realm of bug bounty hunting, speed and precision are currency. A recent post by a cybersecurity enthusiast showcases a perfect execution of this principle: a critical vulnerability was reported, triaged by the security team, and rewarded within a single hour, without a severity downgrade. This incident underscores the operational efficiency of mature security programs and the lucrative potential of disciplined, rapid-response vulnerability disclosure. For aspiring ethical hackers and security engineers, dissecting this workflow provides a masterclass in modern offensive and defensive security operations.
Learning Objectives:
- Understand the end-to-end workflow of a successful bug bounty submission, from discovery to reward.
- Learn key reconnaissance and validation techniques to avoid false positives and ensure report acceptance.
- Implement critical security hardening measures to protect your own assets from similar vulnerabilities.
You Should Know:
- The Art of Pre-Submission Validation: Ensuring Your Report Stands Out
Before you even think of hitting “submit,” your vulnerability must be irrefutably validated. A triage team dismisses low-effort reports quickly. Your goal is to provide a clear, reproducible proof-of-concept (PoC) that demonstrates impact without causing damage.
Step‑by‑step guide explaining what this does and how to use it.
Step 1: Reconnaissance & Target Mapping. Use passive and active reconnaissance to identify in-scope assets and potential weak spots.
Command (Linux):
`subfinder -d target.com -silent | httpx -silent -threads 50` Finds live subdomains.
`nmap -sV –script vuln -oA initial_scan
Step 2: Isolated Validation. Never test on live production data. Use test accounts, parameters, or endpoints provided by the program. For a potential SQL injection, a safe PoC uses time-based delays or error messages in a non-destructive manner.
Example Payload (for testing purposes only):
`’ OR SLEEP(5)– -`
Step 3: Document Everything. Use tools to record your session. This provides undeniable evidence.
export BURRP_PROXY=http://127.0.0.1:8080`google-chrome –proxy-server=$BURRP_PROXY` Routes traffic through Burp Suite.
<h2 style="color: yellow;">
Save all HTTP requests/responses from Burp Suite into a single file for your report.
- Mastering the Triage Mindset: What Security Engineers Look For
Triage is the process of classifying, prioritizing, and verifying incoming reports. As a hunter, understanding this process increases your report’s acceptance rate. Engineers prioritize impact, exploitability, and clarity.
Step‑by‑step guide explaining what this does and how to use it.
Step 1: Assess the CVE/CVSS Quickly. Triage engineers often use the Common Vulnerability Scoring System (CVSS) v3.1 calculator as a baseline. A report stating “This is a Critical (CVSS:9.1) Authentication Bypass” gets immediate attention. Understand the metrics: Attack Vector (AV), Privileges Required (PR), and User Interaction (UI).
Step 2: Reproduce in a Sandbox. The engineer will recreate your steps in an isolated environment. Your report must be a perfect recipe. Include:
1. Target URL with exact vulnerable parameter.
2. Step-by-step actions (click here, enter this).
- Screenshots or video of the before and after state.
Step 3: Determine Root Cause & Scope. They look for the underlying flaw (e.g., missing access control check, unsanitized input). They will also assess if the flaw affects other systems (horizontal/vertical scope). -
Hardening Against Common Bug Bounty Finds: The Defender’s Playbook
The reported vulnerability likely falls into common categories: broken access control, injection flaws, or security misconfigurations. Here’s how to defend against them.
Step‑by‑step guide explaining what this does and how to use it.
For Injection Flaws (SQL, Command):
Linux/Code Remediation:
 Use parameterized queries. Example in Python with SQLite:
import sqlite3
conn = sqlite3.connect('app.db')
cursor = conn.cursor()
 BAD: cursor.execute("SELECT  FROM users WHERE id = " + user_input)
 GOOD:
cursor.execute("SELECT  FROM users WHERE id = ?", (user_input,))
For Broken Access Control:
Implement Role-Based Access Control (RBAC) checks on every API endpoint.
Windows Command (Audit):
`auditpol /get /category:”Logon/Logoff”` Ensure audit policies are tracking authentication events.
For Security Misconfigurations:
Cloud Hardening (AWS S3 Example):
 Check for and fix publicly readable S3 buckets
aws s3api get-bucket-acl --bucket my-bucket
aws s3api put-bucket-acl --bucket my-bucket --acl private
4. Automating the Initial Triage: Scripting for Efficiency
Both hunters and defenders use automation. Hunters automate scanning for low-hanging fruit; defenders automate log analysis to detect attack patterns.
Step‑by‑step guide explaining what this does and how to use it.
Step 1: Hunter’s Recon Script (Basic Example). This Bash script uses `ffuf` for directory fuzzing and checks for common misconfigurations.
!/bin/bash
domain=$1
echo "[+] Running directory brute-force..."
ffuf -w /usr/share/wordlists/common.txt -u https://$domain/FUZZ -t 50 -fs 4242 -o $domain-dirs.json
echo "[+] Checking for open .git directories..."
curl -s https://$domain/.git/HEAD | grep -i ref && echo "VULNERABLE: .git exposed"
Step 2: Defender’s Alert Script. A Python script to monitor logs for SQLi attempts.
 Monitor log for common SQLi patterns
import re
patterns = [r"union.select", r"' OR '1'='1", r"sleep(.)"]
with open('/var/log/apache2/access.log', 'r') as log:
for line in log:
if any(re.search(p, line, re.IGNORECASE) for p in patterns):
send_alert(f"Possible SQLi attempt: {line[:100]}")
5. Navigating the Reward & Disclosure Process
A fixed vulnerability often leads to a reward and potential public disclosure. Understanding this phase is crucial for professional growth.
Step‑by‑step guide explaining what this does and how to use it.
Step 1: Reward Calculation. Rewards are based on severity, asset criticality, and program policy. A critical bug on a main payment service pays more than a low-severity bug on a marketing site.
Step 2: Responsible Disclosure. If the program allows, you may co-author a blog post. This builds your reputation. Ensure all technical details are approved by the security team to prevent exposing other attack vectors.
Step 3: Learn and Adapt. Whether rewarded or not, request feedback. Why was severity set at this level? This feedback is invaluable for improving your skills.
What Undercode Say:
- The Efficiency Gap is the Attack Surface: The one-hour turnaround indicates a highly mature security program with automated triage pipelines. For organizations, investing in these systems is no longer optional; it directly reduces dwell time and potential breach impact.
- The Hunter’s Leverage is Precision: The key detail is “severity didn’t get lowered.” This signals a perfectly documented, high-impact finding. In bug bounties, quality of execution trumps quantity of submissions. A single, well-researched critical report is worth dozens of low-quality ones.
This case is a microcosm of the future of cybersecurity: AI-assisted triage will shorten this cycle to minutes, but human expertise in crafting novel attacks and understanding business logic will remain paramount. We predict a rise in “flash bounty” programs targeting specific components with strict time windows, further professionalizing the field and creating a faster-paced, high-stakes environment for both researchers and defenders.
▶️ Related Video (70% Match):
🎯Let’s Practice For Free:
IT/Security Reporter URL:
Reported By: Noobsixt9 A – Hackers Feeds
Extra Hub: Undercode MoN
Basic Verification: Pass ✅


