Listen to this Post
Introduction:
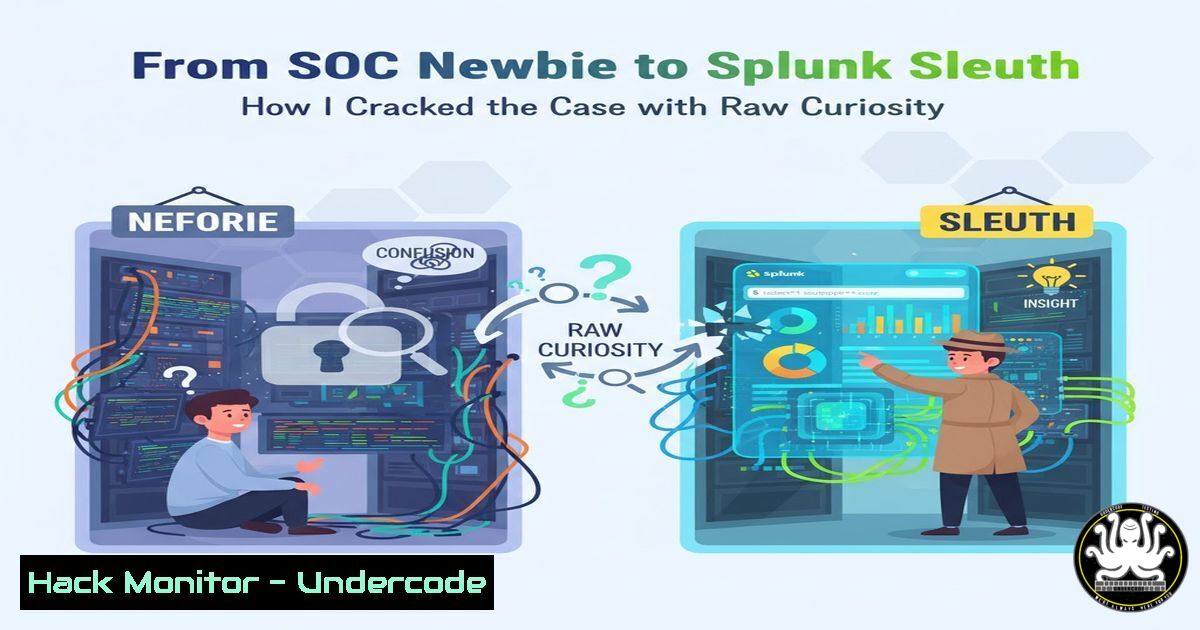
The journey into a Security Operations Center (SOC) often begins with a single log file and a mountain of questions. For aspiring analysts, mastering a Security Information and Event Management (SIEM) system like Splunk is a critical first step towards identifying and neutralizing threats. This article deconstructs a real-world training scenario, transforming curiosity into actionable technical skills for effective incident response.
Learning Objectives:
- Master fundamental Splunk Search Processing Language (SPL) commands for log analysis and threat hunting.
- Identify key indicators of compromise (IoCs) within Windows security and network logs.
- Construct a systematic methodology for triaging security alerts and initial incident investigation.
You Should Know:
1. Ingesting Log Data into Splunk
The first step in any Splunk investigation is getting your data into the platform. This is done through the Splunk web interface.
Step-by-Step Guide:
Access the Splunk Interface: Log into your Splunk instance.
Navigate to Add Data: Click on the “Settings” gear icon in the top-right, then select “Add Data.”
Choose Upload: Select the “Upload” option to import a log file from your local machine.
Select File: Click “Select File” and choose the log file you wish to analyze (e.g., a `security_log.csv` or `.log` file).
Configure Settings: Set the Source Type appropriately (e.g., `windows:security` for Windows Event Logs). Splunk will often auto-detect this.
Review and Submit: Confirm the settings and click “Submit” to ingest the data. Your logs are now searchable.
2. Basic SPL Search and Filtering
The `search` command is the heart of Splunk. It is used to retrieve events from your indexes.
Verified SPL Command:
index=main "Failed password"
| table _time, src_ip, user
Step-by-Step Guide:
index=main: This specifies which Splunk index to search. “main” is the default.
"Failed password": This is a literal string search for events containing that text, common in SSH brute-force attacks.
| table _time, src_ip, user: The pipe (|) forwards the results to the `table` command, which formats the output into a clean table showing the timestamp, source IP, and username.
3. Statistical Analysis with SPL
The `stats` command is used to calculate summary statistics on your search results, which is crucial for spotting trends.
Verified SPL Command:
index=main sourcetype=linux_secure "Failed password"
| stats count by src_ip
| sort -count
Step-by-Step Guide:
index=main sourcetype=linux_secure "Failed password": Searches for failed login attempts from a Linux secure log source.
| stats count by src_ip: Counts the number of failed login attempts grouped by the source IP address.
| sort -count: Sorts the results by the count in descending order (-count), immediately highlighting the most aggressive attacking IPs.
4. Identifying Top Talkers on the Network
Understanding which internal hosts are generating the most traffic can reveal compromised systems or policy violations.
Verified SPL Command:
index=main sourcetype=netflow
| stats sum(bytes) as TotalBytes by src_ip
| sort -TotalBytes
| head 10
Step-by-Step Guide:
index=main sourcetype=netflow: Searches netflow data, which records network traffic.
| stats sum(bytes) as TotalBytes by src_ip: Sums the total bytes transferred for each source IP.
| sort -TotalBytes | head 10: Sorts the total bytes in descending order and shows only the top 10 results, identifying the network’s “top talkers.”
5. Hunting for PowerShell Attacks
PowerShell is a powerful tool for administrators and attackers alike. Monitoring for specific flags and scripts is essential.
Verified SPL Command (Windows Security Log):
index=main sourcetype="WinEventLog:Security" EventCode=4688
| search "Process"="powershell.exe" AND "CommandLine"="Hidden" OR "CommandLine"="EncodedCommand"
| table _time, host, user, CommandLine
Step-by-Step Guide:
EventCode=4688: This Windows Event ID indicates a new process was created.
The `search` filter looks for PowerShell processes (powershell.exe) with command-line arguments that include stealthy flags like `-Hidden` or -EncodedCommand, which are often used to obfuscate malicious activity.
The results are displayed in a table for easy analysis by the analyst.
6. Correlating Events with Transaction
The `transaction` command links multiple events into a single transaction, perfect for tracking a user’s session or a multi-step attack.
Verified SPL Command:
index=main sourcetype=linux_secure
| transaction src_ip, user maxspan=5m
| search "Accepted password" AND "Failed password"
| table src_ip, user, duration, eventcount
Step-by-Step Guide:
| transaction src_ip, user maxspan=5m: Groups all events from the same source IP and user that occur within a 5-minute window into a single transaction.
| search "Accepted password" AND "Failed password": Filters these transactions to only show those that contain both failed and successful login attempts, which is a classic sign of a successful brute-force attack.
The resulting table shows the IP, user, how long the activity lasted, and how many events were in the session.
7. Visualizing Data for Executive Reporting
Transforming raw data into charts is key for communicating findings.
Verified SPL Command:
index=main sourcetype=access_
| timechart count by status
Step-by-Step Guide:
`sourcetype=access_`: Searches web access logs.
| timechart count by status: This powerful command creates a time-based chart (line chart by default) that shows the count of HTTP status codes (e.g., 200, 404, 500) over time. A sudden spike in 404 errors could indicate scanning, while a spike in 500 errors might signal a DoS attack. This visualization makes trends immediately apparent.
What Undercode Say:
- Curiosity is not a soft skill; it is the primary driver of effective threat hunting and log analysis.
- Proficiency in Splunk’s SPL is the differentiator between a junior analyst and a senior investigator.
The analysis of this training scenario underscores a fundamental truth in cybersecurity: tools are enablers, but human inquisitiveness is the engine. The initial struggle with Splunk setup is a universal experience, but persisting through it to ask “what does this log mean?” and “how are these events connected?” is what builds core analytical competence. The commands outlined provide a tactical toolkit, but they are useless without the strategic application driven by a curious mind. This approach transforms a reactive alert-monitor into a proactive threat-sleuth, capable of not just answering questions posed by alerts, but of formulating new questions that uncover hidden threats.
Prediction:
As SIEM platforms incorporate more AI and machine learning for automated alerting, the human analyst’s role will evolve. The value will shift from simply running queries to interrogating the AI’s output, asking deeper contextual questions, and investigating the subtle anomalies that machines may overlook. The demand for professionals who can blend technical tool mastery with relentless curiosity will skyrocket, making it the most critical competency for the next generation of cybersecurity defenders.
🎯Let’s Practice For Free:
IT/Security Reporter URL:
Reported By: Esther Adepoju – Hackers Feeds
Extra Hub: Undercode MoN
Basic Verification: Pass ✅


