Listen to this Post
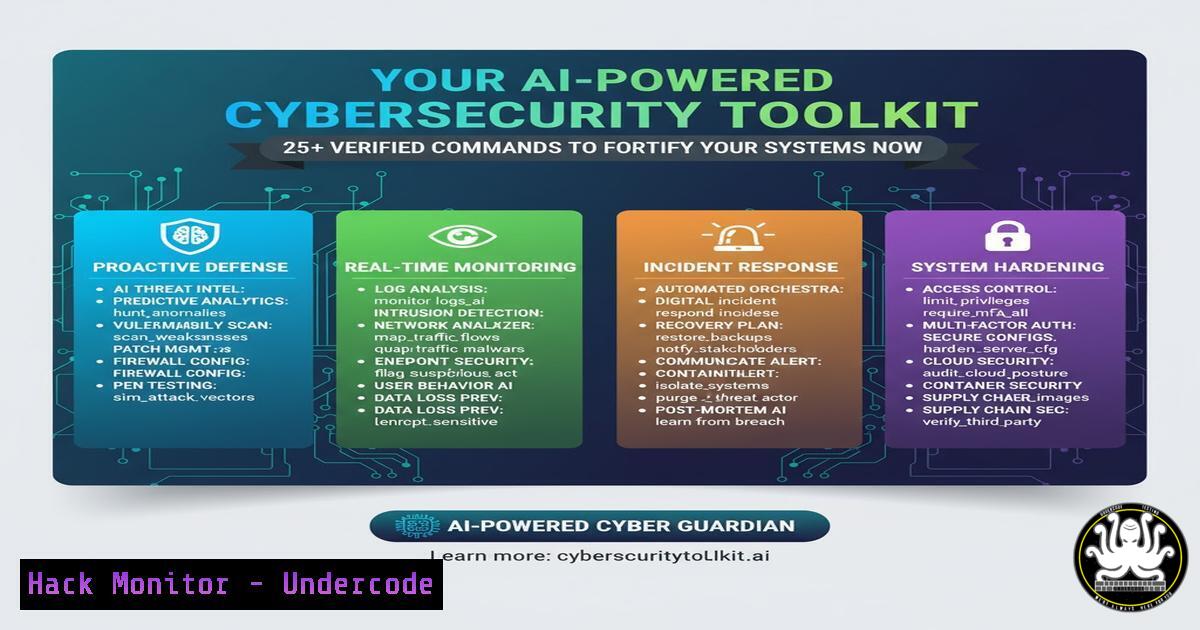
Introduction:
The cybersecurity landscape is evolving at a breakneck pace, with AI-powered threats emerging as a significant challenge for IT professionals. To defend against these advanced persistent threats, security teams must leverage an equally sophisticated arsenal of tools and commands, automating defenses and proactively hunting for vulnerabilities. This article provides a critical toolkit of verified commands and procedures to harden your systems, from cloud configurations to local endpoints, ensuring your organization is not left vulnerable.
Learning Objectives:
- Master essential command-line tools for vulnerability assessment and system hardening on both Linux and Windows platforms.
- Implement critical security configurations for cloud infrastructure, APIs, and web applications to mitigate common attack vectors.
- Develop a proactive defense strategy using logging, monitoring, and digital forensics techniques to detect and respond to incidents.
You Should Know:
1. System Reconnaissance and Vulnerability Scanning
Before an attacker can exploit a weakness, they must first find it. Proactive scanning is your first line of defense.
Verified Nmap Command for Comprehensive Port Scanning:
nmap -sS -sV -sC -O -p- <target_ip>
`-sS`: Performs a stealthy SYN scan.
-sV: Probes open ports to determine service/version info.
-sC: Runs scripts from the Nmap Scripting Engine (NSE) for default vulnerability checks.
-O: Attempts to identify the target’s operating system.
`-p-`: Scans all 65,535 TCP ports.
Step-by-step guide:
- Install Nmap on your system (
sudo apt-get install nmapon Debian-based Linux). - Replace `
` with the IP address of the system you are authorized to scan. - Run the command from your terminal. The output will provide a detailed map of all open ports, the services running on them, their versions, and any initial script findings.
- Analyze the results, paying close attention to unexpected open ports, outdated service versions, and NSE script warnings.
2. Hardening Linux Servers
Unsecured services and poor user authentication are common entry points. Lock down access and configurations.
Verified Commands:
 Audit for accounts with empty passwords
sudo awk -F: '($2 == "") {print}' /etc/shadow

Check for sudo privileges audit
sudo awk -F: '($3 == 0) {print}' /etc/passwd

Harden SSHD configuration (edit /etc/ssh/sshd_config)
sudo sed -i 's/PermitRootLogin yes/PermitRootLogin no/' /etc/ssh/sshd_config
sudo sed -i 's/PasswordAuthentication yes/PasswordAuthentication no/' /etc/ssh/sshd_config
sudo systemctl restart sshd
Step-by-step guide:
- Run the first command to identify user accounts with no password, which is a critical security flaw. Either set a strong password or disable the account.
- The second command lists all users with a UID of 0 (root). Ensure only necessary accounts have this privilege.
- The `sed` commands modify the SSH configuration file to disable root logins and enforce key-based authentication, drastically reducing the risk of brute-force attacks. Always ensure your SSH key is configured before disabling password authentication.
3. Windows Security and PowerShell Auditing
Windows environments require specific commands to audit user privileges and system integrity.
Verified PowerShell Commands:
 Enumerate users in the Local Administrators group
Get-LocalGroupMember -Group "Administrators"

Check current network connections
Get-NetTCPConnection | Where-Object {$_.State -eq "Established"}

Verify the integrity of system files
sfc /scannow
Step-by-step guide:
1. Open PowerShell with Administrator privileges.
- Run the `Get-LocalGroupMember` command to review who has administrative access. Remove any unauthorized accounts.
- Use `Get-NetTCPConnection` to see all active network connections, helping to identify potential rogue communications.
4. `sfc /scannow` will scan and repair protected Windows system files, which is crucial after a suspected compromise.
4. Web Application and API Security Testing
APIs are a prime target. Test for common vulnerabilities like SQL Injection and insecure direct object references.
Verified cURL Command for API Testing:
 Testing for SQL Injection
curl -X GET "https://api.example.com/v1/users?id=1' OR '1'='1'--"

Testing for IDOR (Insecure Direct Object Reference)
curl -X GET -H "Authorization: Bearer <token>" "https://api.example.com/v1/users/12345/documents"
Replace the URL and authorization token with values from your target application.
Step-by-step guide:
- Use the first `curl` command to probe an API endpoint for SQL Injection. An error message or unexpected data return might indicate a vulnerability.
- The second command tests for IDOR. Change the document ID (e.g., from `12345` to
12346) to see if you can access another user’s resources without proper authorization. Successful access indicates a broken access control flaw.
5. Cloud Infrastructure Hardening (AWS S3)
Misconfigured cloud storage is a leading cause of data breaches.
Verified AWS CLI Commands:
 Check for publicly accessible S3 buckets
aws s3api get-bucket-acl --bucket <bucket-name> --output json
aws s3api get-bucket-policy --bucket <bucket-name> --output json

Enable S3 bucket logging for audit trails
aws s3api put-bucket-logging --bucket <target-bucket> --bucket-logging-status file://logging.json
Step-by-step guide:
- Ensure the AWS CLI is installed and configured with appropriate credentials.
- Run the `get-bucket-acl` and `get-bucket-policy` commands on your S3 buckets. Look for grants to `http://acs.amazonaws.com/groups/global/AllUsers`, which indicates public read/write access.
- To enable logging, create a `logging.json` file specifying the target bucket for logs. This command will configure the bucket to record access requests, which is vital for security monitoring and forensics.
6. Proactive Log Analysis with GREP
System logs are a goldmine of information for detecting intrusion attempts.
Verified Linux GREP Commands for Log Analysis:
 Search for failed SSH login attempts
grep "Failed password" /var/log/auth.log

Count unique IPs attempting to break in
grep "Failed password" /var/log/auth.log | awk '{print $(NF-3)}' | sort | uniq -c | sort -nr

Search for potential PHP webshell access
grep -r "eval(\$_POST" /var/www/html/ 2>/dev/null
Step-by-step guide:
- The first command filters the authentication log for all failed password attempts, highlighting brute-force activity.
- The second, more advanced command pipeline takes the output, extracts the IP addresses, sorts them, and counts the number of attempts from each, quickly identifying the most aggressive attackers.
- The third command recursively searches web directories for the signature of a common PHP webshell, a common post-exploitation tool.
7. Network Defense and Mitigation
When an attack is detected, you must be able to block it immediately at the network level.
Verified Linux iptables Command:
 Block a malicious IP address
sudo iptables -A INPUT -s <malicious_ip> -j DROP

Save iptables rules to persist after reboot (Debian/Ubuntu)
sudo sh -c 'iptables-save > /etc/iptables/rules.v4'
Step-by-step guide:
- Identify the malicious IP address from your log analysis or intrusion detection system.
- Run the `iptables -A INPUT` command, replacing `
` with the actual IP. This appends a rule to the INPUT chain to drop all packets from that source. - It is critical to save the rules using the `iptables-save` command; otherwise, the blocking rule will be lost on the next system reboot, allowing the attacker back in.
What Undercode Say:
- Automation is Non-Negotiable: The volume and speed of modern cyberattacks, especially those augmented by AI, make manual defense impossible. The commands provided are the building blocks for scripts that can automate threat detection and response.
- The Shared Responsibility Model is Real: In the cloud, security is a shared duty. While the provider secures the infrastructure, commands for auditing S3 buckets and IAM policies are your responsibility and are critical for preventing catastrophic data leaks.
The provided toolkit underscores a shift from reactive to proactive security. It’s not enough to wait for an alert; continuous hunting, hardening, and validation are required. The integration of commands across system administration, network security, and cloud management demonstrates that a siloed approach is ineffective. Mastery of this CLI-driven workflow is what separates a functional IT team from a resilient security operations center capable of defending against tomorrow’s AI-driven threats.
Prediction:
The convergence of AI and cybersecurity will lead to an arms race where defensive AI systems, configured and guided by the foundational commands outlined above, will autonomously patch vulnerabilities, reconfigure firewalls, and isolate compromised endpoints in real-time. The role of the human security analyst will evolve from hands-on keyboard responder to AI-systems overseer and strategy architect, focusing on creating and refining the algorithms and playbooks that power these automated defense systems. Organizations that fail to integrate these automated command-level defenses into their core strategy will be systematically outmaneuvered and compromised by AI-powered threat actors.
🎯Let’s Practice For Free:
IT/Security Reporter URL:
Reported By: Dimitris Kokkos – Hackers Feeds
Extra Hub: Undercode MoN
Basic Verification: Pass ✅


