Listen to this Post
Introduction:
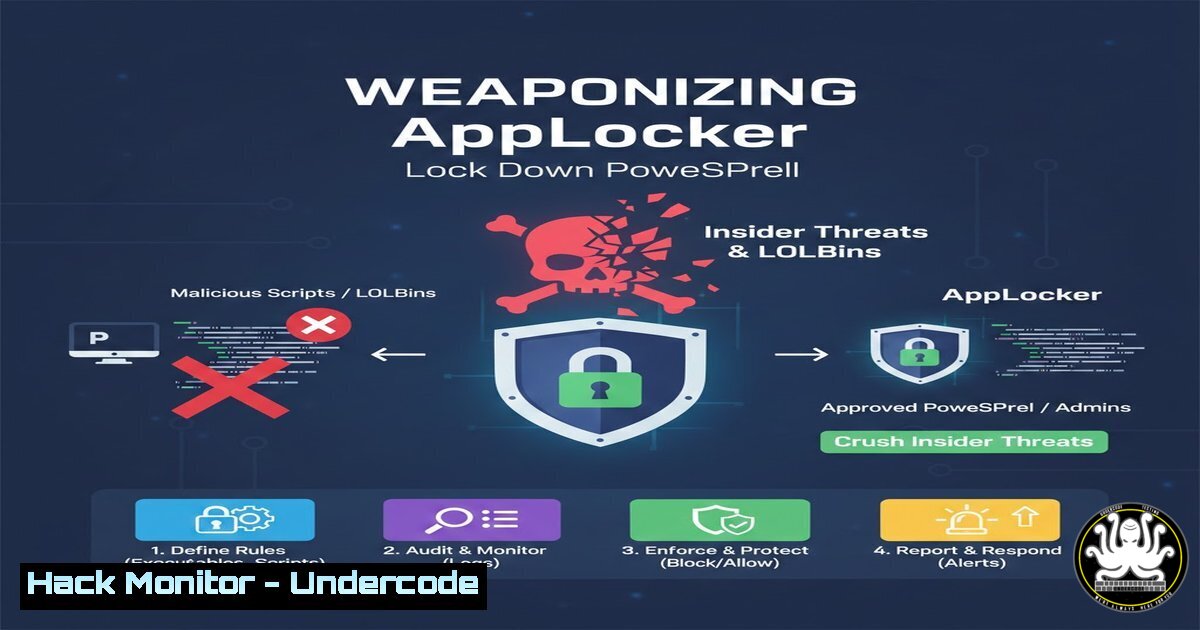
In the relentless battle against cyber threats, PowerShell has become a double-edged sword. While indispensable for IT administration, it is a primary tool for attackers leveraging Living-off-the-Land Binaries (LOLBins). Implementing granular application control policies with AppLocker provides a critical defense layer, restricting powerful tools to authorized personnel only.
Learning Objectives:
- Understand how to architect and deploy AppLocker policies to block PowerShell for standard users.
- Learn the step-by-step process for creating and testing deny rules via Local Group Policy.
- Gain insight into extending this methodology to other high-risk system utilities to harden your endpoint security posture.
You Should Know:
- Architecting Your User and Group Strategy for Application Control
Before diving into policy creation, a sound architectural foundation is essential. AppLocker rules are most effectively applied to security groups, not individual users. This provides scalability and simplifies management.
Step‑by‑step guide explaining what this does and how to use it.
Create a Dedicated Security Group: Open `lusrmgr.msc` (Local Users and Groups Manager). Navigate to Groups, right-click, and select New Group. Name it “RestrictedUsers” or a similar, descriptive name.
Populate the Group: Double-click your new “RestrictedUsers” group. Click Add, and then select your standard, non-administrative test user account. Crucially, ensure this user remains a member of the default “Users” group. Removing them will break their profile and logon capabilities. The user will now belong to both “Users” and “RestrictedUsers,” allowing you to target the latter with restrictive policies.
2. Initializing AppLocker with a Secure Baseline
AppLocker should not be activated on a blank slate. Creating default rules establishes a necessary baseline that allows core system and Windows folder operations to continue functioning, preventing you from accidentally locking down the entire operating system.
Step‑by‑step guide explaining what this does and how to use it.
Launch Group Policy Editor: Press Win + R, type gpedit.msc, and press Enter. For domain environments, this would be done in the Group Policy Management Console (gpmc.msc).
Navigate to AppLocker Policies: Go to `Computer Configuration` -> `Windows Settings` -> `Security Settings` -> `Application Control Policies` -> AppLocker.
Create Default Rules: For each rule collection (Executable Rules, Windows Installer Rules, Script Rules, and Packaged app Rules), right-click in the right-hand pane and select Create Default Rules. This generates rules that, for example, allow all files in `C:\Windows\` and `C:\Program Files\` to run for all users, providing a stable foundation.
3. Crafting the PowerShell Deny Rule
This is the core action of the mitigation. By creating a deny rule based on the publisher’s digital signature, you block the specific application for a targeted group without affecting its entire file path, which is easily bypassed.
Step‑by‑step guide explaining what this does and how to use it.
Initiate New Rule: Within the `Executable Rules` collection, right-click and select Create New Rule....
Set Permissions: On the Permissions screen, select `Deny` and then select the “RestrictedUsers” group you created. Click Next.
Select Condition: Choose `Publisher` as the condition. This is more robust than a path rule.
Set Reference File: Click `Browse` and navigate to C:\Windows\System32\WindowsPowerShell\v1.0\powershell.exe. Select it. The wizard will populate the publisher, product, and file name information.
Configure Custom Values: Check the box for Use custom values. In the file version field, ensure the dropdown is set to And above. This ensures the rule blocks this version and all future versions of the application. Click Next.
Create the Rule: Do not add any exceptions on the next screen. Add a descriptive name like “Deny – PowerShell for RestrictedUsers” and click Create.
Repeat for PowerShell_ISE: Perform the exact same steps for `powershell_ise.exe` in the same directory.
4. Enforcing Policy and Conducting Rigorous Testing
Creating rules is only half the battle; they must be applied and validated. AppLocker policies require a policy refresh or reboot to take effect. Testing from both privileged and non-privileged contexts is non-negotiable.
Step‑by‑step guide explaining what this does and how to use it.
Force Policy Application: Open an administrative Command Prompt and run gpupdate /force. A system reboot is the most reliable way to ensure all policies are fully applied.
Test as Standard User: Log in as the standard user who is a member of the “RestrictedUsers” group. Attempt to launch PowerShell by pressing `Win + R` and typing powershell, or by attempting to start it from a Command Prompt. The result should be a “This program is blocked by group policy” message.
Test as Administrator: Log in as an administrator (who is not in the “RestrictedUsers” group). Verify that you can launch both `powershell.exe` and `powershell_ise.exe` without any issues.
5. Extending the Strategy to Other High-Risk LOLBins
PowerShell is just one vector. A comprehensive defense-in-depth strategy involves identifying and controlling other utilities commonly abused in attacks.
Step‑by‑step guide explaining what this does and how to use it.
Identify Targets: Key candidates include:
`cmd.exe`: The Windows Command Prompt.
`cscript.exe` & `wscript.exe`: Windows Script Host executables.
mshta.exe: Used to execute .hta files (HTML Applications).
`rundll32.exe`: Executes code in DLL files.
`regsvr32.exe`: Registers DLL files.
Implement Rules: Follow the same “Publisher” condition-based deny rule process for each of these executables, targeting the “RestrictedUsers” group. Always create the rules in `Audit` mode first to log what would be blocked before enforcing them.
6. Advanced Hardening: Script Rule Enforcement
While blocking executables is powerful, many attacks are delivered via scripts. AppLocker’s Script Rules collection can control PowerShell (.ps1), Command Script (.cmd, .bat), and Visual Basic Script (.vbs) files.
Step‑by‑step guide explaining what this does and how to use it.
Navigate to Script Rules: In the Group Policy Editor, go to `AppLocker` -> Script Rules.
Create a Default Rule: Ensure default rules exist to allow trusted script locations.
Create a Deny Rule: Create a new Deny rule for the “RestrictedUsers” group. Use the `Path` condition and set the path to “. This will block all scripts from running for members of that group, regardless of location. Use this rule with extreme caution and only after thorough testing, as it can break legitimate application functionality.
7. Operational Best Practices and Mitigation Commands
Deploying AppLocker in a production environment requires a careful, phased approach to avoid disruption. Knowing how to manage the service is critical.
Step‑by‑step guide explaining what this does and how to use it.
Deploy in Audit Mode: Initially, create your rules but set the AppLocker service to Audit only. This logs events without blocking execution. The setting is configured by right-clicking on the main `AppLocker` node and selecting Properties. Check “Configured” for each rule type and select “Audit only”.
Monitor Logs: Use the Event Viewer to examine `Applications and Services Logs` -> `Microsoft` -> `Windows` -> `AppLocker` for events 8003 (warning, would be blocked) and 8004 (error, was blocked).
Emergency Disable: If a policy causes a critical failure, you can disable AppLocker entirely. Open a Command Prompt as Administrator and run: `sc stop AppIdSvc` and then sc config AppIdSvc start= disabled. This will stop and disable the Application Identity service, effectively turning off AppLocker enforcement until it is re-enabled.
What Undercode Say:
- Least Privilege is Non-Negotiable: This technique is a direct and powerful implementation of the principle of least privilege. By systematically removing powerful IT tools from standard user contexts, you drastically reduce the attack surface available to both malware and malicious insiders.
- Beyond Antivirus: Signature-based antivirus is consistently evaded. AppLocker provides an application whitelisting/blacklisting capability that is agnostic to malware signatures, focusing instead on executable control, which is far more fundamental to system security.
The analysis reveals that while the initial setup requires careful planning, the long-term security ROI is immense. This defense directly counters fileless malware campaigns and lateral movement techniques that rely on built-in system utilities. However, it is not a silver bullet. Skilled adversaries with admin privileges can often disable or bypass these controls, meaning AppLocker must be part of a layered security strategy that includes robust credential protection, patch management, and EDR solutions. The move towards controlling LOLBins represents a maturity in cybersecurity, shifting from chasing malicious code to restricting the native tools that execute it.
Prediction:
The future of endpoint security will see a paradigm shift from pure detection to proactive enforcement through application control. As AI-powered attacks become more prevalent, the ability to deterministically block unauthorized code execution, regardless of its origin or novelty, will become a standard baseline. We predict the integration of AppLocker-like policies with cloud-native endpoint protection platforms (EPPs) that can dynamically adjust rules based on real-time threat intelligence, automatically quarantining or restricting compromised user accounts and devices at a massive scale. The “default-deny” model for powerful system utilities will become a foundational security control, mandated by compliance frameworks and insurance providers alike.
🎯Let’s Practice For Free:
IT/Security Reporter URL:
Reported By: Charlescrampton Continuing – Hackers Feeds
Extra Hub: Undercode MoN
Basic Verification: Pass ✅


