Listen to this Post
Introduction:
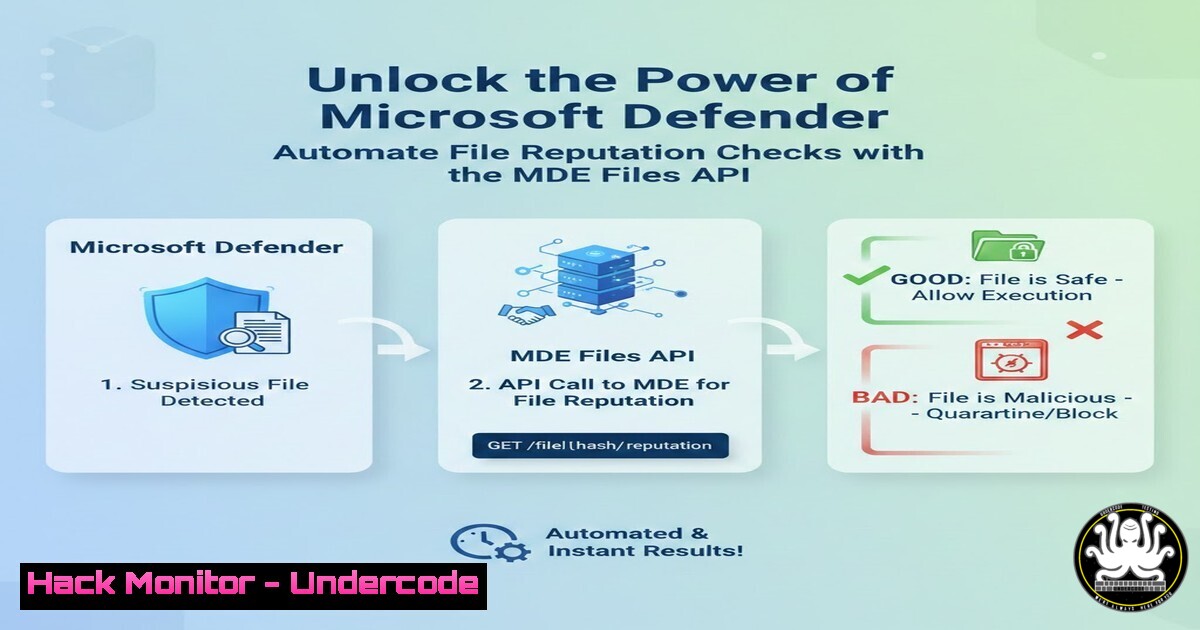
In today’s threat landscape, proactively identifying malicious files is paramount for robust application security. Microsoft Defender for Endpoint (MDE) offers a powerful, yet often underutilized, capability: the Files API. This interface allows developers to programmatically scan files for bad reputation, integrating enterprise-grade threat intelligence directly into their applications and workflows, moving beyond manual submission portals.
Learning Objectives:
- Understand the core functionality and authentication requirements of the MDE Files API.
- Learn how to construct a proper API request to submit a file for analysis.
- Master the process of retrieving and interpreting the scan results to determine a file’s reputation.
You Should Know:
1. Understanding the MDE Files API and Prerequisites
The Microsoft Defender for Endpoint Files API is a RESTful endpoint that allows for the programmatic submission of files for reputation analysis. It leverages the same powerful threat intelligence and machine learning models that protect millions of endpoints globally. Before you can make a call, you must have the proper permissions within Microsoft Defender for Endpoint.
Step-by-Step Guide:
- Step 1: Application Registration. Navigate to Azure Active Directory and register a new application. Note the Tenant ID, Client ID, and generate a Client Secret.
- Step 2: Assign API Permissions. In your app registration, add an API permission for `WindowsDefenderATP` and select the `File.Read.All` application permission. Grant admin consent for your tenant.
- Step 3: Verify MDE Access. Ensure the Azure AD identity you are using has the necessary roles in the Microsoft Defender XDR portal to perform file submission and read actions.
2. Acquiring an Access Token
To interact with the MDE API, you must first authenticate and acquire a bearer token from Azure AD. This token must be included in the Authorization header of all subsequent API requests.
Step-by-Step Guide:
- Step 1: Formulate the Token Request. You will need to make a POST request to the Azure AD OAuth 2.0 token endpoint.
- Step 2: Use a Script (PowerShell Example). Automate this process using a script. Here is a PowerShell snippet to get the access token.
 Define variables
$tenantId = "YOUR_TENANT_ID"
$clientId = "YOUR_CLIENT_ID"
$clientSecret = "YOUR_CLIENT_SECRET"
$resourceAppIdUri = 'https://api.securitycenter.microsoft.com'

Construct URI and Body
$uri = "https://login.microsoftonline.com/$tenantId/oauth2/token"
$body = @{
resource = $resourceAppIdUri
client_id = $clientId
client_secret = $clientSecret
grant_type = 'client_credentials'
}

Get the token
$response = Invoke-RestMethod -Method Post -Uri $uri -Body $body
$accessToken = $response.access_token
Write-Output "Access Token: $accessToken"
3. Submitting a File for Analysis
With a valid access token, you can now submit a file to the MDE Files API. The file is identified by its SHA256 hash, which you must compute beforehand.
Step-by-Step Guide:
- Step 1: Calculate the File Hash. On a Linux or Windows system, you can calculate the SHA256 hash.
- Linux: `sha256sum /path/to/your/file`
– Windows (PowerShell): `Get-FileHash -Path C:\Path\To\Your\File -Algorithm SHA256`
– Step 2: Construct the API Request. The API expects a POST request with the file hash in the URL. - Step 3: Make the API Call. Use a tool like `curl` or PowerShell’s
Invoke-RestMethod.
 Using curl
curl -X POST \
'https://api.securitycenter.microsoft.com/api/files/{fileHash}/analyze' \
-H 'Authorization: Bearer YOUR_ACCESS_TOKEN' \
-H 'Content-Length: 0'
 Using PowerShell
$headers = @{
'Authorization' = "Bearer $accessToken"
'Content-Type' = 'application/json'
}
$fileHash = "YOUR_FILE_SHA256_HASH"
$uri = "https://api.securitycenter.microsoft.com/api/files/$fileHash/analyze"

$response = Invoke-RestMethod -Method Post -Uri $uri -Headers $headers
 The response will contain an ID for tracking the analysis.
4. Retrieving the Scan Report
File analysis is not instantaneous. The API operates asynchronously. After submission, you must poll a separate endpoint to retrieve the results.
Step-by-Step Guide:
- Step 1: Use the Analysis ID. The submission response in the previous step returns an `id` field. This is your analysis ID.
- Step 2: Poll the Results Endpoint. Make a GET request to the report endpoint. You may need to do this several times with a short delay until the analysis is complete.
 PowerShell continuation
$analysisId = $response.id
$reportUri = "https://api.securitycenter.microsoft.com/api/files/$fileHash/analyses/$analysisId"

Poll for results (simple example with a 5-second delay)
do {
Start-Sleep -Seconds 5
$report = Invoke-RestMethod -Method Get -Uri $reportUri -Headers $headers
} until ($report.status -ne 'Pending')

Once the status is 'Completed', you can inspect the report.
Write-Output $report
5. Interpreting the API Response
The report contains the crucial intelligence about the file’s reputation. Understanding the response schema is key to integrating this into your application’s logic.
Step-by-Step Guide:
- Step 1: Check the `result` field. A value of `malicious` indicates a positive detection.
- Step 2: Review the `is_machine_isolated` and `is_corporate_network_isolated` fields. These indicate if MDE has taken automatic containment actions on endpoints.
- Step 3: Analyze the `threats` array. This contains detailed information about the detected threat family (e.g.,
Trojan:Win32/Tilken.A!cl).
6. Error Handling and Best Practices
A production-ready implementation must be resilient to errors and follow security best practices to protect sensitive credentials and data.
Step-by-Step Guide:
- Step 1: Implement Robust Error Checking. Check for HTTP status codes like 429 (Too Many Requests) and implement appropriate retry logic.
- Step 2: Secure Your Credentials. Never hardcode client secrets in your scripts. Use Azure Key Vault or secure environment variables.
- Step 3: Respect Rate Limits. The MDE API has throttling limits. Design your application to handle these gracefully to avoid being blocked.
What Undercode Say:
- Direct API Integration Trumps Workaround Solutions. While leveraging Defender for Storage as an intermediary works, the MDE Files API provides a more direct, efficient, and developer-centric path for integration, reducing architectural complexity and latency.
- The Shift from Reactive to Proactive Security is Here. This API exemplifies the move towards “Shift Left” security, enabling developers to embed security checks directly into CI/CD pipelines, file upload services, and other automated workflows long before a file reaches an end-user.
The ability to programmatically query one of the world’s most extensive threat intelligence graphs is a game-changer. It moves application security from a perimeter-based model to an intelligence-driven one. This API doesn’t just check a file; it consults a global security consensus. For organizations building modern, secure applications, mastering this API is no longer an advanced tactic but a foundational skill. It bridges the critical gap between development velocity and security rigor, allowing for automated, real-time risk mitigation at scale.
Prediction:
The programmatic consumption of advanced EDR telemetry and threat intelligence, as demonstrated by the MDE Files API, will become the standard for cloud-native application security. We will see a rapid decline in standalone, siloed security checks and a surge in deeply integrated security APIs. This will fuel the next generation of autonomous security systems within DevOps pipelines, where code and file analysis happens seamlessly in the background, blocking malicious content before it’s ever deployed or stored, fundamentally changing the SOC’s relationship with the development lifecycle.
🎯Let’s Practice For Free:
IT/Security Reporter URL:
Reported By: Stefanopescosolido Microsoftdefenderforendpoint – Hackers Feeds
Extra Hub: Undercode MoN
Basic Verification: Pass ✅


