Listen to this Post
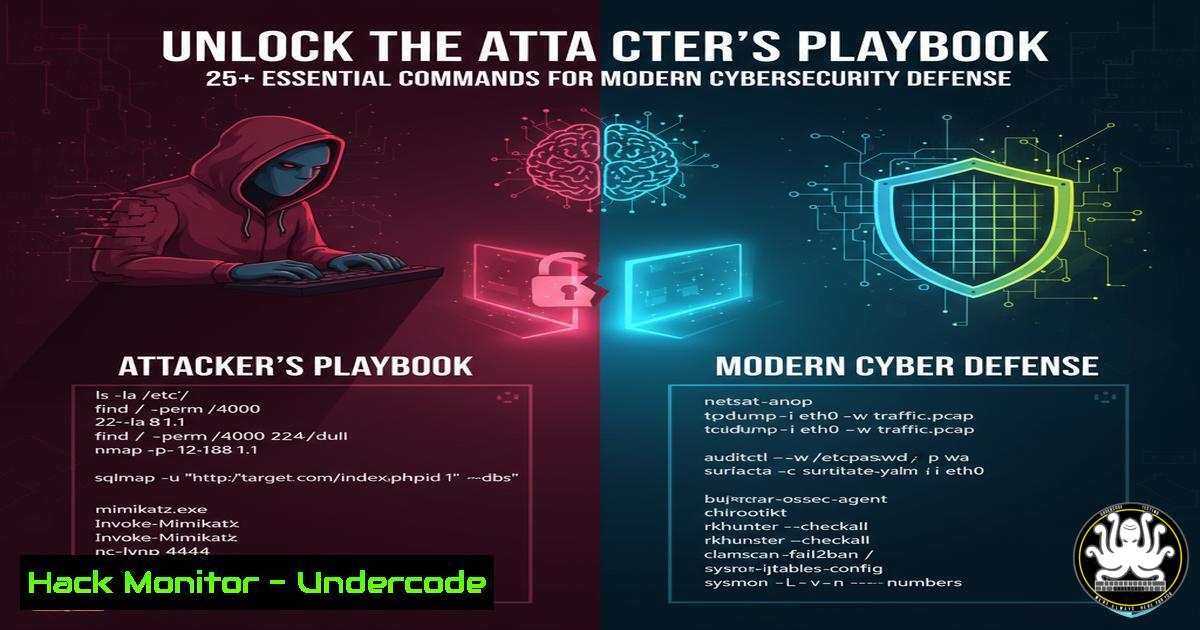
Introduction:
The digital battleground is constantly shifting, with adversaries employing sophisticated techniques to breach defenses. To protect critical assets, security professionals must think like attackers, understanding the very tools and commands used in real-world intrusions. This knowledge transforms reactive security postures into proactive, resilient defenses.
Learning Objectives:
- Decode the attacker’s methodology by mastering essential command-line techniques across Linux and Windows environments.
- Implement critical hardening measures for cloud infrastructure, APIs, and operating systems to mitigate common exploitation vectors.
- Develop advanced detection and response capabilities using built-in system tools for forensic analysis and threat hunting.
You Should Know:
1. Initial Reconnaissance: The Art of Network Discovery
Before an attacker can strike, they must map the terrain. The following commands provide a foundational view of the network landscape, a technique used in both penetration testing and malicious attacks.
Command 1: Nmap Basic Network Sweep
`nmap -sn 192.168.1.0/24`
What this does: This command performs a “ping sweep” to discover live hosts on the 192.168.1.0/24 network without conducting a port scan.
Step-by-step guide:
- Install Nmap if not present (
sudo apt-get install nmapon Debian-based systems). - Replace the IP range (
192.168.1.0/24) with your target network. - Execute the command. The output will list all IP addresses that responded, giving you an initial inventory of active devices.
Command 2: Enumerate SMB Shares
`smbclient -L //192.168.1.100 -N`
What this does: This command lists the available Server Message Block (SMB) shares on a target Windows host (e.g., 192.168.1.100) without using a password (-N).
Step-by-step guide:
1. Ensure the `smbclient` package is installed.
- Run the command against a target IP. If shares are listed as accessible, it indicates a potential misconfiguration that could lead to unauthorized data access.
2. Establishing a Foothold: Web Application Exploitation
Web applications are a primary attack vector. Understanding how to probe for weaknesses is crucial for both offensive security and defensive code review.
Command 3: Basic Directory Bruteforcing with Gobuster
`gobuster dir -u http://example.com -w /usr/share/wordlists/dirb/common.txt`
What this does: This command uses a wordlist to discover hidden directories and files on a web server.
Step-by-step guide:
1. Install Gobuster.
- Specify the directory mode (
dir), the target URL (-u), and the path to a wordlist (-w). - Run the command. Findings like
/admin,/backup, or `/config` can reveal unprotected sensitive areas.
Command 4: Testing for SQL Injection Vulnerability
`curl “http://example.com/page.php?id=1′”`
What this does: This simple cURL command appends a single quote (‘) to a parameter, a classic test for SQL injection vulnerabilities.
Step-by-step guide:
- Identify a URL parameter that interacts with a database (e.g.,
id,user,product). - Use cURL to send a request with a single quote appended. If the server returns a database error, it is likely vulnerable to SQL injection.
3. Cloud Infrastructure Hardening: Securing Your Digital Perimeter
Misconfigured cloud services are a goldmine for attackers. Proactive hardening is non-negotiable.
Command 5: Audit AWS S3 Bucket Permissions
`aws s3api get-bucket-acl –bucket my-bucket-name`
What this does: This AWS CLI command retrieves the Access Control List (ACL) for the specified S3 bucket, showing who has been granted access.
Step-by-step guide:
- Configure the AWS CLI with credentials that have the `s3:GetBucketAcl` permission.
2. Replace `my-bucket-name` with your bucket’s actual name.
- Analyze the output. Look for overly permissive grants like `http://acs.amazonaws.com/groups/global/AllUsers`, which makes the bucket public.
Command 6: Scan for Publicly Accessible EC2 Instances
`aws ec2 describe-security-groups –query “SecurityGroups[?IpPermissions[?ToPort==`22` && contains(IpRanges[].CidrIp, `0.0.0.0/0`)]].GroupId”
</h2>0.0.0.0/0`).
What this does: This query lists Security Groups that have SSH (port 22) exposed to the entire internet (
Step-by-step guide:
1. Run this command in your AWS environment.
- Any Security Group IDs returned represent a critical misconfiguration. Immediately restrict the source IP range to your organization’s IP block.
4. API Security: Protecting the Data Highway
APIs power modern applications but are often poorly secured. These commands help test for common API flaws.
Command 7: Test for Broken Object Level Authorization (BOLA)
`curl -H “Authorization: Bearer
`curl -H “Authorization: Bearer
What this does: This test checks if User B can access User A’s data by using a different authentication token to access the same resource ID.
Step-by-step guide:
- Obtain valid API tokens for two different user accounts.
- Use the first token to access a resource belonging to User A (e.g., user ID 12345).
- Use the second token to attempt to access the same resource. If the request is successful, a critical BOLA vulnerability exists.
Command 8: Fuzz API Endpoints for Data Exposure
`ffuf -w /usr/share/wordlists/api/endpoints.txt -u http://api.example.com/FUZZ -mc 200`
What this does: The tool `ffuf` (Fuzz Faster U Fool) rapidly tests a target API base URL with a list of potential endpoints, filtering for successful (200) responses.
Step-by-step guide:
1. Install `ffuf`.
- Use a specialized API wordlist for the `-w` parameter.
- Replace the target URL, using `FUZZ` as the placeholder. Discovered endpoints like
/admin,/config, or `/v1/backup` could leak sensitive information.
5. Post-Exploitation: Detecting Intruder Activity
Once an attacker is inside, they leave traces. These commands are vital for incident response and forensics.
Command 9: Hunt for Unauthorized Privilege Escalation
`sudo -l`
What this does: Run by a user on a Linux system, this command lists the sudo privileges granted to that user, which an attacker can abuse for privilege escalation.
Step-by-step guide:
- As part of your defense, regularly audit user privileges by having them run this command (or query this via configuration management).
- Look for commands that can be run as root without a password. For example, if a user can run
sudo vi, they can break out of the editor to gain a root shell.
Command 10: Analyze Network Connections on Windows
`netstat -ano | findstr ESTABLISHED`
What this does: This Windows command lists all currently established network connections and their associated Process IDs (PIDs).
Step-by-step guide:
1. Open Command Prompt as Administrator.
- Execute the command. Review the foreign addresses. Unfamiliar connections to unknown IPs, especially on common backdoor ports, indicate a potential compromise.
- Use the PID with Task Manager to identify the responsible process.
6. Vulnerability Mitigation: Patching and System Hardening
A strong defense requires closing known vulnerabilities and reducing the system’s attack surface.
Command 11: Automate Security Updates on Ubuntu
`sudo unattended-upgrade –dry-run`
What this does: This command performs a trial run of the automated update process, showing which packages would be upgraded without making any changes.
Step-by-step guide:
- Ensure the `unattended-upgrades` package is installed (
sudo apt-get install unattended-upgrades). - Run the dry-run command to review the proposed updates.
- To enable automatic security updates, edit `/etc/apt/apt.conf.d/50unattended-upgrades` and ensure the appropriate origins are uncommented.
Command 12: Harden the Linux Kernel with Sysctl
`sysctl -w net.ipv4.ip_forward=0`
`sysctl -w net.ipv4.icmp_echo_ignore_broadcasts=1`
What this does: These commands dynamically modify kernel parameters to disable IP forwarding and ignore ICMP broadcast requests, respectively, making the system more resistant to network-based attacks.
Step-by-step guide:
- Apply the commands directly for an immediate effect:
sudo sysctl -w net.ipv4.ip_forward=0. - To make the changes permanent, add the same lines (without
-w) to the `/etc/sysctl.conf` file.
7. Advanced Persistence: Finding the Hidden Implant
Attackers use advanced techniques to maintain access. Defenders must know where to look.
Command 13: Audit Linux Cron Jobs for Persistence
`ls -la /etc/cron./`
`crontab -l`
What this does: These commands list system-wide cron jobs (in /etc/cron.daily/, /etc/cron.hourly/, etc.) and the current user’s cron jobs, a common location for persistence mechanisms.
Step-by-step guide:
- Regularly audit the contents of the `/etc/cron.` directories for any suspicious scripts or binaries.
- Check the crontab of every user, especially service and root accounts, for jobs that execute at unusual intervals or point to unfamiliar file paths.
Command 14: Detect Hidden Windows Processes with Sysinternals
`PsExec.exe -s -i C:\Tools\ProcessExplorer.exe`
What this does: This launches the Sysinternals Process Explorer tool with SYSTEM-level privileges (-s), allowing you to view processes that may be hidden from normal user view, including rootkits.
Step-by-step guide:
1. Download the Sysinternals Suite from Microsoft.
- Run the command from an elevated command prompt. In Process Explorer, look for processes with mismatched signatures, strange parent-child relationships, or that are directly packed in memory.
What Undercode Say:
- The modern defender’s toolkit is indistinguishable from the attacker’s. True resilience is born from a deep, practical understanding of offensive tradecraft.
- Automation is the force multiplier. Manual checks are obsolete; security must be codified into continuous compliance and hardening scripts.
The line between red and blue team operations has fundamentally blurred. The analysis of common attack chains reveals a predictable pattern: reconnaissance, exploitation, persistence. The commands detailed herein are not just a technical reference; they are a strategic blueprint. Defenders who fail to operationalize this knowledge—by automating the detection of these very techniques—are effectively fighting with one hand tied behind their back. The future of security is not in building higher walls, but in creating a self-healing immune system that recognizes and neutralizes threats based on their intrinsic behaviors.
Prediction:
The manual execution of these commands will soon be entirely supplanted by AI-driven offensive and defensive agents. We are approaching an inflection point where AI will not just recommend a mitigation but will autonomously analyze a system’s unique configuration, generate a custom exploit to prove vulnerability, and then deploy a tailored, verified patch—all within a closed-loop cycle. This will compress the threat-to-patch timeline from months to minutes but will also escalate the digital arms race to a speed and scale previously unimaginable, making comprehensive command-level knowledge the foundational language for overseeing these autonomous systems.
🎯Let’s Practice For Free:
IT/Security Reporter URL:
Reported By: Amr Kadry – Hackers Feeds
Extra Hub: Undercode MoN
Basic Verification: Pass ✅


