Listen to this Post
Introduction:
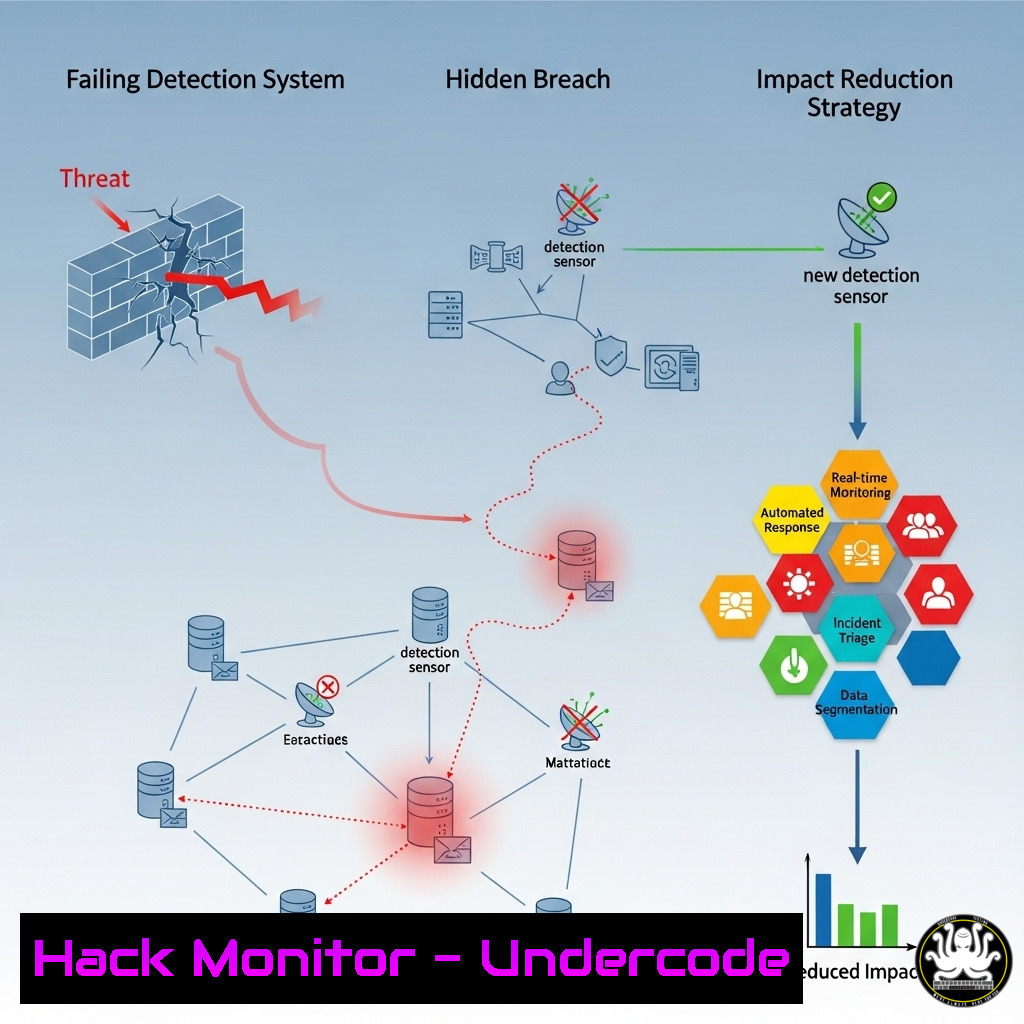
The sobering reality of modern cybersecurity is that prevention eventually fails. The paradigm is shifting from a sole focus on early detection to a critical strategy of minimizing damage post-breach. This article provides the technical command-line arsenal to contain, eradicate, and recover from an active adversary already inside your network.
Learning Objectives:
- Understand the core principles of incident containment and attacker eviction.
- Master key commands for triaging a compromised host and identifying attacker persistence.
- Implement immediate response actions to halt lateral movement and data exfiltration.
You Should Know:
- Triaging a Compromised System: The First 60 Seconds
When an alert fires, speed is critical. The following commands provide a snapshot of system activity to identify the malicious process.
Linux:
 List all running processes with full command lines and hierarchy
ps auxef

List all network connections with associated processes
ss -tulnpa

List recently modified files in critical directories (adjust time as needed)
find /etc /bin /usr/bin /home -type f -mtime -1 -ls
Windows (PowerShell):
 Get a detailed list of running processes
Get-WmiObject -Query "SELECT  FROM Win32_Process" | Select-Object Name, ProcessId, CommandLine

Get all network connections
Get-NetTCPConnection | Where-Object State -Eq Established | Select-Object LocalAddress, LocalPort, RemoteAddress, RemotePort, OwningProcess

Get recently created or modified files in user directories
Get-ChildItem -Path C:\Users -Recurse -File | Where-Object LastWriteTime -GT (Get-Date).AddHours(-1)
Step-by-step guide: Immediately execute these commands on the suspect host. The goal is to correlate anomalous network connections (ss/Get-NetTCPConnection) with unfamiliar processes (ps auxef/Get-WmiObject) and recent file changes (find/Get-ChildItem). This triangulation helps identify the initial point of compromise.
- Halting Lateral Movement: Killing RDP and SSH Sessions
Attackers often use legitimate admin tools like RDP and SSH for lateral movement. Quickly identifying and terminating these sessions is paramount.
Linux (SSH):
 View all active SSH sessions
who -a

View processes containing 'ssh'
pgrep -l ssh

Terminate a specific user's SSH sessions (use with caution)
pkill -u <username>

Alternatively, terminate by Process ID (PID)
kill -9 <PID>
Windows (RDP):
 Query existing RDP sessions on the local machine
query session

Reset a specific RDP session by session name or ID
reset session <sessionname|id>

Use Logoff to gracefully terminate a user session (more forceful)
logoff <sessionid>
Step-by-step guide: After triage, if you identify a compromised user account, use `who -a` or `query session` to see if that account is actively connected to other systems. The `pkill -u` or `reset session` commands will forcibly terminate those connections, cutting off the attacker’s path to new systems.
3. Blocking Data Exfiltration at the Host Firewall
Before the network team can block traffic at the perimeter, you can instantly block malicious outbound connections on the compromised host itself.
Linux (iptables):
 Block all outgoing traffic to a specific malicious IP address
iptables -A OUTPUT -d <malicious_ip> -j DROP

Block outgoing traffic on a specific port (e.g., common exfil port 53 DNS)
iptables -A OUTPUT -p tcp --dport 53 -j DROP
iptables -A OUTPUT -p udp --dport 53 -j DROP

List all current iptables rules to verify
iptables -L -v -n
Windows (Firewall via PowerShell):
 Create a new rule to block all outbound traffic to a specific IP
New-NetFirewallRule -DisplayName "BlockMaliciousIP" -Direction Outbound -RemoteAddress <malicious_ip> -Action Block

Block outbound traffic on a specific port
New-NetFirewallRule -DisplayName "BlockExfilPort" -Direction Outbound -Protocol TCP -RemotePort 443 -Action Block

View all active firewall rules
Get-NetFirewallRule | Where-Object {$_.Enabled -Eq "True"}
Step-by-step guide: Use the network connection commands from Section 1 to identify the destination IP and port the malware is calling home to. Immediately implement the corresponding `iptables` or `New-NetFirewallRule` command to sever that connection and prevent further data loss.
4. Identifying and Removing Persistence Mechanisms
Attackers establish persistence to maintain access. You must find and remove these hooks to fully evict them.
Linux (Common Persistence Locations):
 Check for malicious cron jobs
sudo cat /etc/crontab
ls -la /etc/cron.d/ /etc/cron.hourly/ /var/spool/cron/crontabs/

Check for systemd service persistence
systemctl list-unit-files --type=service --state=enabled
cat /etc/systemd/system/.service | grep -i exec

Check for user startup scripts
ls -la ~/.config/autostart/ /etc/profile.d/
Windows (Persistence Hunting):
 Check scheduled tasks
Get-ScheduledTask | Where-Object State -Eq "Ready" | Select-Object TaskName, TaskPath, Actions

Check registry run keys
Get-ItemProperty -Path "HKLM:\Software\Microsoft\Windows\CurrentVersion\Run"
Get-ItemProperty -Path "HKCU:\Software\Microsoft\Windows\CurrentVersion\Run"

Check for WMI event subscribers (advanced persistence)
Get-WMIObject -Namespace root\Subscription -Class __EventFilter
Get-WMIObject -Namespace root\Subscription -Class __EventConsumer
Get-WMIObject -Namespace root\Subscription -Class __FilterToConsumerBinding
Step-by-step guide: Methodically work through these commands. Cross-reference any unknown services, tasks, or scripts discovered with your initial triage data. If a malicious process from Section 1 was spawned by a cron job or scheduled task, that task is the persistence mechanism and must be deleted.
5. Forensic Evidence Collection for Later Analysis
While containing the incident, you must preserve evidence for root cause analysis without tipping off the attacker.
Linux (Live Forensics):
 Create a hashed list of all running processes for baseline analysis
ps auxef | sha256sum > /tmp/process_baseline.hash

Collect a timeline of file activity in /etc and /home
find /etc /home -type f -printf "%T+ %p\n" | sort > /tmp/file_timeline.log

Dump the system memory to a file (requires ample disk space)
sudo dd if=/dev/mem of=/tmp/memdump.img bs=1M
Windows (Evidence Collection):
 Export the system event log from the last 24 hours
Get-WinEvent -FilterHashtable @{LogName='System'; StartTime=(Get-Date).AddHours(-24)} | Export-CSV -Path C:\Evidence\SystemEvents.csv

Take a cryptographic hash of all running executables
Get-Process | Select-Object Path | Get-FileHash -Algorithm SHA256 | Export-CSV -Path C:\Evidence\RunningHashes.csv

Create a shadow copy for offline volume analysis (Admin required)
vssadmin create shadow /For=C:
Step-by-step guide: Execute these commands after initial containment but before rebooting the system. The goal is to capture the state of the machine as it was during the incident. Store the output (/tmp/, C:\Evidence\) on an external drive or secure network share for your forensic team to analyze later. The memory dump (dd) and shadow copy (vssadmin) are critical for uncovering stealthy malware.
What Undercode Say:
- Impact Over Prevention: The modern CISO’s primary metric must shift from “time to detect” to “time to contain.” The former is a vanity metric; the latter is a business impact metric.
- Assume Compromise: Building a response playbook that assumes an attacker is already inside your network fundamentally changes your security posture, forcing a focus on resilience and recovery.
The traditional security model is broken. Investing solely in stronger perimeter defenses and faster detection creates a fragile system. True cybersecurity maturity is measured by an organization’s ability to take a punch, understand the blow, and recover without going down. This requires ingrained muscle memory, practiced through relentless tabletop exercises and armed with the low-level command-line expertise to surgically remove a threat. The goal is not to become unhackable, but to become unstoppable even when hacked.
Prediction:
The increasing sophistication of adversaries, coupled with the adoption of AI-driven attacks, will render prevention-only strategies completely obsolete within the next 3-5 years. The cybersecurity industry will see a massive pivot towards Impact Reduction Platforms (IRPs) that automate the containment and eviction commands outlined in this article. Security team performance will be benchmarked on business-level metrics like “Data Loss Stopped” and “Dwell Time Cost,” fundamentally aligning security value with business continuity and resilience.
🎯Let’s Practice For Free:
IT/Security Reporter URL:
Reported By: Danielgrzelak By – Hackers Feeds
Extra Hub: Undercode MoN
Basic Verification: Pass ✅


