
Listen to this Post
Introduction:
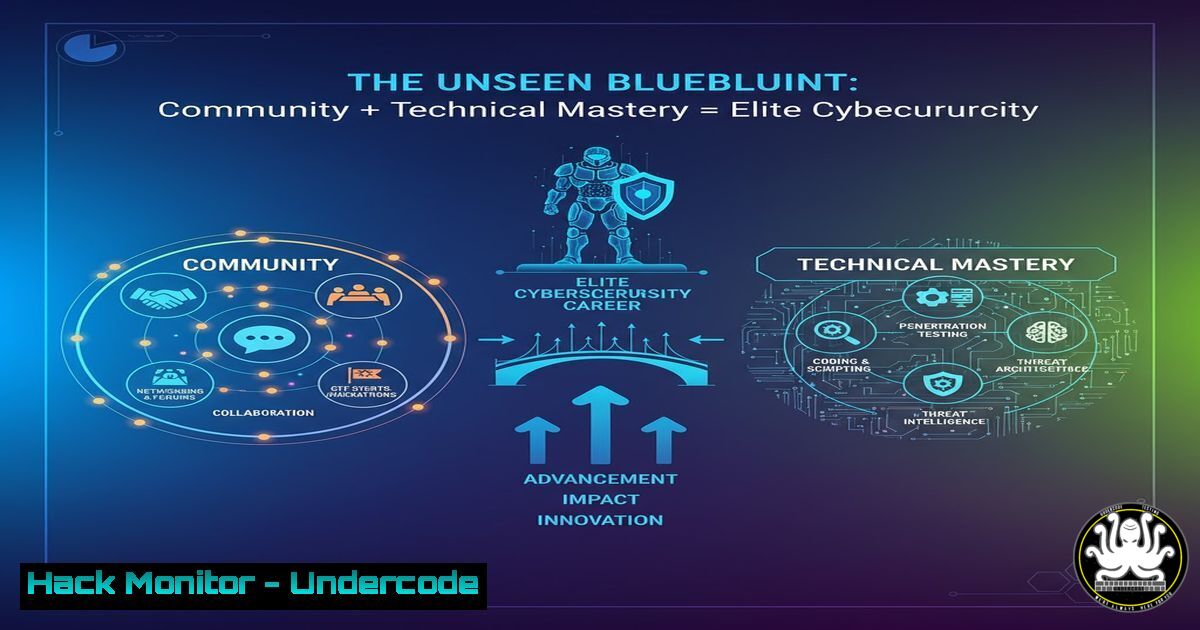
The journey from an aspiring technologist to a landed Technical Support Engineer, as exemplified by Michael Agarkov’s success within the TechCyberPoint (TCP) community, underscores a critical modern truth: technical prowess alone is insufficient. A successful cybersecurity or IT career is built on a triad of verified technical skills, strategic career mentorship, and active community engagement. This article deconstructs the technical foundation necessary for such a transition, providing the essential commands and procedures that form the bedrock of these roles.
Learning Objectives:
- Master fundamental system interrogation and network diagnostics commands for both Linux and Windows environments.
- Understand core security auditing and vulnerability assessment techniques using common command-line tools.
- Develop proficiency in basic log analysis and system hardening procedures to mitigate common threats.
You Should Know:
1. System and Network Interrogation Fundamentals
A Technical Support Engineer must first be a master diagnostician. The ability to quickly assess a system’s state and its network connectivity is paramount.
Linux: `ss -tuln`
This command replaces the older `netstat` and displays all listening TCP and UDP ports along with the associated process. It’s crucial for identifying unauthorized services.
Step-by-Step Guide:
1. Open a terminal.
2. Type `ss -tuln` and press Enter.
- The output columns show the Netid (e.g.,
tcp,udp), State (e.g.,LISTEN), and the Local Address:Port. - Investigate any unfamiliar listening ports. Combine with `sudo ss -tulnp` to see the Process ID (PID) and process name.
Windows: `netstat -ano`
The Windows equivalent for network connection analysis. The `-a` shows all connections, `-n` displays addresses numerically, and `-o` is critical as it shows the owning Process ID.
Step-by-Step Guide:
1. Open Command Prompt or PowerShell as Administrator.
2. Execute `netstat -ano`.
- Note the PID in the far-right column for any suspicious connections.
- Open Task Manager, go to the “Details” tab, and find the PID to identify the application.
Linux: `ps aux | grep `
A fundamental process for viewing running processes. The `aux` flags provide a comprehensive, user-oriented format.
Step-by-Step Guide:
- In a terminal, type `ps aux` to see all running processes.
- To filter for a specific process, pipe (
|) the output togrep: e.g.,ps aux | grep ssh. - Analyze the output for the USER, PID, and CPU/MEMORY usage of the matched processes.
2. File System Integrity and Permissions Auditing
Misconfigured file permissions are a primary vector for privilege escalation. Regularly auditing key directories is a non-negotiable security habit.
Linux: `find / -type f -perm /6000 2>/dev/null`
This command hunts for files with Setuid (4000) or Setgid (2000) permissions, which allow a file to be executed with the permissions of the file owner or group, respectively. This is a common privilege escalation technique.
Step-by-Step Guide:
- Run the command:
find / -type f -perm /6000 2>/dev/null. - The `2>/dev/null` suppresses permission denied errors, cleaning the output.
- Investigate every result in this list. Binaries like `passwd` or `sudo` are normal; unfamiliar scripts in `/tmp` are a major red flag.
Windows: `icacls “C:\Path\To\Directory”`
The primary command-line tool for displaying and modifying Access Control Lists (ACLs) on files and directories in Windows.
Step-by-Step Guide:
1. Open an elevated Command Prompt.
- To view permissions for a system directory, run:
icacls "C:\Windows\System32". - Look for inherited permissions and explicit grants to user groups like “Everyone” or “Users” with full control (
F), which may be excessive.
Linux: `ls -la /etc/passwd /etc/shadow`
Checks the permissions of critical authentication files. The `/etc/passwd` should be world-readable, while `/etc/shadow` should only be readable by root.
Step-by-Step Guide:
1. Run `ls -la /etc/passwd /etc/shadow`.
- Verify the output. `/etc/shadow` should have permissions `-rw-` (600) and be owned by
root:root. - If permissions are incorrect (e.g.,
-rw-r--r--), remediate immediately withsudo chmod 600 /etc/shadow.
3. Proactive Network Security and Firewall Configuration
Controlling network traffic is the first line of defense. Mastery of host-based firewalls is essential.
Linux: `sudo ufw status verbose`
UFW (Uncomplicated Firewall) simplifies `iptables` management. This command shows the current firewall status and active rules.
Step-by-Step Guide:
- Check if UFW is active:
sudo ufw status verbose. If inactive, enable it withsudo ufw enable. - To allow SSH, run
sudo ufw allow 22/tcp. - To deny all incoming traffic by default (a best practice), run
sudo ufw default deny incoming.Windows: `Get-NetFirewallRule | Where-Object {$_.Enabled -eq “True”} | Format-Table Name, DisplayName, Direction, Action`
A PowerShell command to list all active Windows Firewall rules in a readable table format.
Step-by-Step Guide:
1. Open Windows PowerShell as Administrator.
2. Execute the command.
- Review the list for rules with an “Action” of “Allow” and a “Direction” of “Inbound” that are not required for business purposes.
Cross-Platform: `nmap -sV -O `
Used for active network discovery and reconnaissance. It probes a host to determine service versions (-sV) and the operating system (-O).
Step-by-Step Guide:
1. Install `nmap`.
- From a testing machine, run `nmap -sV -O 192.168.1.105` (replace with the target IP).
- Analyze the output to see open ports, running services, and a guessed OS, which helps in building an attack surface profile.
4. Log Analysis for Incident Detection
Logs are the silent witnesses to system activity. Knowing where to look and what to look for is a core skill.
Linux: `sudo tail -f /var/log/auth.log` (or `/var/log/secure` on Red Hat-based systems)
This command follows (-f) the authentication log in real-time, allowing you to watch for login attempts as they happen.
Step-by-Step Guide:
1. Open a terminal.
2. Run `sudo tail -f /var/log/auth.log`.
- Attempt an SSH login from another machine. You will see the log entry appear instantly, showing the success or failure.
Linux: `grep “Failed password” /var/log/auth.log`
Scans the authentication log specifically for failed password attempts, a key indicator of brute-force attacks.
Step-by-Step Guide:
1. Run `grep “Failed password” /var/log/auth.log`.
- To count attempts per IP, use:
grep "Failed password" /var/log/auth.log | awk '{print $11}' | sort | uniq -c | sort -nr.Windows: `Get-WinEvent -FilterHashtable @{LogName=’Security’; ID=4625} | Select-Object -First 10`
A PowerShell command to retrieve the last 10 failed login events (Event ID 4625) from the Windows Security log.
Step-by-Step Guide:
1. Open PowerShell as Admin.
2. Run the command.
- Examine the output for the source IP address (
IpAddress) and account name targeted in the failed attempts.
5. Vulnerability Assessment with Open-Source Tools
Moving from manual checks to automated scanning is a logical progression for broadening skills.
Tool: `nuclei -u -t `
Nuclei uses community-powered templates to scan for thousands of known vulnerabilities, misconfigurations, and exposure of sensitive data.
Step-by-Step Guide:
1. Install Nuclei from projectdiscovery.io.
2. Update the template database: `nuclei -update-templates`.
- Run a quick scan: `nuclei -u https://example.com`. For a specific test, use `-t` to point to a template file.
Tool: `sqlmap -u “http://example.com/page.php?id=1” –batch`
An automated tool that detects and exploits SQL injection flaws. It is critical for understanding one of the most common web application vulnerabilities.
Step-by-Step Guide (for authorized testing only):
- Against a deliberately vulnerable test app (like DVWA), run:
sqlmap -u "http://test.com/vuln.php?id=1" --batch. - The `–batch` flag runs the tool non-interactively, using default choices.
- Observe the output as it identifies the database type and potentially extracts data.
6. Cloud Infrastructure Hardening Basics
As infrastructure moves to the cloud, the command line interface for major providers becomes a critical tool.
AWS CLI: `aws iam get-user` & `aws iam list-users`
These commands are used to query AWS Identity and Access Management (IAM) about the current and all IAM users, respectively.
Step-by-Step Guide:
- Configure the AWS CLI with your credentials (
aws configure). - Run `aws iam get-user` to confirm your own identity and permissions.
- Run `aws iam list-users` to enumerate all IAM users in the account—a fundamental step in access auditing.
AWS CLI: `aws s3api get-bucket-acl –bucket `
Checks the Access Control List for an S3 bucket, which is often misconfigured, leading to data leaks.
Step-by-Step Guide:
1. Run `aws s3api get-bucket-acl –bucket my-bucket`.
- Look for grants to `http://acs.amazonaws.com/groups/global/AllUsers`, which indicates the bucket is publicly readable.
- If this is not intended, it must be remediated immediately via the S3 console or CLI.
What Undercode Say:
- Technical Skill is the Table Stakes, Not the Entire Game. Michael Agarkov’s story demonstrates that while mastering commands from `ss` to `sqlmap` is mandatory, it was the structured mentorship within the TCP community that translated that knowledge into a career outcome. The commands listed are the lexicon; community and mentorship provide the context and conversation.
- The Modern Professional is a Hybrid of Engineer and Analyst. The role of “Technical Support Engineer” blurs the line between fixing issues and proactively hunting for them. The skill set required—from diagnosing with `netstat` to auditing with `icacls` and scanning with
nuclei—reflects a need for professionals who can operate across the entire stack, from system administration to security analysis. This hybrid model is becoming the standard, not the exception.
Prediction:
The convergence of IT support and cybersecurity functions will accelerate, making foundational security skills a prerequisite for nearly all technical roles. Community-driven, mentorship-based learning platforms like TCP will become the primary talent pipelines for the industry, outperforming traditional education paths by providing real-world context, practical tool exposure, and the professional networking necessary to bridge the gap between knowledge and employment. The future “help desk” technician will be expected to not only reset passwords but also to identify the signs of a breach in the logs they are reviewing, fundamentally elevating the security posture of organizations from the ground up.
🎯Let’s Practice For Free:
IT/Security Reporter URL:
Reported By: Https: – Hackers Feeds
Extra Hub: Undercode MoN
Basic Verification: Pass ✅


