Listen to this Post
Introduction:
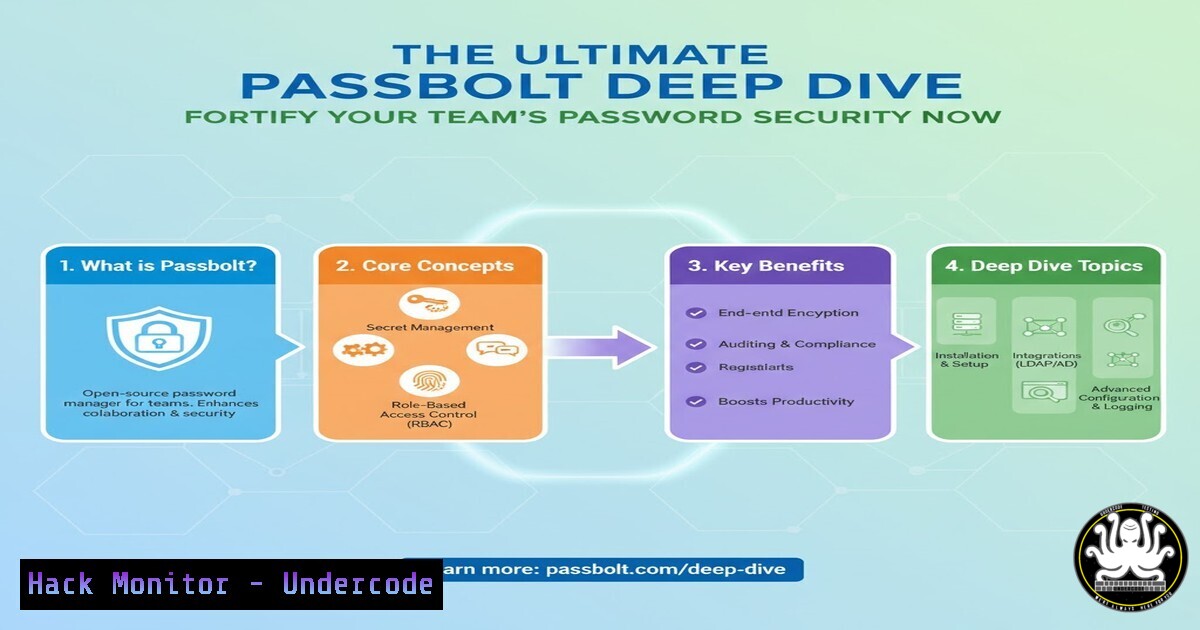
In an era of rampant credential-based attacks, managing passwords securely is no longer a personal concern but a critical organizational imperative. Passbolt emerges as a dedicated, open-source password manager built for teams, offering a self-hosted alternative to cloud-based solutions and placing security control directly into the hands of IT and cybersecurity professionals. This article provides a technical blueprint for deploying, configuring, and mastering Passbolt to eradicate weak password practices.
Learning Objectives:
- Understand the core architecture and security model of Passbolt.
- Master the installation and configuration of a Passbolt instance on a Linux server.
- Learn essential command-line and administrative procedures for ongoing management and troubleshooting.
You Should Know:
1. Prerequisites: Setting the Stage for Passbolt
Before installation, your server must meet specific requirements. Passbolt relies on a LAMP/LEMP stack, GnuPG, and a functioning mail server for notifications.
Verified Commands:
 Update the system package repository
sudo apt update && sudo apt upgrade -y

Install essential base packages
sudo apt install -y curl gnupg apt-transport-https

Verify GnuPG is installed and working
gpg --version
Step-by-step guide:
This initial setup ensures your server is up-to-date and has the fundamental tools required. The `apt update` command refreshes the list of available packages, while `upgrade` installs the latest versions. GnuPG is critical as it handles the core encryption/decryption of passwords for each user.
2. Installing the Web Server and PHP
Passbolt requires a web server and a specific version of PHP with necessary extensions.
Verified Commands:
 Install Apache and PHP extensions
sudo apt install -y apache2 libapache2-mod-php php php-intl php-json php-gnupg php-mysqlnd php-cur

Enable required Apache modules
sudo a2enmod ssl rewrite headers

Start and enable Apache
sudo systemctl start apache2 && sudo systemctl enable apache2
Step-by-step guide:
Apache serves the Passbolt web interface. The `a2enmod` command activates modules for SSL (HTTPS), URL rewriting, and security headers. The PHP extensions (php-intl, php-gnupg, etc.) provide the specific functionalities Passbolt needs to operate, such as internationalization and cryptographic operations.
3. Database Installation and Configuration (MySQL/MariaDB)
A robust database is essential for storing encrypted data and user information.
Verified Commands:
 Install MariaDB server
sudo apt install -y mariadb-server

Run the secure installation wizard
sudo mysql_secure_installation

Log into the MySQL shell and create a database and user for Passbolt
sudo mysql -u root -p
MySQL Commands:
CREATE DATABASE passbolt;
CREATE USER 'passboltuser'@'localhost' IDENTIFIED BY 'YourStrongPassword123!';
GRANT ALL PRIVILEGES ON passbolt. TO 'passboltuser'@'localhost';
FLUSH PRIVILEGES;
EXIT;
Step-by-step guide:
The `mysql_secure_installation` script hardens your database installation. Within the MySQL shell, you create a dedicated database and a least-privilege user account specifically for Passbolt, minimizing the attack surface. Never use the root database user for application connections.
4. Installing and Configuring the Passbolt Package
Passbolt provides a dedicated package for easy installation.
Verified Commands:
 Add the Passbolt repository
curl -s https://download.passbolt.com/ce/install_debian/passbolt-repo.sh | sudo bash

Install Passbolt
sudo apt install -y passbolt-ce

Configure Passbolt to use MariaDB
sudo /usr/share/passbolt-ce/bin/passbolt install --quick
Step-by-step guide:
The `curl` command fetches and executes the official installation script, which adds Passbolt’s repository to your system. The `apt install` command then installs the Community Edition (CE) package. The `passbolt install –quick` script is an interactive wizard that will prompt you for database credentials, application URL, and email server details to complete the setup.
5. SSL Configuration with Let’s Encrypt
For production use, SSL/TLS is non-negotiable to protect data in transit.
Verified Commands:
 Install Certbot for Let's Encrypt
sudo apt install -y certbot python3-certbot-apache

Obtain and install a certificate for your domain
sudo certbot --apache -d your.passbolt.domain.com

Test the automatic renewal process
sudo certbot renew --dry-run
Step-by-step guide:
Certbot automates the process of obtaining a free, trusted SSL certificate from Let’s Encrypt. The `–apache` flag indicates the web server plugin, and `-d` specifies your domain. The `renew –dry-run` command verifies that the automatic renewal service is configured correctly, preventing service disruption due to an expired certificate.
6. Key Server Administration and Health Checks
Once running, administrators need commands to manage the service and check its health.
Verified Commands:
 Check the status of the Passbolt background worker
sudo systemctl status passbolt-worker

View the latest error logs for troubleshooting
sudo tail -f /var/log/passbolt/error.log

Run a health check script to validate configuration
sudo /usr/share/passbolt-ce/bin/passbolt healthcheck

Create a new administrator user via CLI
sudo /usr/share/passbolt-ce/bin/passbolt register_user -u [email protected] -f Admin -l User -r admin
Step-by-step guide:
The `systemctl status` command is your first stop for verifying the health of the background job processor. The `healthcheck` script is an invaluable tool that scans your configuration for common issues. The `register_user` command with the `admin` role is crucial for creating the initial administrative account or provisioning new ones.
7. Advanced: Database Backups and Restoration
Regular, secure backups are a cornerstone of any production system.
Verified Commands:
 Create a compressed, timestamped database backup
mysqldump -u passboltuser -p passbolt | gzip > /path/to/backups/passbolt_backup_$(date +%Y%m%d_%H%M%S).sql.gz

To restore from a backup, first unzip, then import
gzip -dc /path/to/backups/passbolt_backup_20240524_123000.sql.gz | mysql -u passboltuser -p passbolt

Set up a cron job for automated daily backups at 2 AM
crontab -e
 Add the following line:
0 2    /usr/bin/mysqldump -u passboltuser -p'YourPassword' passbolt | /bin/gzip > /path/to/backups/passbolt_backup_$(date +\%Y\%m\%d).sql.gz
Step-by-step guide:
The `mysqldump` command exports the entire Passbolt database. Piping it to `gzip` creates a compressed archive to save space. The restoration process does the reverse. The crontab entry automates this process, ensuring you have daily backups without manual intervention. Always store backups in a secure, off-server location.
What Undercode Say:
- Key Takeaway 1: Self-hosting Passbolt shifts the security burden from a third-party vendor to your internal team, offering greater control but demanding rigorous system hardening, patch management, and backup discipline.
- Key Takeaway 2: The architecture, which uses GnuPG for client-side encryption, means the server never handles plain-text passwords, fundamentally reducing the impact of a server-side breach compared to traditional credential storage methods.
The move towards self-hosted, open-source security tools like Passbolt represents a maturation in organizational security postures. While the initial setup is more complex than subscribing to a commercial SaaS product, the long-term benefits of data sovereignty, customization, and avoiding vendor lock-in are significant. The critical analysis is that this approach is not for everyone; it requires a dedicated IT ops or SecOps team capable of maintaining the underlying infrastructure. However, for tech companies, financial institutions, and any entity with stringent compliance needs, the investment builds a more resilient and transparent security foundation. The true value is in creating a culture where security is an integrated, managed process, not a black-box application.
Prediction:
The adoption of team-oriented, self-hosted password managers will become a baseline security requirement for medium and large enterprises within the next 3-5 years, driven by escalating cloud supply chain attacks and stringent data privacy regulations. This will catalyze the development of more integrated, API-driven password management workflows, seamlessly connecting secrets management for humans (in Passbolt) with secrets management for machines (in tools like HashiCorp Vault), creating a unified enterprise security fabric.
🎯Let’s Practice For Free:
IT/Security Reporter URL:
Reported By: Ouardi Mohamed – Hackers Feeds
Extra Hub: Undercode MoN
Basic Verification: Pass ✅


