Listen to this Post
Introduction:
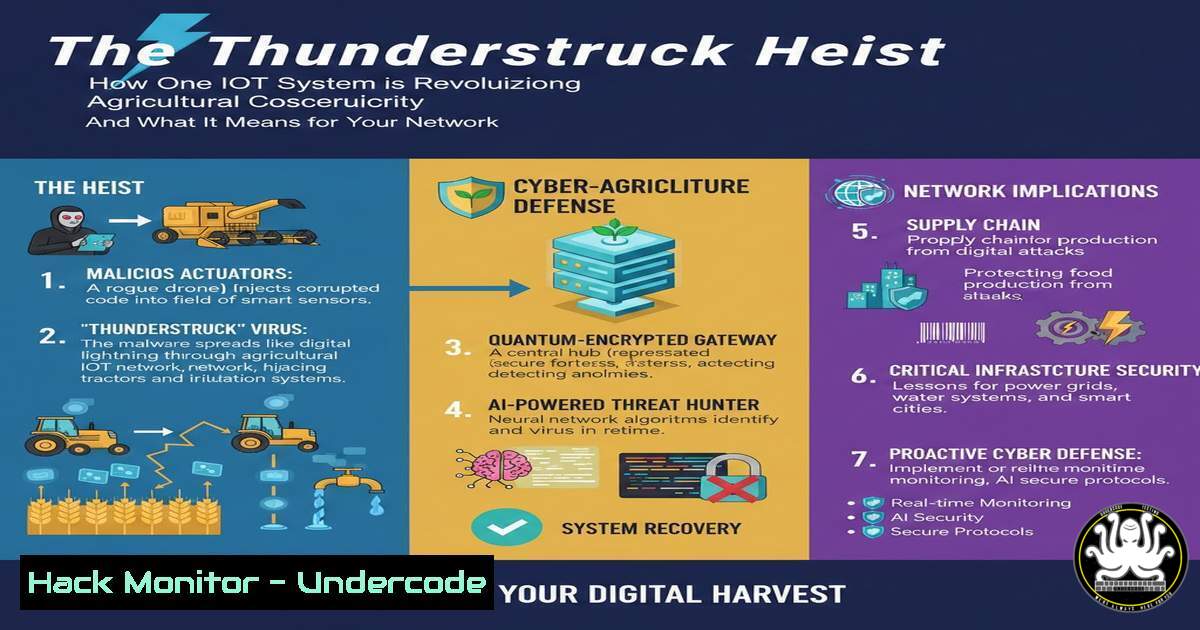
The digital transformation of agriculture through Internet of Things (IoT) technology is sowing the seeds for unprecedented efficiency and data-driven farming. However, this proliferation of connected devices—sensors, controllers, and monitors—dramatically expands the attack surface for malicious actors. The “Thunderstruck System for Agriculture” provides a critical case study in building security directly into the IoT fabric, moving beyond simple device registration to proactive, behavioral threat detection.
Learning Objectives:
- Understand the core security principles of anomaly-based detection in IoT ecosystems.
- Learn how to implement network-level controls to segment and protect IoT devices.
- Master the configuration of monitoring tools to identify and blacklist malicious IoT traffic.
You Should Know:
1. Anomaly Detection in IoT Message Traffic
IoT devices typically communicate using predictable patterns. Deviations from these patterns are a primary indicator of compromise. The Thunderstruck system monitors three key metrics: transmission frequency, message size, and connection source IPs.
Step-by-step guide:
What this does: This technique establishes a behavioral baseline. A soil moisture sensor might report every 15 minutes. If it suddenly starts sending data every second, it could be hijacked and participating in a DDoS attack. Similarly, an abnormally large message could indicate data exfiltration or malware propagation.
How to use it with Zeek (formerly Bro) IDS:
Zeek is a powerful network monitoring framework ideal for this task.
1. Install Zeek on a network monitor port or server receiving mirrored traffic from your IoT VLAN.
2. Create a baseline policy. Analyze normal traffic for a learning period (e.g., 48 hours).
3. Configure Zeek scripts to flag anomalies. For example, you can modify the `notice.bro` policy to generate alerts.
 Example Zeek script snippet (iot_anomaly_detection.zeek)
event connection_established(c: connection)
{
if (c$id$resp_p == 80 || c$id$resp_p == 443) {  Check HTTP/HTTPS traffic to IoT devices
if (c$orig$size_bytes > 10000) {  Alert on large request sizes
NOTICE([$note=Large_HTTP_Body,
$conn=c,
$msg=fmt("Large HTTP body from %s to IoT device", c$id$orig_h)]);
}
}
}

Implement frequency tracking via a custom script
global device_comm_times: table[bash] of time &default=0sec;
event connection_established(c: connection) {
local source = c$id$orig_h;
if (source in device_comm_times) {
local interval = network_time() - device_comm_times[bash];
if (interval < 10sec) {  Alert if communications occur more frequently than every 10 seconds
NOTICE([$note=IoT_Frequency_Anomaly,
$conn=c,
$msg=fmt("Rapid successive connections from IoT device %s", source)]);
}
}
device_comm_times[bash] = network_time();
}
2. IP Address Range Whitelisting and Blacklisting
This is a fundamental network segmentation and access control measure. It ensures that only authorized management systems within a predefined IP range can communicate with the IoT device registry and its devices.
Step-by-step guide:
What this does: It blocks connection attempts from unknown or hostile networks at the firewall level, preventing initial reconnaissance and exploitation attempts from the public internet.
How to implement it with iptables on a Linux-based gateway:
1. Identify your trusted management network (e.g., `192.168.10.0/24`).
- Define the network interface facing your IoT devices (e.g.,
eth1). - Implement firewall rules to drop all traffic except from the whitelist.
 Flush existing rules on the IoT interface (use with caution)
iptables -F INPUT
iptables -F FORWARD

Allow established and related traffic
iptables -A INPUT -m state --state ESTABLISHED,RELATED -j ACCEPT
iptables -A FORWARD -m state --state ESTABLISHED,RELATED -j ACCEPT

WHITELIST: Allow SSH and MQTT (common IoT protocol) only from the management network
iptables -A INPUT -i eth1 -p tcp -s 192.168.10.0/24 --dport 22 -j ACCEPT  SSH
iptables -A INPUT -i eth1 -p tcp -s 192.168.10.0/24 --dport 1883 -j ACCEPT  MQTT

BLACKLIST: Block a known malicious IP address
iptables -A INPUT -i eth1 -s 94.102.51.78 -j DROP

Set default policy to DROP for all other incoming traffic on the IoT network
iptables -P INPUT DROP
iptables -P FORWARD DROP
3. Hardening the IoT Device Registry API
The device registry is the brain of the operation. Its API, which devices use to check-in and management systems use to query data, must be secured against common web vulnerabilities.
Step-by-step guide:
What this does: Protects the central management point from attacks like SQL Injection, broken authentication, and data tampering.
How to secure a REST API:
- Authentication & Authorization: Implement OAuth 2.0 or API keys with strict scope permissions. Never use default or hardcoded credentials.
- Input Validation: Sanitize all inputs. Use parameterized queries to prevent SQL Injection.
- Rate Limiting: Implement limits to prevent brute-force attacks and DDoS.
 Example Python/Flask snippet using Flask-Limiter for rate limiting
from flask import Flask, request, jsonify
from flask_limiter import Limiter
from flask_limiter.util import get_remote_address

app = Flask(<strong>name</strong>)
limiter = Limiter(app, key_func=get_remote_address)

API endpoint for a device to report data
@app.route('/api/v1/device/<device_id>/data', methods=['POST'])
@limiter.limit("10 per minute")  Limit each device to 10 reports per minute
def post_device_data(device_id):
 1. Authenticate the device using a pre-shared token or certificate
auth_token = request.headers.get('Authorization')
if not validate_device_token(device_id, auth_token):
return jsonify({"error": "Unauthorized"}), 401

<ol>
<li>Validate input data
data = request.get_json()
if not data or 'sensor_reading' not in data:
return jsonify({"error": "Invalid data"}), 400</p></li>
<li><p>Log the request (for auditing and anomaly detection)
app.logger.info(f"Data received from device {device_id}: {data}")

... Process the data ...
return jsonify({"status": "success"}), 200
4. Implementing Automated Blacklisting
When an anomaly is detected, the response must be swift and automated to prevent the threat from spreading or causing damage.
Step-by-step guide:
What this does: Automatically adds the IP address of a malicious device to a firewall blocklist, effectively quarantining it from the network.
How to automate it with a script and iptables:
1. Configure your monitoring system (e.g., Zeek) to write alerts to a log file.
2. Create a script that parses the log for specific alerts and executes a firewall command.
!/bin/bash
 blacklist_script.sh
 This script tails a log file and blocks IPs that trigger a "IoT_Frequency_Anomaly" alert.

LOG_FILE="/var/log/zeek/notice.log"
BLACKLIST="/etc/iptables/blacklist.conf"

tail -F "$LOG_FILE" | while read line; do
if echo "$line" | grep -q "IoT_Frequency_Anomaly"; then
 Extract the IP address from the log line (example parsing)
MALICIOUS_IP=$(echo "$line" | grep -oE '([0-9]{1,3}.){3}[0-9]{1,3}' | head -1)

Check if IP is already blacklisted
if ! grep -q "$MALICIOUS_IP" "$BLACKLIST"; then
echo "$(date) - Blocking IP: $MALICIOUS_IP" >> /var/log/blacklist.log
echo "$MALICIOUS_IP" >> "$BLACKLIST"
 Update the running iptables rules
iptables -A INPUT -s "$MALICIOUS_IP" -j DROP
fi
fi
done
Run this script as a daemon for continuous monitoring.
5. Secure Device Onboarding and Lifecycle Management
Security begins the moment a device is connected to the network. A vulnerable onboarding process can render all other security measures useless.
Step-by-step guide:
What this does: Ensures that every new device is authenticated and provisioned with unique, secure credentials before it is allowed to communicate on the operational network.
How to implement a secure onboarding workflow:
- Isolated Onboarding Network: New devices connect to a separate, tightly controlled Wi-Fi SSID or VLAN with no internet access.
- Certificate or Token-Based Authentication: Use a protocol like IEEE 802.1X or a dedicated onboarding service. The device must present a factory-installed certificate or a one-time token to join the main network.
- Automated Configuration: Once authenticated, a backend system (like a NAC) pushes the device’s final configuration and network policy, placing it in the correct, segmented IoT VLAN.
What Undercode Say:
- Proactive Beats Reactive: The shift from simple device management to behavioral anomaly detection represents the modern standard for IoT security. Waiting for a known signature is no longer sufficient.
- Security is a Process, Not a Product: Thunderstruck’s effectiveness comes from the layered integration of multiple security controls (whitelisting, anomaly detection, automated blacklisting), not a single silver bullet.
- The analysis: The Thunderstruck system correctly identifies that IoT security cannot be an afterthought. Its architecture embeds security controls at the data ingestion point, which is crucial for scalability and real-time threat response. However, as one critical commenter noted, this powerful infrastructure carries a dual-use risk. The same system that blocks a DDoS attack today could be repurposed for granular surveillance or to enforce digital rights management (DRM) on farm equipment, locking farmers into proprietary ecosystems. The technical implementation is sound, but it must be governed by ethical principles and transparent data policies to prevent the “digital leash” scenario. The future of agritech depends as much on trust as it does on technology.
Prediction:
The sophisticated, layered security model demonstrated by systems like Thunderstruck will become the baseline for all critical infrastructure IoT, from agriculture to energy and healthcare. We predict a rise in AI-driven, cross-platform threat intelligence sharing, where an anomaly detected in a water treatment plant’s sensors can proactively update blacklists for agricultural systems facing similar threats. Conversely, nation-state actors will increasingly target these systems, not for data theft, but for sabotage and geopolitical leverage, making the security of a single sensor a matter of national security.
🎯Let’s Practice For Free:
IT/Security Reporter URL:
Reported By: Robtiffany Heres – Hackers Feeds
Extra Hub: Undercode MoN
Basic Verification: Pass ✅


