Listen to this Post
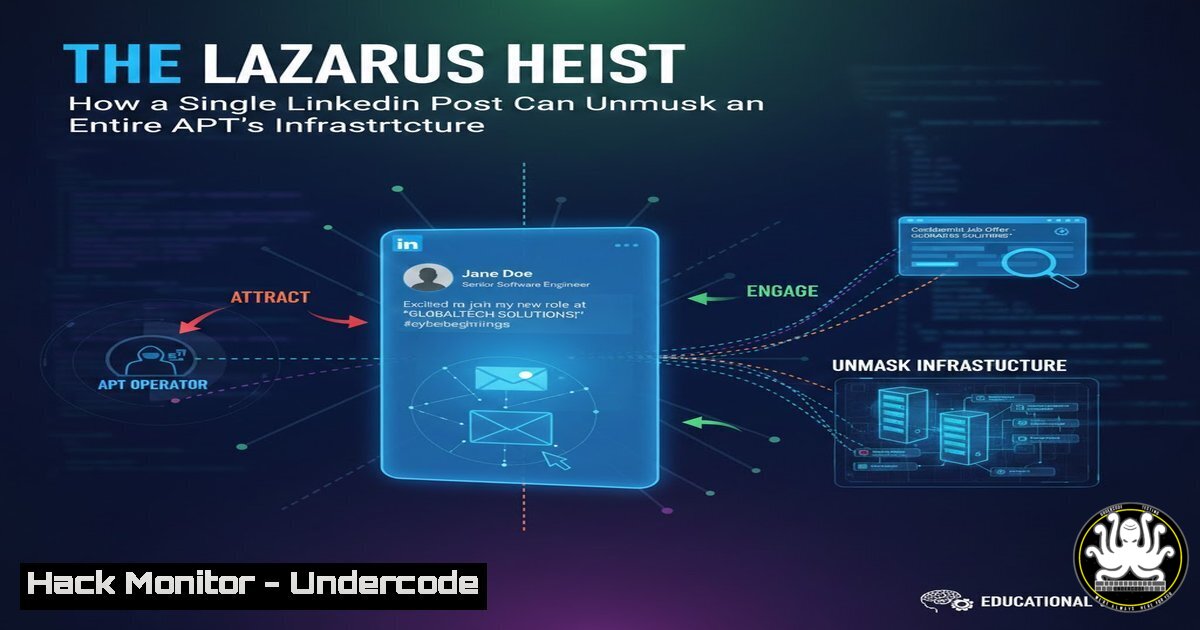
Introduction:
The digital persona of a self-proclaimed “ex BlackHat” on LinkedIn is not merely a curiosity; it is a potential goldmine for cybersecurity threat intelligence. By analyzing the metadata, connections, and content shared by such profiles, security professionals can engage in sophisticated social engineering reconnaissance and potentially map out associated infrastructure. This article deconstructs the art of transforming a seemingly innocuous social media post into actionable intelligence for proactive defense.
Learning Objectives:
- Understand how to ethically gather Open-Source Intelligence (OSINT) from professional social networks.
- Learn techniques to correlate personal data with technical infrastructure for threat actor profiling.
- Apply proactive hardening measures to protect against the intelligence-gathering methods used by both attackers and defenders.
You Should Know:
1. OSINT Foundations: Profile and Network Analysis
The first step is a systematic collection of publicly available data. This goes beyond the profile name (“Santika Kusnul Hakim”) and headline.
Step-by-step guide:
- Profile Scraping: Use tools like `linkedin-email-scraper` (ethical use only on your own connections) or browser extensions to capture profile details: bio, experience (“ex BlackHat”), location (Malang, Indonesia), and groups.
- Network Enumeration: Manually examine the list of reactors and commentators (Muralidharan K, etc.). These connections can reveal a professional network, potentially linking to other profiles of interest.
- Content Analysis: The posted image is critical. Use reverse image search via `tineye.com` or Google Images to find where else this image appears, potentially on forums, code repositories (GitHub), or other social media, linking the persona to other aliases.
Command Example (Using `whois` for associated domains):
 After extracting a potential personal website or company from the profile:
whois example-website-from-profile.com
This can reveal registration details that might be reused across other infrastructure.
2. Image Metadata and Hidden Clues
A shared image can contain a trove of hidden data in its EXIF (Exchangeable Image File Format) metadata.
Step-by-step guide:
- Download the Image: Save the image from the post. Assume it is named
year-end-setup.jpg. - Analyze with ExifTool: The industry-standard tool for metadata extraction.
Install exiftool on Linux
sudo apt install libimage-exiftool-perl
Extract all metadata
exiftool year-end-setup.jpg
3. Critical Fields: Scrutinize the output for:
GPS Latitude/Longitude: Geographic location where the photo was taken.Create Date: Timestamp.Software: Could indicate editing tools or even a VM/VMware snapshot identifier.Camera Model: Can be correlated with other photos from the same device online.
- Mitigation: This is why operational security (OpSec) for threat actors and security researchers involves stripping EXIF data before posting.
Remove all metadata from an image before sharing
exiftool -all= -overwrite_original year-end-setup_cleaned.jpg
3. Username Correlation and Credential Stuffing
The username or variations of the real name can be used to discover associated accounts across the internet, a technique used in credential stuffing attacks and for building a target’s digital footprint.
Step-by-step guide:
- Use Aggregation Tools: Employ sites like `whatsmyname.app` or `sherlock` (for social media) to check for the username “SantikaKusnulHakim” or “santikakh” across hundreds of platforms.
Using Sherlock (Install via: <code>pip install sherlock-project</code>)
sherlock SantikaKusnulHakim
- Analyze Results: Discovered profiles on GitHub, Twitter, or hacker forums can reveal technical skill sets, code repositories (potentially containing accidental leaks of keys or IPs), or discussion topics.
- Defensive Action: As a security professional, use this technique on your own organization’s public-facing employees to understand what an attacker might see and educate them on the risks of reused usernames.
4. Infrastructure Mapping via Associated Data
Any discovered email addresses, usernames, or names can be used to hunt for related digital infrastructure, such as domain registrations, SSL certificates, and cloud assets.
Step-by-step guide:
- Passive DNS Enumeration: Use tools like `Amass` or `Subfinder` to find domains associated with an email address.
Using Amass in passive mode
amass enum -passive -d [bash] -o domains.txt
- Certificate Transparency Logs: Search sites like `crt.sh` for any SSL certificates issued to the individual’s name or associated organizations. This often reveals subdomains like `admin.corp.example.com` or
vpn.company.com. - Cloud Bucket Discovery: Tools like `slurp` or `cloud_enum` can search for publicly accessible AWS S3 buckets, Azure blobs, or Google Cloud Storage related to discovered keywords.
5. Building the Threat Actor Profile
Synthesize all gathered information into a Threat Intelligence Platform (TIP) or a simple structured report to understand Tactics, Techniques, and Procedures (TTPs).
Step-by-step guide:
- Create a Link Diagram: Use software like Maltego or even a whiteboard to map connections between the persona, aliases, email addresses, domains, IP addresses, and physical locations.
- Identify TTPs: Does the “ex BlackHat” claim align with tools mentioned on a discovered GitHub? Does the network of connections include individuals known for certain types of malware? This profiling helps attribute activities to specific Advanced Persistent Threat (APT) groups or cybercriminal gangs.
- Proactive Hunting: Use the gathered indicators of compromise (IoCs) — domains, IPs, email patterns — in your Security Information and Event Management (SIEM) system (e.g., Splunk, Elastic SIEM) to hunt for existing breaches or set up alerts for future contact.
Example Splunk SPL query to hunt for a discovered suspicious domain in proxy logs
index=proxy sourcetype=cisco:webevents url="malicious-domain-from-osint.com"
| stats count by src_ip user_agent
What Undercode Say:
- The Line Between Attacker and Defender is Thin: The methodologies for profiling a threat actor (OSINT, correlation, infrastructure mapping) are identical to those an attacker uses to profile a target company. Mastery of these techniques is essential for modern defense, enabling proactive threat hunting and attack surface reduction.
- Operational Security is Universal: The “ex BlackHat” persona’s potential OpSec failings (like an unscrubbed image) are a lesson for everyone. Security teams must train their own staff on social media hygiene, as they are high-value targets for spear-phishing and social engineering campaigns aimed at network intrusion.
Prediction:
The integration of AI with OSINT will dramatically lower the barrier for both sophisticated attacks and defenses. AI-powered tools will soon automatically correlate disparate data points from social media, code commits, and breach databases in real-time, generating comprehensive victim or threat actor profiles instantaneously. This will lead to an escalation in highly personalized, automated social engineering attacks (phishing, business email compromise). Conversely, defensive AI will leverage the same data to predict attack vectors, auto-harden systems, and provide dynamic risk scores for employee online behavior, forcing a new era of automated and intelligent cybersecurity warfare.
▶️ Related Video (80% Match):
🎯Let’s Practice For Free:
IT/Security Reporter URL:
Reported By: Sans1986 Ending – Hackers Feeds
Extra Hub: Undercode MoN
Basic Verification: Pass ✅


