Listen to this Post
Introduction:
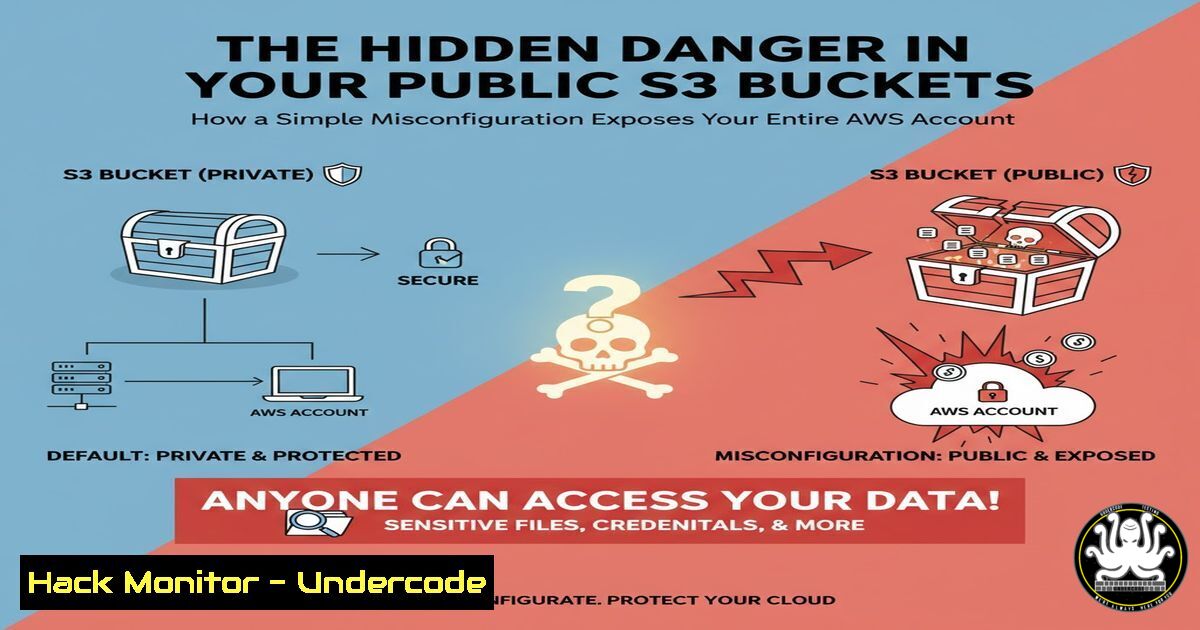
Directly exposing files in a public Amazon S3 bucket is a common but perilous practice that can serve as a gateway for attackers to compromise your entire cloud environment. A technique, first widely documented in 2021, allows threat actors to extract the AWS account ID from any publicly accessible bucket, providing a critical first piece of intelligence for black-box attacks. Understanding and mitigating this vulnerability is essential for robust cloud security posture.
Learning Objectives:
- Understand the technical mechanism behind the AWS Account ID extraction vulnerability from public S3 buckets.
- Learn practical commands to identify misconfigured buckets and harden your own cloud storage.
- Implement defensive strategies, including CloudFront distributions and bucket policies, to prevent reconnaissance.
You Should Know:
- Enumerating a Public S3 Bucket for Account ID
This technique exploits the `GetBucketAcl` permission, which is often enabled on buckets deemed “public.” By sending a specific request, an attacker can retrieve the canonical ID of the bucket owner, which can then be translated into the corresponding AWS Account ID.
Step-by-Step Guide:
The core of this attack can be performed with a simple `curl` command targeting the bucket’s ACL.
curl -s http://<BUCKET_NAME>.s3.amazonaws.com/?acl
What this does: This command fetches the Access Control List (ACL) of the specified S3 bucket. If the bucket is publicly readable, the response will be an XML document containing the bucket owner’s canonical ID.
How to use it:
- Identify a target public S3 bucket (e.g.,
company-assets). - Run the command: `curl -s http://company-assets.s3.amazonaws.com/?acl`
- In the XML output, locate the `
` tag. The value is a 64-character hexadecimal string, which is the canonical user ID. - This canonical ID can be converted to a human-readable account name or, more critically, can be used in subsequent attacks to map resources within the same account.
2. Automating Reconnaissance with the AWS CLI
Once you have a list of bucket names, you can use the AWS Command Line Interface to systematically check their ACLs, even without credentials, simulating an attacker’s reconnaissance phase.
Step-by-Step Guide:
The AWS CLI’s `s3api` command can be used with the `–no-sign-request` flag to bypass signing and make an unauthenticated call.
aws s3api get-bucket-acl --bucket <BUCKET_NAME> --no-sign-request --region us-east-1
What this does: This command directly queries the S3 API for the bucket’s ACL without requiring AWS credentials. It returns the same owner information as the `curl` command but in a structured JSON format.
How to use it:
- Ensure you have the AWS CLI installed (
pip install awscli). - Run the command for a target bucket. If the bucket is public, you will receive a JSON output with an “Owner” field containing the “ID”.
- If the bucket is not public, the command will fail with an `AccessDenied` error, confirming it is not vulnerable to this specific enumeration technique.
3. Identifying Your Own Vulnerable Buckets
Proactive defense requires discovering your own publicly accessible buckets. The AWS CLI can list all buckets in an account and check their public access block configuration.
Step-by-Step Guide:
Use the following commands to audit your S3 estate for public exposure risks.
 List all buckets in your account
aws s3 ls

Check the public access block configuration for a specific bucket
aws s3api get-public-access-block --bucket <BUCKET_NAME>

Get the bucket policy to see explicit public grants
aws s3api get-bucket-policy --bucket <BUCKET_NAME>
What this does: The `get-public-access-block` command shows if S3’s built-in security controls (blocking public ACLs, policies, etc.) are enabled. The `get-bucket-policy` command retrieves the resource-based policy, which might explicitly grant public access despite the public access block settings.
How to use it:
- Run `aws s3 ls` to get a list of all your S3 buckets.
- For each bucket, run
get-public-access-block. If the settings show"BlockPublicAcls": false, it indicates a potential risk. - Cross-reference with `get-bucket-policy` to look for statements with `”Effect”: “Allow”` and
"Principal": "".
4. Hardening S3 Buckets with Public Access Block
The primary defense against accidental public exposure is to enable the S3 Block Public Access feature at the account or bucket level.
Step-by-Step Guide:
Apply the strictest public access settings using the AWS CLI or the Management Console.
 Apply public access block to a specific bucket
aws s3api put-public-access-block \
--bucket <BUCKET_NAME> \
--public-access-block-configuration BlockPublicAcls=true,IgnorePublicAcls=true,BlockPublicPolicy=true,RestrictPublicBuckets=true

Apply public access block at the ACCOUNT level (requires s3-control)
aws s3control put-public-access-block \
--account-id <YOUR_ACCOUNT_ID> \
--public-access-block-configuration BlockPublicAcls=true,IgnorePublicAcls=true,BlockPublicPolicy=true,RestrictPublicBuckets=true
What this does: This command configures the bucket to reject any attempt to make it public. It blocks new public ACLs, ignores existing ones, blocks public bucket policies, and restricts access even if granted by a policy.
How to use it:
1. Identify the bucket you wish to harden.
- Run the `put-public-access-block` command with all four parameters set to
true. This is a non-negotiable best practice for internal or private buckets.
5. Using CloudFront as a Secure Gateway
As recommended in the source post, using an Amazon CloudFront distribution in front of your S3 bucket is a superior architecture. It prevents direct access to the S3 endpoint, hiding the bucket name and, by extension, the account ID.
Step-by-Step Guide:
Create a CloudFront Origin Access Control (OAC) to allow CloudFront to access the private S3 bucket.
Terraform S3 Bucket Policy Snippet:
data "aws_iam_policy_document" "s3_policy" {
statement {
actions = ["s3:GetObject"]
resources = ["${aws_s3_bucket.private_bucket.arn}/"]
principals {
type = "Service"
identifiers = ["cloudfront.amazonaws.com"]
}
condition {
test = "StringEquals"
variable = "AWS:SourceArn"
values = [aws_cloudfront_distribution.s3_distribution.arn]
}
}
}
What this does: This bucket policy denies all access except for requests that originate from your specific CloudFront distribution. It uses a condition key (AWS:SourceArn) to enforce this, making the S3 bucket private while still serving content through the CDN.
How to use it:
- Create an S3 bucket and ensure it is not public.
- Create a CloudFront distribution, configuring the origin to point to this S3 bucket.
- Create an Origin Access Control (OAC) in CloudFront and attach it to the origin.
- Apply a bucket policy similar to the one above, granting `s3:GetObject` permission only to the CloudFront service, conditional on the request coming from your distribution’s ARN.
6. Monitoring for S3 ACL Scans with CloudTrail
To detect active reconnaissance against your environment, you can monitor AWS CloudTrail logs for `GetBucketAcl` events from unknown IP addresses.
Step-by-Step Guide:
Create a CloudWatch Insights query to filter for these specific API calls.
fields @timestamp, eventSource, eventName, sourceIPAddress, requestParameters.bucketName
| filter eventName = 'GetBucketAcl'
| sort @timestamp desc
What this does: This query scans your CloudTrail logs to find all occurrences of the `GetBucketAcl` API call, showing when it happened, which bucket was targeted, and the source IP address of the caller.
How to use it:
- Ensure AWS CloudTrail is enabled in your account and logging to a CloudWatch Logs group.
2. Navigate to the CloudWatch Logs Insights service.
- Select the correct log group and paste the query above.
- Run the query. Investigate any `GetBucketAcl` calls originating from IP addresses outside your organization’s known range, as this is a strong indicator of threat actor reconnaissance.
7. Exploiting the Account ID for Resource Mapping
With a valid AWS Account ID, an attacker can pivot to enumerate other services, as many AWS ARNs (Amazon Resource Names) incorporate the account ID. This can help map the attack surface.
Step-by-Step Guide:
While direct unauthenticated enumeration is limited, knowing the account ID allows for targeted guessing and testing.
 Example: Guessing a likely IAM Role name for EC2
 Format: arn:aws:iam::<EXTRACTED_ACCOUNT_ID>:role/<Common-Role-Name>
arn:aws:iam::123456789012:role/EC2-WebServer-Role

Using the account ID in OpenID Connect endpoint discovery
 An attacker can check if the account is configured for AWS IAM Identity Center
https://<SUBDOMAIN>.awsapps.com/start
What this does: The account ID becomes a key piece of data for brute-forcing or intelligent guessing of resource names, which can then be probed for other misconfigurations. It transforms a generic attack into a targeted one.
How to use it (for defensive analysis):
- Understand that your account ID, if leaked, can be used in social engineering attacks (e.g., fake AWS support calls) or to craft more believable phishing campaigns.
- Audit your IAM roles and resource names to ensure they do not follow easily guessable patterns that could be combined with a known account ID.
What Undercode Say:
- The exposure of an AWS Account ID via a public S3 bucket is not a vulnerability in the AWS platform itself, but a critical failure in security configuration and architectural design.
- Relying solely on S3 Block Public Access is a reactive measure; a proactive, resilient architecture must use CloudFront or an API Gateway as a protective layer, completely obfuscating the S3 origin.
The core issue transcends a simple misconfiguration; it represents a fundamental misunderstanding of “public” in a cloud context. Hosting a PDF is a business requirement, but exposing the underlying cloud account identifier is an unnecessary and severe risk. This technique, while simple, provides a high-value, low-effort payoff for attackers, effectively de-anonymizing your cloud presence. Defenders must shift left, embedding security into the architecture from the outset rather than bolting it on later. The conversation in the source post’s comments highlights a systemic problem: even AWS’s own services sometimes mandate insecure practices, forcing security professionals to make difficult trade-offs between functionality and security. This underscores the need for continuous vigilance and a defense-in-depth approach.
Prediction:
This specific S3 reconnaissance technique will remain a prevalent entry point for cloud attacks for the foreseeable future, as the backlog of legacy public buckets is vast. However, we predict a rapid evolution in attacker methodologies. The next wave will involve automated tooling that continuously scrapes the web for S3 endpoints, extracts account IDs en masse, and cross-references this data with other leaks (e.g., from GitHub, exposed IAM roles) to automatically build rich profiles of target organizations. This will enable large-scale, automated cloud resource hijacking and data exfiltration campaigns, making the initial footprinting step demonstrated here more valuable and dangerous than ever. Defensive tooling will respond by making S3 buckets private by default and aggressively flagging any direct S3 exposure as a critical-severity finding.
🎯Let’s Practice For Free:
IT/Security Reporter URL:
Reported By: Activity 7386665683457179648 – Hackers Feeds
Extra Hub: Undercode MoN
Basic Verification: Pass ✅


