Listen to this Post
Introduction:
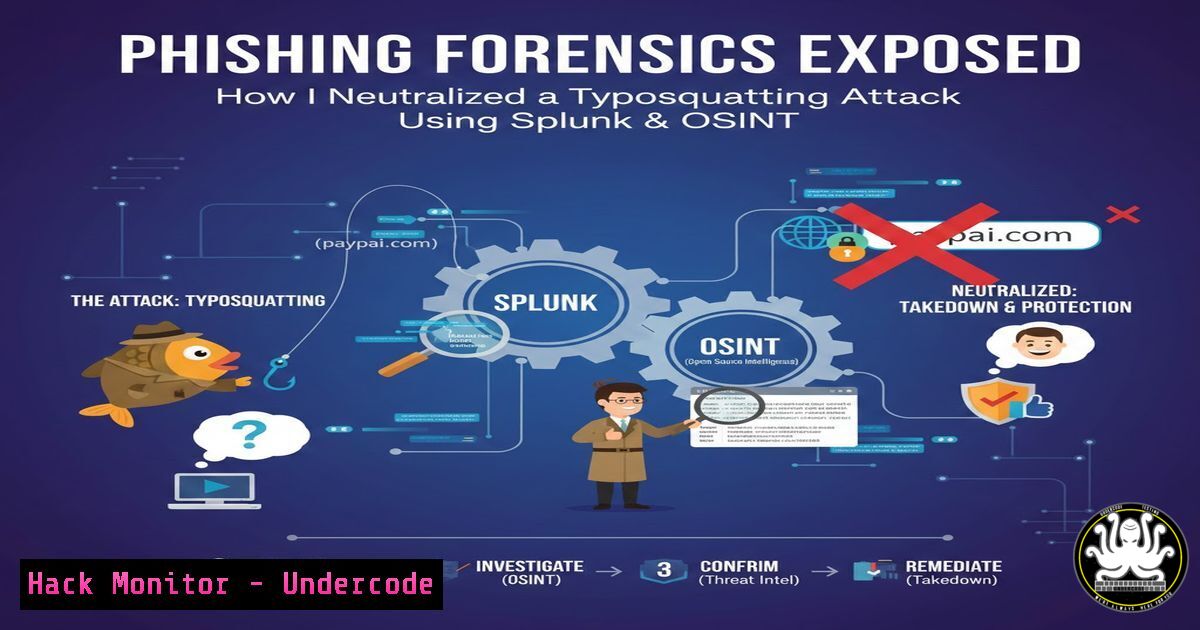
In today’s threat landscape, a single phishing email can bypass layered defenses if analysts lack the skills to dissect its digital fingerprints. This article deconstructs a real-world phishing incident investigation, detailing how combining simple typosquatting recognition with Security Information and Event Management (SIEM) analytics and Open-Source Intelligence (OSINT) leads to definitive threat neutralization. We transform an analyst’s workflow into a replicable methodology for frontline defenders.
Learning Objectives:
- Decode and investigate typosquatted URLs and other embedded phishing indicators.
- Utilize Splunk for basic hunt operations to extract network and endpoint artifacts.
- Apply a structured containment and eradication protocol post-identification.
You Should Know:
- Decoding the Initial Phishing Lure: Typosquatting & URL Analysis
The first line of defense is visual and protocol analysis of the delivered link. Attackers mimic legitimate domains (e.g.,microsoft.com) by replacing characters (micros0ft.co) or using incorrect top-level domains (TLDs like `.co` instead of.com). This is typosquatting.
Step‑by‑step guide explaining what this does and how to use it.
Step 1: Extract the HREF. Right-click the link in the email and “Copy link address.” Never click.
Step 2: Manual Parsing. Examine for character substitution (l/1, o/0, rn/m), hyphen insertion, and wrong TLDs.
Step 3: Use Command-Line Verification. Use `dig` or `nslookup` to check the DNS record of the suspicious domain versus the legitimate one.
 Linux/macOS
dig micros0ft.co A
dig microsoft.com A
 Compare the resulting IP addresses; they will be different.
 Windows
nslookup micros0ft.co
nslookup microsoft.com
Step 4: OSINT Sandbox Check. Submit the URL to services like VirusTotal, URLScan.io, or Any.run for automated reputation analysis.
- SIEM Deep Dive: Hunting for Network Artifacts with Splunk
A Security Information and Event Management (SIEM) tool like Splunk aggregates logs. The phishing alert provides a pivot point to hunt for related activity from the same source.
Step‑by‑step guide explaining what this does and how to use it.
Step 1: Identify Key Fields. From the alert, note the source IP, destination IP, and timestamp.
Step 2: Construct a Hunt Query. Search for all activity from that source IP around the alert time.
index=network_logs source_ip="192.0.2.123" earliest="-5m@m" latest="now"
| stats count by dest_ip, dest_port, action
Step 3: Analyze the Source Port. The post mentions source port 32653. High-numbered, ephemeral ports are typical for client connections, but correlating this with other suspicious behavior is key. A query to see if this port is anomalous for your environment is useful.
index=firewall sourcestring="32653" | top source_ip
- Source IP & Port Investigation: Context is King
A “clean” IP reputation check doesn’t mean benign. New phishing infrastructure often isn’t yet blocklisted.
Step‑by‑step guide explaining what this does and how to use it.
Step 1: Comprehensive IP OSINT.
whois 192.0.2.123 Check registration date (recent = suspicious)
Step 2: Check for Historical Context. In Splunk, see if the IP has interacted with your network before.
index=proxy src_ip="192.0.2.123" OR dst_ip="192.0.2.123" | head 20
Step 3: Understand Port Usage. Port `32653` is in the ephemeral range (32768-60999 on Linux, 49152-65535 on Windows). Its use as a source port is normal for outbound connections, but seeing it in an inbound context might be part of a reverse shell or callback. On an endpoint, you could check for connections using this port.
 Linux - Check for processes using the port
sudo netstat -tunlp | grep :32653
sudo ss -tunlp | grep :32653
 Windows - Check for connections
Get-NetTCPConnection -LocalPort 32653 -ErrorAction SilentlyContinue
- The Triage: Declaring a True Positive and Immediate Actions
Correlating multiple weak indicators (typosquatting + unknown IP + malicious URL reputation) forms a strong case for a True Positive.
Step‑by‑step guide explaining what this does and how to use it.
Step 1: Document the Chain. URL anomaly -> SIEM source IP/port -> Negative OSINT on URL -> Lack of legitimate business context.
Step 2: Initiate Blocking Actions.
- Update firewall/IPS blocks for the source IP and the malicious URL domain.
- Update email gateway filters to quarantine emails containing the URL.
Step 3: Isolate the Affected Endpoint. If an internal user clicked the link, isolation is critical.Example using orchestration or manual commands to isolate a host from network (Conceptual - specific tools vary) Isolate via host firewall (Linux) sudo iptables -A INPUT -j DROP sudo iptables -A OUTPUT -j DROP
Windows - Disable all network adapters via PowerShell (Admin)
Get-NetAdapter | Disable-NetAdapter -Confirm:$false
5. Post-Incident: Eradication and Verification
Isolation allows for forensic analysis without risk of lateral movement or data exfiltration.
Step‑by‑step guide explaining what this does and how to use it.
Step 1: Memory & Process Analysis. On the isolated host, capture running processes and network connections.
 Windows: Capture key data
Get-Process | Export-Csv -Path C:\Investigation\Processes.csv
Get-NetTCPConnection | Export-Csv -Path C:\Investigation\Connections.csv
Step 2: Persistence Hunting. Check for unauthorized scheduled tasks, services, or registry run keys.
 Linux: Check cron jobs, services, and .bashrc/.profile
sudo crontab -l
sudo systemctl list-units --type=service --state=running
ls -la /etc/systemd/system/
Step 3: Re-image and Restore. Given the potential for compromise, the safest action is to re-image the endpoint from a known-good backup and restore user data after scanning.
What Undercode Say:
- The Power of the Human Analyst: Automated filters failed, but a trained analyst’s pattern recognition on the URL was the primary trigger. Continuous training on TTPs (Tactics, Techniques, and Procedures) is irreplaceable.
- Correlation Over Perfection: No single indicator was 100% conclusive. The malicious URL had only been flagged “a few times,” and the IP was clean. The decision was based on the correlated context of all artifacts, which is the essence of effective security operations.
- This case study underscores a modern security truth: defenses must be layered, and the human-in-the-loop is the critical final layer. The analyst correctly moved from detection to containment with speed, understanding that the cost of a false positive (temporary isolation) is far lower than a false negative (a full breach). The mention of specific training providers highlights that hands-on, scenario-based learning (like on TryHackMe) directly builds the analytical muscle memory demonstrated here.
Prediction:
Phishing campaigns will continue to evolve towards highly targeted, low-volume attacks using fresh infrastructure that evades blocklists. AI will be used to generate more convincing lures and clone legitimate websites. Consequently, defender training must shift even more towards investigative mindset and OSINT tool proficiency, with SOAR (Security Orchestration, Automation, and Response) playbooks automating the initial containment steps (like blocking IPs and isolating hosts) to give analysts more time for deep-dive threat hunting and forensic analysis. The integration of real-time DNS filtering and browser isolation technology will become standard to neutralize zero-hour phishing links before they reach the user.
▶️ Related Video (82% Match):
🎯Let’s Practice For Free:
IT/Security Reporter URL:
Reported By: Adeoye Oluwatosin – Hackers Feeds
Extra Hub: Undercode MoN
Basic Verification: Pass ✅


