Listen to this Post
Introduction:
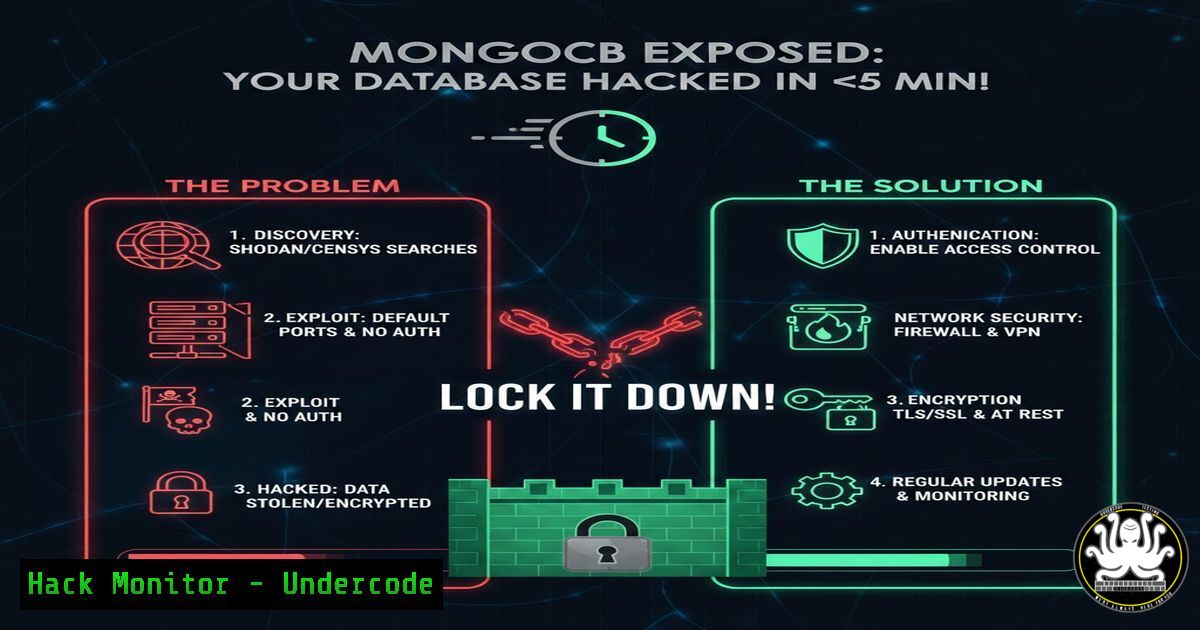
The startling experiment of exposing a vulnerable MongoDB instance to the public internet confirms a critical cybersecurity axiom: automated attack bots are constantly scanning the entire IP address space. As demonstrated, an unprotected database was discovered and probed within four minutes of going live. This article delves into the mechanics of these relentless scans, the immediate risks of misconfigured NoSQL databases, and provides actionable, technical steps to fortify your MongoDB deployments against automated and targeted attacks.
Learning Objectives:
- Understand the immediate risks of default or misconfigured MongoDB deployments exposed to the internet.
- Learn to implement authentication, network hardening, and encryption to secure MongoDB.
- Gain practical skills to audit, detect, and respond to unauthorized access attempts on your database services.
You Should Know:
1. The Anatomy of an Automated MongoDB Attack
The 4-minute compromise window is not magic; it’s the result of systematic, automated scanning. Tools like Shodan, Censys, and dedicated botnets continuously sweep the internet for open ports, particularly port 27017 (MongoDB’s default). Upon discovery, automated scripts attempt to connect without authentication, enumerate databases, and often deploy ransomware by deleting data and leaving a ransom note.
Step-by-step guide explaining what this does and how to use it.
Step 1: Simulate the Attacker’s Recon (For Ethical Auditing)
Use `nmap` to scan for open MongoDB ports. This helps you understand what an attacker sees.
 Basic scan for MongoDB default port
nmap -p 27017 --open <your-target-IP-range>

Version detection and script scanning
nmap -p 27017 -sV --script mongodb-databases,mongodb-info <target-IP>
Step 2: Check Your Own Exposure with Shodan
Visit `shodan.io` and search for `port:27017` or `”MongoDB”` with your organization’s IP range. This publicly available tool is exactly what attackers use for initial discovery.
2. Immediate Hardening: Enabling Authentication & Changing Defaults
The most critical failure is running MongoDB without Access Control. The default installation has no password, allowing anyone to connect.
Step-by-step guide explaining what this does and how to use it.
Step 1: Start MongoDB with Access Control Enabled
First, connect to the MongoDB instance and create an administrator user.
// Connect to the MongoDB admin database
use admin
// Create the superuser
db.createUser(
{
user: "superAdmin",
pwd: "StrongPassword123!", // Use a complex, unique password
roles: [ { role: "root", db: "admin" } ]
}
)
Step 2: Restart MongoDB Daemon with Authentication
Stop the MongoDB service and restart it, enabling authentication in the configuration file (/etc/mongod.conf on Linux).
 Edit mongod.conf
security:
authorization: enabled
Step 3: Restart and Verify
sudo systemctl restart mongod
 Connect with authentication
mongo -u "superAdmin" -p --authenticationDatabase admin
3. Network Lockdown: Firewall Rules and Binding
Never bind MongoDB to `0.0.0.0` (all interfaces) on a production server. Restrict access at the network level.
Step-by-step guide explaining what this does and how to use it.
Step 1: Configure MongoDB to Bind to Private IP
Edit `mongod.conf`:
net:
bindIp: 127.0.0.1,10.0.1.5  Localhost and specific private IP only
port: 27017
Step 2: Implement Host-Based Firewall Rules
On Linux (iptables/ufw):
sudo ufw default deny incoming
sudo ufw allow from 10.0.1.0/24 to any port 27017  Allow only from specific subnet
sudo ufw enable
On Windows (Firewall with Advanced Security):
Create a new Inbound Rule for port 27017, scope it to allow only from specific source IPs (e.g., your application servers’ IPs).
4. Encryption in Transit: Enabling TLS/SSL
Plain text communication exposes data to interception. Enforce encrypted connections.
Step-by-step guide explaining what this does and how to use it.
Step 1: Generate or Obtain TLS Certificates
You can use a certificate from a CA or generate a self-signed one for internal use:
openssl req -newkey rsa:2048 -nodes -keyout mongodb.key -x509 -days 365 -out mongodb.crt
cat mongodb.key mongodb.crt > mongodb.pem
Step 2: Configure MongoDB for TLS
Edit `mongod.conf`:
net:
ssl:
mode: requireSSL
PEMKeyFile: /etc/ssl/mongodb.pem
CAFile: /etc/ssl/ca.pem
Step 3: Connect Client with TLS
mongo --ssl --host <server_hostname> --sslCAFile /etc/ssl/ca.pem --sslPEMKeyFile /etc/ssl/client.pem
5. Proactive Monitoring and Auditing
Detection is key. You must monitor for unauthorized connection attempts.
Step-by-step guide explaining what this does and how to use it.
Step 1: Enable MongoDB Auditing
Edit `mongod.conf` to log authentication and authorization events:
auditLog:
destination: file
format: JSON
path: /var/log/mongodb/auditLog.json
Step 2: Monitor Logs with Tools
Use tail, grep, or ship logs to a SIEM (like Elastic Stack).
 Tail authentication failures
tail -f /var/log/mongodb/mongod.log | grep -i "authentication failed"
 Check audit log for connections
tail -f /var/log/mongodb/auditLog.json | jq .  Using jq for pretty JSON
Step 3: Set Up Alerting
Configure alerts in your monitoring system for spikes in failed authentication logs or connections from unfamiliar IP ranges.
What Undercode Say:
- The Internet is a Hostile Network: The assumption that “it’s just a test server” or “it will only be up for a short time” is fatally flawed. Automated exploitation operates 24/7 at machine speed, and the time-to-first-scan is measured in minutes, not days.
- Defense in Depth is Non-Negotiable: Relying on a single control (like a weak firewall) is insufficient. Secure configuration (authentication), network controls (firewalls, binding), and encryption (TLS) must be implemented in layers to create a resilient defense posture.
- Visibility Equals Control: Without auditing and monitoring, you are blind to both reconnaissance and breach attempts. Enabling and regularly reviewing logs is the only way to shift from a passive to an active security stance.
Prediction:
The velocity of automated attacks will only increase, with AI-driven bots becoming more sophisticated at fingerprinting specific database versions and deploying tailored exploits. The future of cloud and database security will hinge on default-secure configurations, where services are inaccessible by default and require explicit, audited actions to expose them. Zero-Trust Network Access (ZTNA) models will become the standard for administrative access to databases, moving beyond simple VPNs. Furthermore, regulatory fines for exposed data due to misconfigurations will grow steeper, making proactive security hardening not just a technical imperative but a critical financial and compliance one.
▶️ Related Video (70% Match):
🎯Let’s Practice For Free:
IT/Security Reporter URL:
Reported By: Antonatos Quick – Hackers Feeds
Extra Hub: Undercode MoN
Basic Verification: Pass ✅


