Listen to this Post
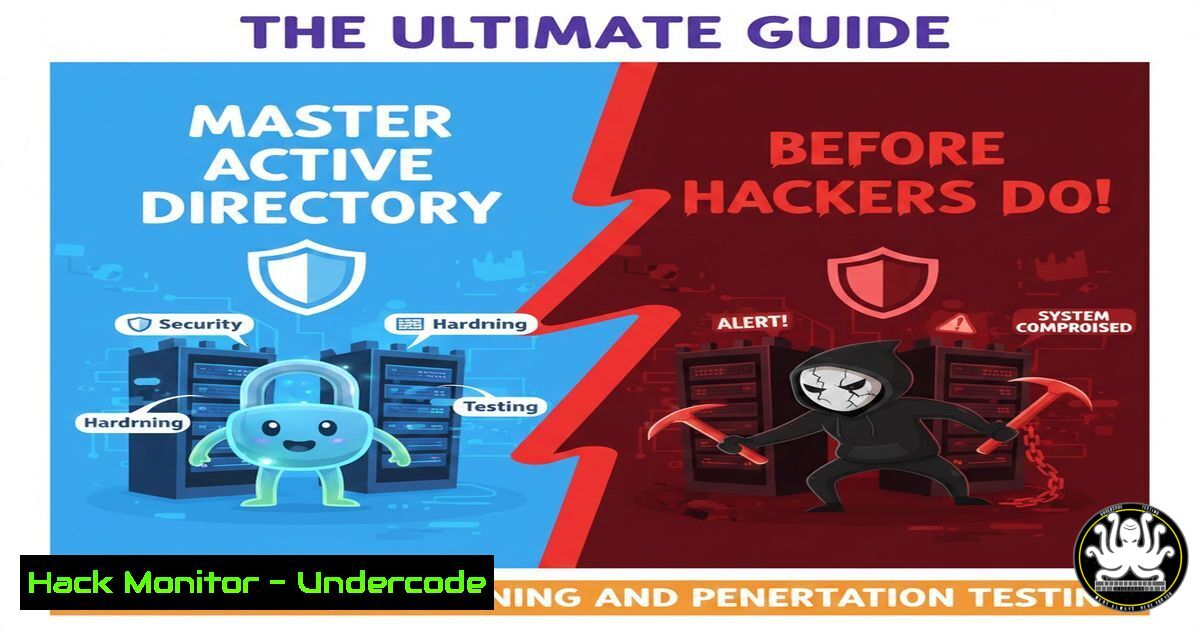
Introduction:
Microsoft Active Directory (AD) remains the undisputed backbone of enterprise identity and access management. However, its critical role also makes it the prime target for sophisticated cyberattacks, with threat actors relentlessly exploiting misconfigurations to move laterally and escalate privileges across entire networks. This guide provides IT professionals and security practitioners with the essential knowledge to defend, audit, and ethically test their AD environments against these prevalent threats.
Learning Objectives:
- Understand the core attack vectors and common misconfigurations in Active Directory that lead to devastating breaches.
- Learn actionable, step-by-step commands and techniques to harden your AD environment and audit its security posture.
- Gain practical skills in foundational penetration testing methodologies to proactively identify vulnerabilities before attackers do.
You Should Know:
- The Attacker’s Playbook: Common AD Attack Paths and Initial Enumeration
Active Directory attacks often follow a predictable “kill chain,” starting with information gathering. Attackers map the domain structure, users, groups, and trust relationships to find the path of least resistance. Techniques like AS-REP Roasting, Kerberoasting, and exploitation of misconfigured user permissions (e.g., Kerberos delegations) are standard fare. The first step in defense is understanding how this enumeration works.
Step-by-step guide:
What it does: Using native Windows and Linux tools to perform initial reconnaissance without triggering alarms, mimicking an attacker’s first steps.
How to use it:
1. From a Domain-Joined Windows Machine (Legitimate Admin):
Map the Domain: Open PowerShell as a regular user and run:
Get-ADDomain | Select-Name, Forest, DomainControllers
List All Domain Users: `Get-ADUser -Filter | Select-Object SamAccountName, DistinguishedName`
Find High-Value Groups (e.g., Domain Admins): `Get-ADGroupMember “Domain Admins” | Select-Object SamAccountName`
2. From a Linux Attack Box (Using Kali/Tools):
Install `impacket` suite: `sudo apt-get install impacket-scripts`
Perform a basic null session enumeration (if restricted, older systems):
enum4linux -a <DOMAIN_CONTROLLER_IP>
For more targeted queries using credentialed access:
GetADUsers.py -dc-ip <DC_IP> <DOMAIN>/<USER> -k
2. Fortifying the Foundation: Essential AD Hardening Commands
Hardening involves systematically reducing the attack surface. This includes enforcing strong password policies, limiting privileged group membership, and disabling legacy protocols that are vulnerable to attack, such as NTLMv1 and LAN Manager.
Step-by-step guide:
What it does: Configuring Group Policy Objects (GPOs) and AD settings to enforce security baselines compliant with standards like CIS Benchmarks.
How to use it:
1. Enforce Strong Password Policy via GPO:
Open `Group Policy Management` (gpmc.msc).
Edit the `Default Domain Policy` or a new dedicated GPO.
Navigate to: Computer Configuration -> Policies -> Windows Settings -> Security Settings -> Account Policies -> Password Policy.
Configure: Minimum password length = 14, Password history = 24, Enforce complexity = Enabled.
2. Disable NTLMv1 and Restrict NTLM (via Registry/GPO):
Create a new GPO and link it to the domain.
Navigate to: Computer Configuration -> Preferences -> Windows Settings -> Registry.
Add a new registry item to set `HKEY_LOCAL_MACHINE\SYSTEM\CurrentControlSet\Control\Lsa\LMCompatibilityLevel` to `5` (Send NTLMv2 response only. Refuse LM & NTLM).
3. Audit Privileged Group Membership (Scripted Cleanup):
Run this PowerShell script as Domain Admin to report on sensitive groups:
$Groups = @("Domain Admins", "Enterprise Admins", "Schema Admins", "Administrators")
foreach ($Group in $Groups) {
Write-Host "`nMembers of $Group :" -ForegroundColor Red
Get-ADGroupMember -Identity $Group -Recursive | Select-Object SamAccountName, objectClass
}
- Hunting for Weakness: Auditing Kerberos and User Delegation
Kerberos is the core authentication protocol, but its features can be abused. Attackers constantly scan for accounts with weak encryption (e.g., RC4) enabled for Kerberoasting or with constrained/unconstrained delegation permissions that allow impersonation across services.
Step-by-step guide:
What it does: Identifying user and computer accounts vulnerable to Kerberoasting and those configured with potentially dangerous delegation settings.
How to use it:
1. Find Service Accounts with RC4 Encryption (Kerberoastable):
In PowerShell, using the ActiveDirectory module:
Get-ADUser -Filter -Properties ServicePrincipalName, SupportedEncryptionTypes | Where-Object {($<em>.ServicePrincipalName -ne $null) -and ($</em>.SupportedEncryptionTypes -band 0x4)} | Select-Object SamAccountName
2. Audit Accounts with Unconstrained Delegation:
Get-ADComputer -Filter {TrustedForDelegation -eq $true} -Properties TrustedForDelegation, DNSHostName
Get-ADUser -Filter {TrustedForDelegation -eq $true} -Properties TrustedForDelegation
3. Mitigation: In Active Directory Users and Computers (dsa.msc), for identified accounts, go to the `Delegation` tab and select “Do not trust this user/computer for delegation.”
- Simulating the Attack: Basic Penetration Testing with PowerSploit and Mimikatz
Ethical penetration testing validates your defenses. Tools like PowerSploit (a PowerShell post-exploitation framework) and Mimikatz are used by red teams to demonstrate credential exposure and privilege escalation risks, such as extracting hashes from memory (LSASS).
Step-by-step guide:
What it does: Demonstrating in a controlled, authorized lab environment how credential material can be extracted from a compromised system’s memory.
How to use it:
- Environment: Ensure you are in an isolated lab. Disable antivirus temporarily for the test.
- Download Tools: Get the official Mimikatz from GitHub (https://github.com/gentilkiwi/mimikatz) and PowerSploit.
3. Mimikatz (Requires Local Admin):
Run Mimikatz as Administrator on a target workstation or server.
Execute commands to extract secrets:
privilege::debug
sekurlsa::logonpasswords
This outputs NTLM hashes and Kerberos tickets, highlighting the need for Credential Guard.
4. PowerSploit (Memory Dumping):
Import the module on a target machine: `Import-Module .\Invoke-Mimikatz.ps1`
Run: `Invoke-Mimikatz -DumpCreds`
- Advanced Defense: Implementing Microsoft LAPS and Credential Guard
Moving beyond configuration, deploying advanced technologies is critical. Microsoft Local Administrator Password Solution (LAPS) randomizes and manages local admin passwords. Credential Guard uses virtualization-based security to isolate and protect LSASS secrets from theft.
Step-by-step guide:
What it does: Deploying LAPS to eliminate a common lateral movement vector (shared local admin passwords) and enabling Credential Guard to render Mimikatz-style attacks ineffective.
How to use it:
1. Deploy Microsoft LAPS:
Download and install the LAPS management software on admin workstations.
Extend the AD Schema to support LAPS attributes.
Install the LAPS client-side extension (CSE) on all domain-joined machines via GPO/management tool.
Configure permissions in AD to define which users/computers can read the managed password.
2. Enable Windows Defender Credential Guard (via Group Policy):
Navigate GPO to: Computer Configuration -> Administrative Templates -> System -> Device Guard.
Enable “Turn On Virtualization Based Security.”
Set “Select Platform Security Level” = “Secure Boot” or “Secure Boot and DMA Protection.”
Set “Credential Guard Configuration” = “Enabled with UEFI lock.”
Note: This requires UEFI firmware, Secure Boot, and compatible hardware (SLAT).
- Continuous Vigilance: Monitoring and Alerting on Critical AD Events
Hardening is not a one-time task. Proactive monitoring of Windows Security Event Logs for specific IDs is essential to detect intrusion attempts and lateral movement in real time.
Step-by-step guide:
What it does: Configuring a SIEM or centralized log collector to ingest and alert on high-fidelity AD security events.
How to use it:
1. Enable Advanced Auditing via GPO:
Navigate to: Computer Configuration -> Policies -> Windows Settings -> Security Settings -> Advanced Audit Policy Configuration -> Audit Policies.
Configure:
Account Logon: Audit Credential Validation = Success and Failure.
Account Management: Audit Computer Account Management, Security Group Management, User Account Management = Success and Failure.
Logon/Logoff: Audit Logon = Success and Failure.
- Key Event IDs to Alert On (Sent to SIEM):
4625: An account failed to log on.
4768: A Kerberos authentication ticket (TGT) was requested.
4769: A Kerberos service ticket was requested. (Filter for `Ticket Encryption Type` = `0x17` (RC4) for Kerberoasting alerts).
4672: Special privileges assigned to a new logon. (Potential admin activity).
- Building Your Lab: The Safe Environment for Practice
Mastering these concepts requires hands-on practice in a legal, isolated environment. Building a personal AD lab is the most effective way to learn both attack and defense without risk.
Step-by-step guide:
What it does: Creating a virtualized network with a Domain Controller, Windows 10/11 workstations, and a Kali Linux attack machine using Hyper-V or VMware.
How to use it:
1. Setup (Using Hyper-V Manager or VMware Workstation):
Create an internal or private virtual switch.
Create VMs: One for Windows Server (promote to Domain Controller), one for Windows 10/11 (join to domain), one for Kali Linux.
Isolate the network from your production environment.
2. Install and Configure:
On Windows Server: Install the AD Domain Services role via Server Manager. Promote to a new forest (e.g., lab.local).
Create sample user accounts (some with weak configurations), service accounts, and groups.
On Windows 10/11: Join the machine to the `lab.local` domain.
On Kali: Install tools like impacket, bloodhound-python, and powersploit.
3. Practice: Use this lab to run all enumeration, hardening, and attack simulations outlined in previous sections.
What Undercode Say:
Knowledge is the Ultimate Control Plane: Understanding Active Directory from an attacker’s perspective is not optional for defenders. The detailed tutorials from contributors like Mehdi Dakhama provide the crucial link between abstract security concepts and their practical implementation in a Windows environment, turning theoretical knowledge into actionable defense.
Proactive Hardening Beats Reactive Patching: The technical guide demonstrates that AD security is a continuous process of hardening, auditing, and monitoring. Implementing controls like LAPS and Credential Guard addresses the root cause of many attack techniques, fundamentally raising the barrier to entry for adversaries long before an incident occurs.
Analysis:
The focus on practical, command-line driven guidance for both attack and defense signifies a maturation in cybersecurity training. It moves beyond fear-mongering about threats to providing the actual technical substance required to build resilience. The inclusion of lab-building instructions is particularly critical, as it empowers professionals to create a safe space for failure and experimentation, which is the fastest path to genuine mastery. This approach directly combats the skills gap by equipping IT personnel with the confidence to not only manage AD but to actively secure it. The future of enterprise security depends on this widespread, hands-on competency.
Prediction:
The relentless evolution of AD attacks, particularly with the rise of AI-driven automation for vulnerability discovery and password spraying, will make manual configuration auditing obsolete. Future defense will be dominated by AI-powered security posture management platforms that continuously model all possible AD attack paths in real-time, automatically suggest and implement the minimal set of GPO changes to break them, and simulate attacks post-hardening for verification. The role of the administrator will shift from manual implementer to strategic overseer of these autonomous defense systems.
▶️ Related Video (78% Match):
🎯Let’s Practice For Free:
IT/Security Reporter URL:
Reported By: It Connect – Hackers Feeds
Extra Hub: Undercode MoN
Basic Verification: Pass ✅


