Listen to this Post
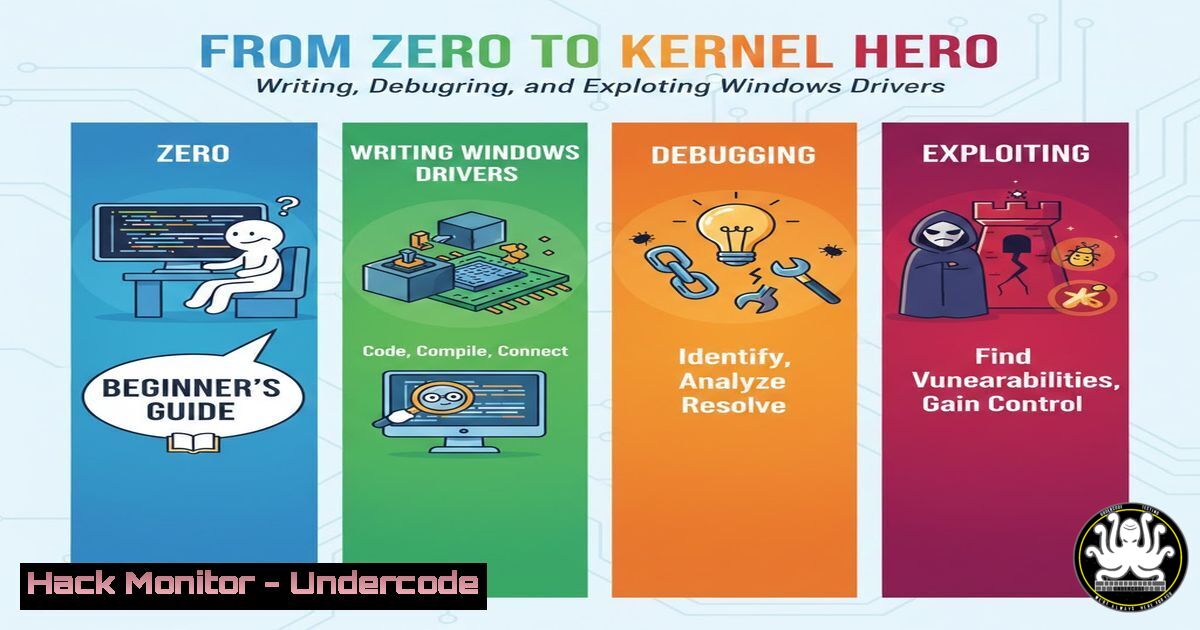
Introduction:
The Windows kernel, the core of the operating system, is a high-value target for security researchers and a critical area for defenders to understand. Mastering kernel-mode driver development and analysis is no longer a niche skill but a fundamental requirement for advanced cybersecurity roles in vulnerability research, exploit development, and defensive engineering. This guide provides a foundational walkthrough, taking you from writing a basic Windows kernel driver to reverse engineering and exploiting its vulnerabilities, offering practical hands-on experience in one of the most complex security domains.
Learning Objectives:
- Understand the structure, build process, and communication mechanisms of a basic Windows Kernel-Mode Driver.
- Set up a functional kernel debugging environment to step through and analyze driver code in real-time.
- Learn to identify, exploit, and mitigate a basic stack-based buffer overflow vulnerability in a driver’s IOCTL handler.
You Should Know:
1. Setting Up Your Weaponized Development Lab
Before writing a single line of code, a proper lab environment is crucial. This involves two virtual machines (VMs): one as the host for development and debugging tools, and one as the target for running and testing the driver. The machines must be configured for kernel debugging, a non-trivial but essential step.
Step‑by‑step guide:
- Create VMs: Use VMware Workstation/Player or Hyper-V to create two Windows 10/11 VMs. Ensure they are on the same virtual network (e.g., “Host-only” or a private NAT network).
- Configure Target for Debugging: On the target VM, open an Administrator Command Prompt and run:
bcdedit /debug on
bcdedit /dbgsettings serial debugport:1 baudrate:115200
This configures the target to accept a serial connection for debugging. Reboot the target VM.
- Configure Host Debugger: On the host VM, install the Windows Driver Kit (WDK) and Windows SDK. This includes the essential `WinDbg Preview` from the Microsoft Store. Configure WinDbg to connect to the target VM via a named pipe (e.g.,
\\.\pipe\com_1). - Verify Connection: Boot the target VM. In WinDbg on the host, initiate a “Kernel Debug” connection via the configured pipe. If successful, you will break into the debugger, confirming your lab is ready.
2. Crafting Your First Kernel-Mode Driver
A Windows driver is a Portable Executable (PE) file with specific entry points. The core of a minimal driver involves implementing the `DriverEntry` routine (its main function) and an `Unload` routine. Drivers communicate with user-space applications via I/O Request Packets (IRPs), often handled through a convenient mechanism called IOCTL (Input/Output Control).
Step‑by‑step guide:
- Create Project: In Visual Studio with the WDK installed, create a new “Kernel Mode Driver, Empty (KMDF)” project.
- Write Basic Driver Code: Your primary source file (
driver.c) will have this structure:include <ntddk.h></li> </ol> NTSTATUS DriverUnload(PDRIVER_OBJECT DriverObject) { DbgPrint("BasicDriver: Unloaded!\n"); return STATUS_SUCCESS; } NTSTATUS DriverEntry(PDRIVER_OBJECT DriverObject, PUNICODE_STRING RegistryPath) { DriverObject->DriverUnload = DriverUnload; DbgPrint("BasicDriver: Loaded!\n"); return STATUS_SUCCESS; }This driver does nothing but log messages upon load and unload.
3. Build: Use the `Build > Build Solution` option in VS. This will generate your `.sys` driver file.3. Deploying, Loading, and Debugging the Driver
Getting your driver onto the target system and loading it into the kernel requires specific tools and commands. The kernel debugger connection you established is vital for observing its behavior in real-time.
Step‑by‑step guide:
- Transfer Driver: Copy the built `.sys` file to your target VM (e.g., via a shared folder).
- Load the Driver: On the target VM, open an Administrator Command Prompt. Use the Service Control Manager to create a service and start it:
sc create BasicDriver binPath= C:\Path\To\Your\driver.sys type= kernel
sc start BasicDriver
- Observe in Debugger: On your host VM, WinDbg should have broken in. Use the command `g` (go) to let the target run. When you start the driver, you should see your “Loaded!” message appear in the debugger’s output window via the `DbgPrint` function. You can set breakpoints in `DriverEntry` using
bp driver!DriverEntry.
4. Reverse Engineering and Analyzing Driver Internals
Manually reversing a driver reveals its true functionality, especially its IOCTL dispatch routine and how it processes input. This is where you move from being a developer to an analyst.
Step‑by‑step guide:
- Locate the Dispatch Routine: In WinDbg, use the `!drvobj` command on your loaded driver to list its major function table. Identify the pointer for `IRP_MJ_DEVICE_CONTROL` (the IOCTL handler).
!drvobj BasicDriver 2
- Disassemble the Handler: Follow the pointer to disassemble the handler function:
u poi(BasicDriver+0xXXX)
- Analyze the Logic: Look for key instructions: a `cmp` to check the incoming IOCTL code, a vulnerability pattern like `mov` or `strcpy` into a stack buffer without proper bounds checking, and the eventual
IofCompleteRequest.
5. Exploiting a Stack-Based Buffer Overflow
The referenced blog post details exploiting a classic vulnerability: an unbounded copy into a fixed-size stack buffer within the IOCTL handler. The goal is to overwrite the return address on the kernel stack to hijack control flow.
Step‑by‑step guide:
- Craft the Malicious Input: Write a user-mode C program that opens a handle to the driver device and sends a malicious IOCTL.
- Structure the Payload: The payload sent via `DeviceIoControl` must be precisely structured:
[Padding to reach Return Address][New Controlled Address]. The padding length is determined by reverse engineering the function’s stack layout. - Execute the Exploit: The user-mode program calls `DeviceIoControl` with the crafted buffer. If successful, this overwrites the kernel function’s return address. Upon the function’s `ret` instruction, the CPU will jump to your controlled address, potentially executing shellcode placed in the kernel. This can lead to privilege escalation or system compromise.
6. Mitigations and Defensive Considerations
Modern Windows systems incorporate robust defenses that would prevent the simple exploit described. Understanding these is critical for both attackers (to bypass) and defenders (to enforce).
Step‑by‑step guide:
- Enable Kernel Protections: On a modern Windows target, ensure these are on:
Driver Signature Enforcement (DSE): Prevents loading of unsigned drivers. Bypassing it is a significant hurdle.
Hypervisor-Protected Code Integrity (HVCI): Enforces kernel-mode memory to be executable only if it’s validly signed, crippling traditional shellcode execution.
Kernel Address Space Layout Randomization (KASLR): Randomizes driver load addresses, making predicting your jump address difficult. - Enable these via Windows Security: Navigate to Device security > Core isolation details > Memory integrity for HVCI. DSE is enabled by default on all consumer Windows builds.
- Secure Coding: For developers, the fix is straightforward: use safe functions like `RtlStringCbCopy` instead of `strcpy` and always validate input buffer sizes from user mode before copying.
What Undercode Say:
- The Path to Mastery is Hands-On: This guide demystifies the kernel by forcing you to build, break, and fix. Theoretical knowledge of exploits pales in comparison to the insight gained from debugging a live driver in the kernel.
- Offense Informs Defense: The process of exploitation provides the clearest possible lens for understanding the critical importance of mitigations like HVCI and KASLR. A defender who understands the attacker’s required steps is far more effective.
The value of this walkthrough lies in its applied, end-to-end approach. It connects discrete concepts—driver architecture, system programming, debugging, reverse engineering, and exploit primitives—into a coherent pipeline. While the specific vulnerability is simple and well-defended on modern systems, the methodology it teaches is timeless and forms the bedrock for researching more complex kernel vulnerabilities. It correctly emphasizes that peer review and iterative learning are part of the professional process in this field.
Prediction:
The arms race in kernel security will intensify, shifting focus from simple buffer overflows to logical and architectural vulnerabilities. As hardware-backed security like HVCI and Intel CET becomes ubiquitous, successful kernel exploitation will increasingly rely on attacking legitimate driver functionality (living-off-the-land drivers), exploiting race conditions in multi-processor systems, or chaining together multiple lower-privilege issues. Furthermore, the lines between kernel and firmware security will blur, with attacks like DMA (Direct Memory Access) from peripherals or vulnerabilities in hypervisors becoming the new frontier. Training and offensive research must evolve to target this more complex, layered defense-in-depth model.
▶️ Related Video (78% Match):
🎯Let’s Practice For Free:
IT/Security Reporter URL:
Reported By: Andrew Poole – Hackers Feeds
Extra Hub: Undercode MoN
Basic Verification: Pass ✅🔐JOIN OUR CYBER WORLD [ CVE News • HackMonitor • UndercodeNews ]
📢 Follow UndercodeTesting & Stay Tuned:


