
Listen to this Post
Introduction:
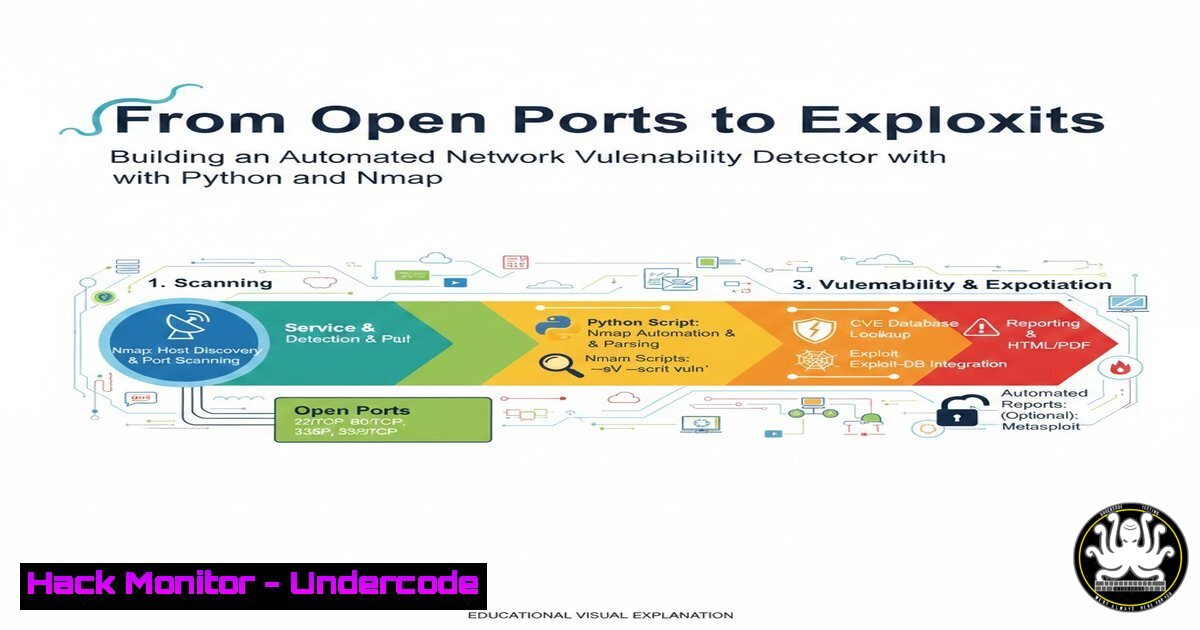
In the cybersecurity landscape, a common misconception is that an open port is the primary vulnerability. In reality, the true risk lies in the services running behind those ports and their respective versions. This article explores a practical approach to moving beyond basic port scanning by building an automated Network Vulnerability Detection Tool. By leveraging Python and Nmap, this project focuses on service fingerprinting and version detection to provide structured insights into potential exposures before they can be weaponized by attackers.
Learning Objectives:
- Understand the critical difference between open ports and vulnerable services.
- Learn how to automate network scanning and service detection using Python and Nmap.
- Gain the ability to parse raw scan data into structured, actionable vulnerability intelligence.
You Should Know:
- Setting Up the Environment: Python and Nmap Integration
To begin building this tool, you must ensure that Nmap is installed on your system and accessible via the command line. The Python script will interact with Nmap using the `subprocess` module or the `python-nmap` library to execute scans and capture output. This integration allows for real-time scan execution and automation of repetitive tasks.
Step‑by‑step guide:
1. Install Nmap:
- Linux (Debian/Ubuntu): `sudo apt-get update && sudo apt-get install nmap -y`
– Linux (RHEL/CentOS): `sudo yum install nmap -y`
– Windows: Download the installer from the official Nmap website (nmap.org) and ensure it is added to your system’s PATH. - macOS: `brew install nmap`
2. Verify Installation: Open a terminal/command prompt and run `nmap -V` to confirm the installation.
- Install Python (if not present): `python3 –version` (Linux/macOS) or `python –version` (Windows). Download from python.org if necessary.
- Create a Python script (e.g.,
vuln_scanner.py). The script will start by defining the target and the Nmap command to execute.
2. Performing Service Fingerprinting with `-sV`
The core of this project lies in using Nmap’s service/version detection flag (-sV). Basic scans only show open ports; the `-sV` flag probes those ports to determine the application name and version number (e.g., “OpenSSH 7.4”). This is the critical first step in identifying outdated or vulnerable software.
Step‑by‑step guide:
1. Basic Command Structure: `nmap -sV `
2. Python Implementation:
import subprocess
import json

def run_nmap_scan(target):
print(f"[] Scanning target: {target}")
 The -sV flag enables version detection
command = ["nmap", "-sV", target]
try:
result = subprocess.run(command, capture_output=True, text=True, timeout=300)
return result.stdout
except subprocess.TimeoutExpired:
return "[!] Scan timed out."
except Exception as e:
return f"[!] An error occurred: {e}"

Example usage
target_ip = "192.168.1.1"  Replace with your target
raw_output = run_nmap_scan(target_ip)
print(raw_output)
3. Analysis: The output will list open ports and, next to them, the detected service and version (e.g., 22/tcp open ssh OpenSSH 7.4). This raw text is what we will parse in the next step.
3. Detecting Operating System Details with `-O`
Understanding the operating system of a target helps in contextualizing vulnerabilities. Nmap’s OS detection (-O) uses TCP/IP stack fingerprinting to guess the OS. This adds another layer of depth to the vulnerability assessment.
Step‑by‑step guide:
- Combine Flags: To get both service versions and OS details, use
nmap -sV -O <target>. Note that OS detection often requires root/administrator privileges.
2. Python Script Modification:
 Modify the command in the previous function
 command = ["sudo", "nmap", "-sV", "-O", target]  Use sudo on Linux/macOS
 On Windows, run the script as Administrator
3. Interpreting Results: Look for lines like `Device type: general purpose` or Running: Linux 2.6.X. This information is vital for correlating exploits specific to that OS and version.
4. Parsing Raw Scan Output into Structured Insights
Raw Nmap output is human-readable but not machine-friendly for automated analysis. The next step is to parse this text to extract IPs, ports, protocols, service names, and versions. This structured data can then be fed into a database or compared against vulnerability databases.
Step‑by‑step guide:
- Regular Expressions (Regex): Use Python’s `re` module to parse the output.
import re</li>
</ol>

def parse_nmap_output(raw_output):
findings = []
 Regex to find lines like: 22/tcp open ssh OpenSSH 7.4 (protocol 2.0)
 Pattern: port/protocol state service version
pattern = r'^(\d+)/(tcp|udp)\s+open\s+(\S+)\s+(.+)$'

for line in raw_output.split('\n'):
match = re.search(pattern, line)
if match:
port = match.group(1)
protocol = match.group(2)
service = match.group(3)
version_info = match.group(4).strip()
findings.append({
'port': port,
'protocol': protocol,
'service': service,
'version': version_info
})
return findings

Assume 'raw_output' from the previous scan
parsed_data = parse_nmap_output(raw_output)
print(json.dumps(parsed_data, indent=2))
2. Structured Reporting: The script now converts scattered text into a list of dictionaries, making it easy to loop through and flag specific versions (e.g., “OpenSSH” versions below 7.5).
5. Identifying Exposure: Correlating Services with CVEs
An open port with an identified service version becomes a security risk only if that version has known vulnerabilities (CVEs). The final logical step (as noted in the developer’s roadmap) is to automate CVE mapping. This can be achieved by querying public APIs like the National Vulnerability Database (NVD) or using local databases.
Step‑by‑step guide (Conceptual):
- Data Preparation: Take the parsed `service` and `version` fields.
2. Query a CVE Database:
import requests

def check_cve(service, version):
 This is a simplified example using a hypothetical API
 In reality, you might use the NVD API (requires API key) or a local cve-search tool.
query = f"{service} {version}"
 Example API call (pseudo-code)
 response = requests.get(f"https://services.nvd.nist.gov/rest/json/cves/2.0?keywordSearch={query}")
 if response.status_code == 200:
 return response.json()  Parse and return relevant CVEs
print(f"[] Checking CVEs for: {query}")
 Return a placeholder list of CVEs
return ["CVE-2021-1234", "CVE-2020-5678"]  Example
3. Risk Scoring: Based on the number and severity of CVEs found, the tool can assign a risk score (Critical, High, Medium, Low) to each open port/service.
What Undercode Say:
This project effectively demonstrates that cybersecurity visibility is the prerequisite for defense. By building a tool that automates the transition from “port is open” to “service X version Y is running,” the developer highlights a fundamental security practice: inventory and exposure management.
The key takeaway here is that automation is essential for scale. Manually checking service versions on a network with hundreds of hosts is impractical. This Python-based approach allows security teams to continuously monitor their attack surface and prioritize patching efforts based on actual software versions, not just open ports. This shifts the security posture from reactive to proactive, identifying the “blast radius” before an attacker can map it.
Prediction:
As network perimeters dissolve and hybrid work environments become the norm, the demand for automated, integrated vulnerability detection tools will skyrocket. We will likely see these Python-based scripts evolve into full-fledged platforms that not only detect services but also autonomously apply virtual patches or reconfigure firewall rules in real-time. The integration of AI for predictive analysis—identifying which vulnerabilities are most likely to be exploited based on current threat intelligence—will become the next standard, making tools like this the bedrock of modern Security Operations Centers (SOCs).
▶️ Related Video (78% Match):
🎯Let’s Practice For Free:
IT/Security Reporter URL:
Reported By: Fahad Hayat – Hackers Feeds
Extra Hub: Undercode MoN
Basic Verification: Pass ✅🔐JOIN OUR CYBER WORLD [ CVE News • HackMonitor • UndercodeNews ]
📢 Follow UndercodeTesting & Stay Tuned:


