Listen to this Post
Introduction:
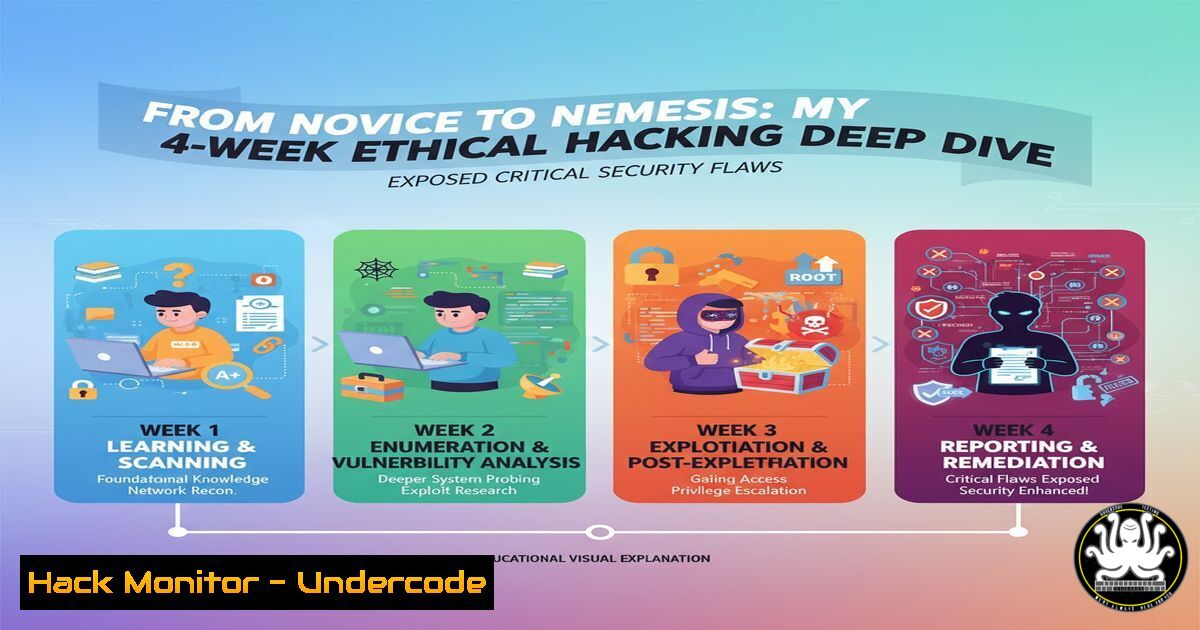
The transition from a defensive cybersecurity posture to an offensive, ethical hacking mindset is a transformative journey that reveals the profound vulnerabilities inherent in modern digital systems. Over an intensive four-week period, this hands-on training in ethical hacking fundamentals—covering footprinting, phishing simulations, honeypots, cryptography, and steganography—provided a stark, practical education in both attack vectors and defensive countermeasures. This article distills the technical core of that experience into actionable commands and methodologies for security professionals.
Learning Objectives:
- Understand and execute core reconnaissance techniques for security assessment.
- Implement and defend against social engineering and phishing attacks.
- Deploy defensive security mechanisms including honeypots and data obfuscation.
You Should Know:
1. Mastering the Art of Digital Footprinting
Footprinting is the foundational phase of any security assessment, involving the passive and active gathering of intelligence about a target system or network.
Verified Commands & Code Snippets:
`nmap -sS -sV -O -A ` (Linux)
`whois ` (Linux/Windows)
`theHarvester -d -b google,linkedin` (Linux)
`maltego` (Graphical Tool)
`dnsrecon -d -t std,axfr` (Linux)
Step-by-step guide:
The `nmap` command provided is a comprehensive network discovery and security audit command. The `-sS` flag initiates a TCP SYN stealth scan, which is less likely to be logged than a full connect scan. `-sV` probes open ports to determine service and version information, while `-O` enables OS detection. The `-A` flag enables aggressive mode, which combines OS detection, version detection, script scanning, and traceroute. To use it, simply replace `
2. Phishing Simulation: The Human Firewall Test
Phishing tests the human element of security. Tools like CamPhish are used in controlled environments to simulate real-world attacks and measure employee susceptibility.
Verified Commands & Code Snippets:
`git clone https://github.com/bytefish/CamPhish` (Linux)
`cd CamPhish && chmod +x camphish.sh && ./camphish.sh` (Linux)
`setoolkit` (Social-Engineer Toolkit – Linux)
`./gophish` (GoPhish – Cross-Platform)
Custom HTML Email Template with tracking pixel.
Step-by-step guide:
CamPhish is a tool that hijacks webcam sessions by cloning a login page. After cloning the repository, navigate into its directory and execute the `camphish.sh` script. The script will present a menu to clone sites like Facebook, Instagram, or Google. When a victim enters their credentials on the cloned page, the tool attempts to capture a webcam image. It is crucial to use this only on authorized test systems and with explicit permission. This simulation highlights the ease with which convincing phishing pages can be created and the critical need for user education on verifying URLs.
3. Deploying Deceptive Defenses with Honeypots
Honeypots are decoy systems designed to attract and divert attackers, allowing security teams to study their tactics, techniques, and procedures (TTPs).
Verified Commands & Code Snippets:
`sudo docker run -p 2222:2222 taviso/nginx` (Simple Honeypot)
`git clone https://github.com/cowrie/cowrie && cd cowrie && bin/cowrie start` (SSH Honeypot – Linux)
`sudo apt install honeyd` (Linux)
`kippo` (SSH Honeypot – Legacy)
`tcpdump -i any -w honeypot_capture.pcap port 2222` (Traffic Capture)
Step-by-step guide:
Cowrie is a medium-interaction SSH and Telnet honeypot. After installing dependencies like Python and Git, clone the Cowrie repository. Navigate into the directory and start the honeypot using bin/cowrie start. By default, Cowrie runs on port 2222. You can then monitor its log files (/cowrie/var/log/cowrie/cowrie.log) to see authentication attempts, commands executed by attackers, and even downloaded malware. This provides invaluable intelligence on attack patterns without exposing your real production systems.
4. Cryptographic Data Protection with RSA & AES
Cryptography is the backbone of data confidentiality and integrity. Understanding both asymmetric (RSA) and symmetric (AES) encryption is non-negotiable.
Verified Commands & Code Snippets:
`openssl genrsa -out private.key 2048` (Linux/Windows)
`openssl rsa -in private.key -pubout -out public.key` (Linux/Windows)
`openssl enc -aes-256-cbc -salt -in plaintext.txt -out encrypted.enc` (Linux/Windows)
`gpg –full-generate-key` (Linux/Windows)
Python `cryptography` library: `cipher_suite = Fernet.generate_key()`
Step-by-step guide:
To encrypt a file using AES-256 with OpenSSL, use the command openssl enc -aes-256-cbc -salt -in plaintext.txt -out encrypted.enc. The `-salt` flag adds cryptographic salt to strengthen the encryption against rainbow table attacks. Upon execution, you will be prompted to enter and verify a passphrase. The original `plaintext.txt` file remains, and a new, encrypted file `encrypted.enc` is created. To decrypt, use openssl enc -d -aes-256-cbc -in encrypted.enc -out decrypted.txt. This demonstrates a fundamental method for securing data at rest.
5. Concealing Data with Steganography
Steganography involves hiding information within non-secret files, such as images or audio, to avoid detection.
Verified Commands & Code Snippets:
`steghide embed -cf cover.jpg -ef secret.txt` (Linux)
`exiftool -Comment=”Hidden Message” image.jpg` (Linux/Windows)
`zsteg hidden.png` (Detect steganography in PNG/BMP – Linux)
`binwalk -e suspicious_file.jpg` (Forensics – Linux)
`python stepic –encode -i input.png -o output.png -d “secret message”`
Step-by-step guide:
Using `steghide` to hide a file requires a cover image and the file to be embedded. The command `steghide embed -cf cover.jpg -ef secret.txt` will prompt for a passphrase to protect the hidden data. The output is a new image file that appears identical to the original but contains the embedded data. To extract the hidden data, the recipient uses `steghide extract -sf steg_image.jpg` and provides the correct passphrase. This technique is a classic example of data obfuscation and is a key component of forensics and anti-forensics training.
6. Web Application Reconnaissance and Vulnerability Scanning
Identifying weaknesses in web applications is a critical skill, utilizing automated scanners and manual testing techniques.
Verified Commands & Code Snippets:
`nikto -h http://
`gobuster dir -u http://
`sqlmap -u “http://
`nuclei -u -t cves/` (Linux)
`burpsuite` (Graphical Proxy Tool)
Step-by-step guide:
Gobuster is a tool used for brute-forcing URIs (directories and files) on a web server. The command `gobuster dir -u http://target.com -w /usr/share/wordlists/dirb/common.txt` instructs Gobuster to perform a directory busting attack (-u) on the specified URL using a common wordlist. This can uncover hidden administrative panels, backup directories, or configuration files that are not linked from the main site. The results provide a map of the application’s accessible surface, which is the first step in a penetration test.
7. System Hardening and Post-Exploitation Analysis
After identifying vulnerabilities, hardening systems is essential. This also involves understanding what an attacker does post-exploitation.
Verified Commands & Code Snippets:
`sudo fail2ban-client status` (Linux – Brute-force protection)
`Get-NetFirewallRule | Where-Object {$_.Enabled -eq “True”} | Format-Table Name, DisplayName` (Windows PowerShell)
`linpeas.sh` (Linux Privilege Escalation Script)
`winpeas.exe` (Windows Privilege Escalation Script)
`auditpol /get /category:` (Windows Audit Policy)
Step-by-step guide:
LinPEAS is a script that automates the enumeration of a Linux system for privilege escalation vectors. After gaining a foothold on a system, an attacker (or tester) would transfer the `linpeas.sh` script to the target and execute it with ./linpeas.sh. The script checks for misconfigurations in sudo rights, cron jobs, SUID/GUID files, kernel exploits, and more, outputting a color-coded report. From a defensive perspective, running LinPEAS on your own systems allows you to identify and remediate these same misconfigurations before a real attacker can exploit them.
What Undercode Say:
- The Offensive Mindset is the Ultimate Defense: True security resilience is born from intimately understanding the attacker’s playbook, not just from deploying defensive tools.
- The Human Layer is the Most Porous: Advanced technical controls can be rendered useless by a single click on a well-crafted phishing link, underscoring the need for continuous security awareness training.
The four-week immersion into ethical hacking underscores a paradigm shift in cybersecurity: defense can no longer be passive. The hands-on application of tools for footprinting and phishing moves theoretical risks into tangible, demonstrable threats. The ability to hide data via steganography or set traps with honeypots provides a dual perspective, revealing how attacks are orchestrated and how they can be detected and studied. This holistic approach—thinking like an attacker to build better defenses—is no longer a luxury for elite red teams but a fundamental requirement for all security practitioners. The journey from novice to a knowledgeable defender is paved with the practical, and sometimes unsettling, knowledge of how systems can be broken.
Prediction:
The normalization of hands-on ethical hacking training will lead to a new generation of cybersecurity professionals who are inherently more adept at proactive threat modeling and defense. However, this same accessibility will lower the barrier to entry for malicious actors, leading to a surge in more sophisticated, automated attacks from a broader threat actor base. The future cyber battleground will be defined by the speed and depth of this knowledge exchange, forcing a continuous and accelerated evolution of both attack and defense strategies, with AI-powered offensive and defensive tools becoming standard in the arsenal of both sides.
🎯Let’s Practice For Free:
IT/Security Reporter URL:
Reported By: Elijah Jonah – Hackers Feeds
Extra Hub: Undercode MoN
Basic Verification: Pass ✅


