Listen to this Post
Introduction:
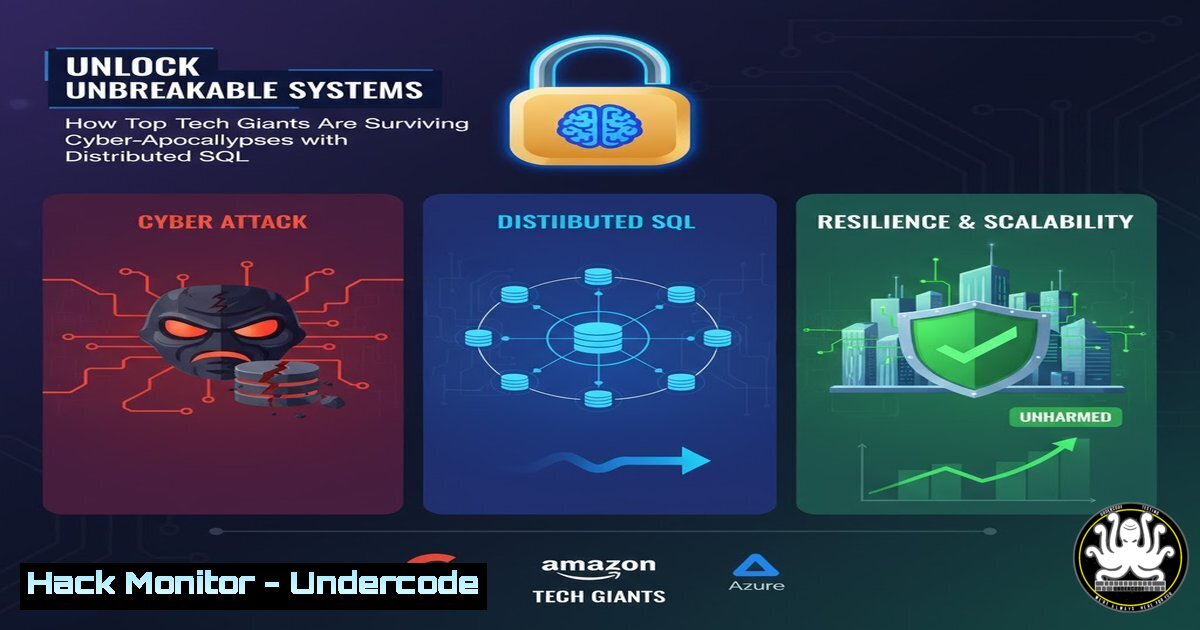
In an era of relentless cyber threats and demanding compliance mandates, legacy databases have become the single point of failure attackers dream of. Leading companies like FanDuel, Cisco AI, and Squarespace are modernizing their data layers by migrating to distributed SQL databases like CockroachDB, transforming their infrastructure from a liability into a resilient asset capable of surviving targeted attacks and catastrophic failures.
Learning Objectives:
- Understand the core security and resilience principles of a distributed SQL database architecture.
- Learn practical commands for database hardening, encryption, and auditing across Linux and cloud environments.
- Implement step-by-step guides for securing database access, managing certificates, and configuring for zero-trust networks.
You Should Know:
1. Global Data Distribution for Disaster Recovery
A distributed SQL database like CockroachDB automatically replicates data across multiple availability zones or regions. This means the failure of an entire data center does not result in data loss or significant downtime, a critical defense against DDoS attacks and regional outages.
Verified Command & Step-by-Step Guide:
To start a 3-node secure CockroachDB cluster with encrypted inter-node communication, you use the `cockroach start` command with specific security flags.
 On Node 1:
cockroach start --insecure \
--locality=region=us-east1,zone=us-east1-b \
--advertise-addr=node1.example.com \
--join=node1.example.com,node2.example.com,node3.example.com \
--cache=.25 --max-sql-memory=.25 \
--background

On Node 2:
cockroach start --insecure \
--locality=region=us-east1,zone=us-east1-c \
--advertise-addr=node2.example.com \
--join=node1.example.com,node2.example.com,node3.example.com \
--cache=.25 --max-sql-memory=.25 \
--background

On Node 3:
cockroach start --insecure \
--locality=region=us-west1,zone=us-west1-a \
--advertise-addr=node3.example.com \
--join=node1.example.com,node2.example.com,node3.example.com \
--cache=.25 --max-sql-memory=.25 \
--background
Step-by-Step Explanation:
--insecure: For demonstration only. In production, you would use `–certs-dir` to specify certificates.--locality: This is crucial for resilience. It tells the database the physical location of the node, allowing it to intelligently place data replicas for maximum survivability.--advertise-addr: The address that other nodes in the cluster will use to communicate with this node.--join: Instructs each node to join the existing cluster defined by the listed addresses. The cluster self-heals as nodes are added.- The `–cache` and `–max-sql-memory` flags control memory allocation to prevent the database from consuming all system resources.
2. Enforcing TLS/SSL Encryption for All Connections
In a production environment, all communication—between clients and the database and between the nodes themselves—must be encrypted. This is a non-negotiable requirement for compliance standards like PCI-DSS, SOC 2, and GDPR, which companies like FanDuel must adhere to.
Verified Command & Step-by-Step Guide:
First, you generate the Certificate Authority (CA) and node certificates.
 Create the CA certificate and key
cockroach cert create-ca --certs-dir=$HOME/.cockroach-certs --ca-key=$HOME/.cockroach-certs/ca.key

Create the node certificate for each server
cockroach cert create-node node1.example.com localhost 127.0.0.1 --certs-dir=$HOME/.cockroach-certs --ca-key=$HOME/.cockroach-certs/ca.key

Create a client certificate for secure root access
cockroach cert create-client root --certs-dir=$HOME/.cockroach-certs --ca-key=$HOME/.cockroach-certs/ca.key
Step-by-Step Explanation:
cert create-ca: Creates the root of trust for your entire database cluster. The CA key must be stored in an ultra-secure location.cert create-node: Generates a certificate for a specific database node, including its DNS names and IPs as Subject Alternative Names (SANs). This certificate is presented when other nodes or clients connect.cert create-client: Creates a certificate for a user (likeroot). This replaces the need for a password and is a stronger form of authentication.- To start a node securely, you now use: `cockroach start –certs-dir=$HOME/.cockroach-certs –advertise-addr=node1.example.com –join=node1.example.com,node2.example.com,node3.example.com –background`
- Implementing Role-Based Access Control (RBAC) and SQL Auditing
Migrating from a monolithic PostgreSQL instance, as Squarespace did, often involves tightening access controls. CockroachDB uses a PostgreSQL-compatible RBAC system, and enabling SQL audit logging is essential for security forensics.
Verified Command & Step-by-Step Guide:
Use SQL commands to create roles, grant privileges, and configure audit logging.
-- Connect to the database as the root user
cockroach sql --certs-dir=$HOME/.cockroach-certs --host=node1.example.com

-- Create a new role for a financial application with limited privileges
CREATE ROLE fanduel_ledger_ro;

-- Grant the role read-only access to specific tables
GRANT SELECT ON TABLE transactions, accounts TO fanduel_ledger_ro;

-- Create a user and assign them the role
CREATE USER reporting_bot;
GRANT fanduel_ledger_ro TO reporting_bot;

-- Enable audit logging to a file, logging all queries executed by the 'root' user.
SET CLUSTER SETTING sql.log.user_audit = 'root ALL';
Step-by-Step Explanation:
CREATE ROLE: Creates a group with specific permissions, following the principle of least privilege.GRANT SELECT: Gives the role the ability only to read data from the specified tables, preventing any modification.
3. `CREATE USER` andGRANT role TO user: Associates a human or application identity with the set of permissions.SET CLUSTER SETTING sql.log.user_audit: This is a powerful auditing tool. It will log every SQL statement executed by the `root` user to the database logs, which is critical for detecting malicious or accidental misuse of high-privilege accounts.
4. Linux OS Hardening for Database Hosts
The underlying operating system must be secured. A compromised OS means a compromised database. These are foundational Linux security commands.
Verified Command & Step-by-Step Guide:
A collection of Linux commands for system hardening.
 1. Ensure the firewall only allows necessary traffic (CockroachDB default port is 26257)
sudo ufw allow from 10.0.0.0/8 to any port 26257
sudo ufw allow ssh
sudo ufw --force enable

<ol>
<li>Disable ICMP redirects to prevent certain network-based attacks
echo 'net.ipv4.conf.all.accept_redirects = 0' | sudo tee -a /etc/sysctl.conf
echo 'net.ipv6.conf.all.accept_redirects = 0' | sudo tee -a /etc/sysctl.conf
sudo sysctl -p</p></li>
<li><p>Check for and apply all security updates
sudo apt update && sudo apt list --upgradable
sudo unattended-upgrade --dry-run</p></li>
<li><p>Verify that the database process is running as a non-root user
ps aux | grep cockroach
Step-by-Step Explanation:
ufw allow: Configures Uncomplicated Firewall to only allow database communication from a trusted internal network (e.g.,10.0.0.0/8) and SSH for management.
2. `sysctl` settings: These kernel parameters help mitigate man-in-the-middle attacks on the network layer.unattended-upgrade: Automates the installation of security patches, a critical step in maintaining server integrity.ps aux: Verifies the database is not running as the `root` user, which limits the impact of a potential database software exploit.
5. Automated Backups and Geographic Restore
Resilience is not just about uptime; it’s about recoverability. Automated, geographically redundant backups are your last line of defense against data corruption or ransomware.
Verified Command & Step-by-Step Guide:
Use the `cockroach dump` and `cockroach sql` commands for logical backups, or enterprise `BACKUP` for full cluster backups.
 Take a full logical dump of the critical database
cockroach dump mydb --certs-dir=$HOME/.cockroach-certs --host=node1.example.com > /mnt/secure-backup/mydb_backup_$(date +%Y%m%d).sql

For enterprise clusters, use the distributed, incremental BACKUP command
cockroach sql --certs-dir=$HOME/.cockroach-certs --host=node1.example.com -e "BACKUP DATABASE mydb INTO 's3://my-backup-bucket/prod-cluster?AWS_ACCESS_KEY_ID=...&AWS_SECRET_ACCESS_KEY=...' AS OF SYSTEM TIME '-10s';"

To restore a database to a specific point-in-time in a new region
cockroach sql --certs-dir=$HOME/.cockroach-certs --host=recovery-cluster.example.com -e "RESTORE DATABASE mydb FROM 's3://my-backup-bucket/prod-cluster' AS OF SYSTEM TIME '2024-10-26 12:00:00';"
Step-by-Step Explanation:
cockroach dump: Creates a plain-text SQL file containing the schema and data. Easy for single-database recovery but not scalable for large, full-cluster backups.BACKUP DATABASE ... INTO 's3://...': This is the enterprise-grade method. It performs a distributed, incremental backup that is stored in a highly durable object store like AWS S3. The `AS OF SYSTEM TIME` clause ensures a consistent backup without locking the database.RESTORE DATABASE ... AS OF SYSTEM TIME: This command can recreate an entire database—or the whole cluster—in a different CockroachDB cluster, even in a different geographic region, from the S3 backup. This is the ultimate disaster recovery procedure.
6. Windows Client Configuration for Secure Connectivity
Applications running on Windows servers, common in enterprise environments, must also securely connect to the distributed database using TLS certificates.
Verified Command & Step-by-Step Guide:
Using PowerShell on a Windows application server to connect securely.
 1. Transfer the CA cert and client certificate from a secure location to the Windows server.
 Place them in a directory, e.g., C:\cockroach-certs\

<ol>
<li>Set environment variables for the connection string to avoid hard-coding paths.
$env:COCKROACH_CERTS_DIR = "C:\cockroach-certs"</p></li>
<li><p>Test the connection using the CockroachDB executable for Windows.
.\cockroach.exe sql --url "postgresql://[email protected]:26257/mydb?sslcert=$env:COCKROACH_CERTS_DIR\client.reporting_bot.crt&sslkey=$env:COCKROACH_CERTS_DIR\client.reporting_bot.key&sslrootcert=$env:COCKROACH_CERTS_DIR\ca.crt&sslmode=verify-full"</p></li>
<li><p>The connection string can be used in application code (e.g., a .NET app) similarly.
Step-by-Step Explanation:
- Certificate Transfer: Securely copy the
ca.crt,client.<username>.crt, and `client..key` files from your certificate authority to the Windows host. - Environment Variables: Using `$env:VARIABLE` in PowerShell is a more secure and manageable practice than embedding paths in scripts.
- Connection URL: The `–url` parameter encapsulates all connection details. `sslmode=verify-full` is critical—it ensures the client validates the server’s certificate against the CA, preventing impersonation attacks.
-
Application Integration: This same connection string logic can be used in connection pool configurations for applications written in Python, Java, or .NET.
-
Vulnerability Mitigation: Network Segmentation with a Bastion Host
Direct internet access to database ports is a severe vulnerability. A bastion host (jump server) provides a single, heavily fortified entry point.
Verified Command & Step-by-Step Guide:
Using SSH to tunnel database traffic through a bastion host.
 On your local machine or application server, create an SSH tunnel.
 This command forwards local port 26258 to the remote database on port 26257 via the bastion.
ssh -i ~/.ssh/bastion_key.pem -L 26258:node1.example.com:26257 [email protected] -N

In a new terminal, connect to the database through the local tunnel.
cockroach sql --url "postgresql://reporting_bot@localhost:26258/mydb?sslmode=require"

Configure your application's connection string to use 'localhost:26258' while the tunnel is active.
Step-by-Step Explanation:
ssh -L ...: The `-L` flag creates the tunnel. It means “listen on local port 26258 and forward all traffic tonode1.example.com:26257, using the `bastion-host` as the intermediary.”- The `-N` flag tells SSH not to execute a remote command, just to set up the tunnel.
- The database client (or application) now connects to
localhost:26258. It is unaware that the traffic is being securely routed through the bastion host. - The database cluster only needs to allow SSH traffic (port 22) to the bastion host and can completely block inbound traffic on port 26257 from the public internet, drastically reducing its attack surface.
What Undercode Say:
- The shift to distributed, resilient databases is no longer a luxury for scale but a fundamental requirement for cybersecurity defense-in-depth.
- Legacy monolithic databases are the new “soft target” for ransomware gangs, while survivable systems act as a powerful deterrent.
The migration patterns from FanDuel, Cisco AI, and Squarespace signal a strategic inflection point. They are not just swapping one database for a faster one; they are architecting for survivability. In a threat landscape defined by state-sponsored actors and sophisticated ransomware campaigns, a system that can “survive anything” – from a misconfigured cloud firewall that exposes a node to an entire data center being taken offline – moves from being a competitive advantage to a core component of corporate duty. This approach fundamentally alters the cost-benefit analysis for an attacker. Why waste resources trying to cripple a system that is designed to self-heal and has no single point of failure? The future of secure system design is antifragility.
Prediction:
The demonstrated success of distributed SQL in securing critical financial, AI, and web infrastructure will trigger a mass migration away from legacy RDBMS within 5 years. This will force a fundamental shift in cyber-attack methodologies. Attackers, unable to easily take down services via database outages, will pivot towards more sophisticated application-layer attacks, AI-powered social engineering to steal credentials, and software supply chain compromises. The database will cease to be the primary battlefield, moving the frontline to the identity and access management layer and the integrity of the CI/CD pipeline.
🎯Let’s Practice For Free:
IT/Security Reporter URL:
Reported By: Cockroach Labs – Hackers Feeds
Extra Hub: Undercode MoN
Basic Verification: Pass ✅


