Listen to this Post
Introduction:
Proxmox VE has emerged as a powerhouse for open-source virtualization, yet its native backup and storage management can present a steep learning curve for many IT teams. By leveraging Infrastructure as Code (IaC) tools like Terraform and custom automation scripts, organizations can achieve a robust, hands-off backup strategy, transforming a complex manual process into a reliable, automated system. This approach not only hardens disaster recovery postures but also embeds security and consistency into the core of infrastructure management.
Learning Objectives:
- Architect and deploy a dedicated NFS storage solution for Proxmox using Terraform.
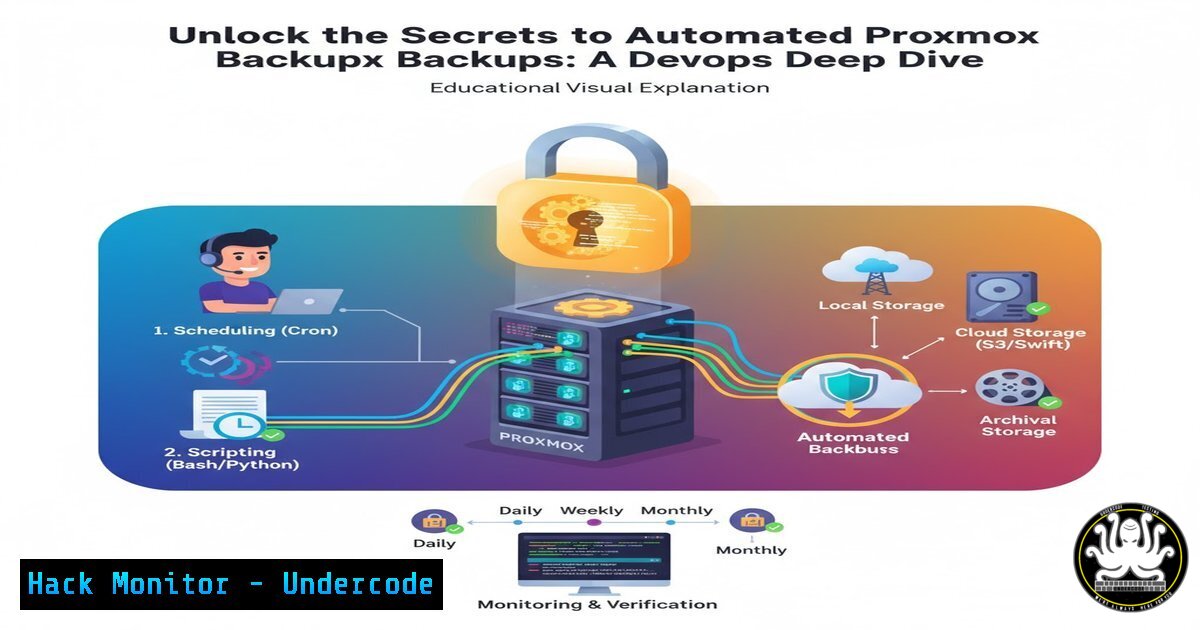
- Automate the creation and scheduling of Proxmox Backup Jobs through code.
- Implement a secure, script-driven installation process to bypass manual configuration hurdles.
You Should Know:
1. Initial System Hardening with `install.sh`
Before deploying any application, securing the underlying OS is paramount. The provided `install.sh` script automates this critical first step.
!/bin/bash
 Update the system and install essential dependencies
sudo apt update && sudo apt upgrade -y
sudo apt install -y nfs-kernel-server curl wget git

Configure the firewall for NFS and Proxmox services
sudo ufw allow 22/tcp comment 'SSH'
sudo ufw allow 8006/tcp comment 'Proxmox VE Web Interface'
sudo ufw allow from 192.168.1.0/24 to any port 111,2049,20048 proto tcp comment 'NFS Client Subnet'
sudo ufw --force enable

Verify firewall status
sudo ufw status verbose
This script performs a system update, installs the NFS server and other essential packages, and then configures the Uncomplicated Firewall (UFW). It explicitly allows SSH, the Proxmox web interface, and NFS traffic only from a designated, secure subnet. Running `./install.sh` ensures a baseline level of security and prepares the system for the NFS server deployment.
2. Automating NFS Share Deployment
A dedicated, secure NFS share is crucial for isolating backup data. The `setup.sh` script and underlying Terraform code handle this deployment.
 setup.sh excerpt - Creates the NFS directory and applies Terraform configuration
sudo mkdir -p /mnt/pve/backups
sudo chown -R nobody:nogroup /mnt/pve/backups
sudo chmod 777 /mnt/pve/backups

Edit the NFS exports file to restrict access
echo "/mnt/pve/backups 192.168.1.0/24(rw,sync,no_subtree_check,no_root_squash)" | sudo tee -a /etc/exports

Apply the Terraform configuration for Proxmox
terraform init
terraform plan -out=proxmox_backup.tfplan
terraform apply "proxmox_backup.tfplan"
This sequence of commands creates the directory for backups, sets appropriate permissions, and configures the NFS export to only serve the local Proxmox subnet. The `no_root_squash` option should be used with extreme caution and only in trusted environments. Finally, it initializes and applies the Terraform configuration, which defines the infrastructure.
3. Terraform for Proxmox Storage Configuration
This Terraform code snippet defines the NFS storage within Proxmox, making it available to all cluster nodes.
 main.tf
resource "proxmox_virtual_environment_file_system" "nfs_backups" {
provider = proxmox

node_name = "pve-node-01"
path = "/mnt/pve/backups"

storage {
name = "nfs-backups"
path = "/mnt/pve/backups"
content = ["backup", "iso", "vztmpl"]
type = "nfs"
server = "192.168.1.10"  IP of the NFS server
export = "/mnt/pve/backups"
options = "vers=4.1"
}

lifecycle {
prevent_destroy = true  Safeguard against accidental deletion
}
}
This HCL code creates a storage resource in Proxmox. It specifies the node, the mount path, and the allowed content types (crucially, backup). The `server` and `export` fields point to our configured NFS share. The `lifecycle` meta-argument acts as a safety measure to prevent this critical storage definition from being accidentally destroyed.
4. Automating Backup Job Creation via API
With storage defined, the next step is automating backup job creation. This can be done using the Proxmox API, which Terraform or a shell script can call.
!/bin/bash
 Create a backup job for a specific VM using the Proxmox API
VMID="100"
BACKUP_STORAGE="nfs-backups"

Construct the API call using curl
curl -k -X POST \
"https://your-proxmox-host:8006/api2/json/nodes/pve/node/qemu/${VMID}/config" \
-H "Authorization: PVEAPIToken=root@pam!backup_token=<your_secret_token>" \
-d "backup=1" \
-d "storage=${BACKUP_STORAGE}" \
-d "mode=snapshot" \
-d "compress=zstd"
This script uses `curl` to send a POST request to the Proxmox API. It authenticates using a secure API token (preferable over username/password), targeting a specific VM (VMID 100). The parameters instruct Proxmox to create a backup, store it on the `nfs-backups` storage, use the snapshot mode for consistency, and compress the backup with the efficient `zstd` algorithm.
5. Scheduling Backups with Cron
For regular, automated backups, a cron job is the most reliable method. This can be configured via the Proxmox GUI or directly on the command line.
 Edit the root user's crontab
sudo crontab -e

Add a line to perform a full backup of all VMs every Sunday at 2 AM
0 2   0 /usr/bin/pvesh create /nodes/pve/node/backup --storage nfs-backups --mode stop --all 1

List current cron jobs to verify
sudo crontab -l
This cron entry uses the `pvesh` Proxmox shell command-line tool. It schedules a task to run at 2 AM every Sunday (0 2 0). The command creates a backup on the `nfs-backups` storage for all VMs (--all 1), using the `stop` mode which guarantees consistency by briefly shutting down the VMs. For production environments, `snapshot` mode is often preferred to maintain uptime.
6. Verifying Backup Integrity and Storage Health
Automation is useless without verification. Regular checks ensure your backups are viable.
 Check the status of the NFS mount and its disk usage
df -h /mnt/pve/backups
showmount -e localhost

List recent backup files and check their integrity (example for a vzdump file)
ls -lah /mnt/pve/backups/dump/
qm list  List all VMs on the node

Check the Proxmox task log for backup job errors
cat /var/log/pve/tasks/index | grep backup
These commands provide a health check. `df -h` shows available space on the backup volume, critical for preventing failed jobs. `showmount` confirms the NFS export is active. Listing the backup files and cross-referencing with `qm list` ensures all expected VMs have backup entries. Finally, reviewing the task log helps identify any past errors in the backup process.
7. Securing the Proxmox API Token
The automation scripts rely on API tokens, which must be secured like any other credential.
 Create a dedicated user and API token for backups (run on Proxmox node)
pveum user add backup-user@pve
pveum acl modify / --roles PVEAdmin --users backup-user@pve
pveum token add backup-user@pve backup-token --secret=<super_secret_value_here>

Store the token securely in a file with restricted permissions
echo "PM_API_TOKEN_ID=backup-user@pve!backup-token" > ~/.proxmox_token
echo "PM_API_TOKEN_SECRET=<super_secret_value_here>" >> ~/.proxmox_token
chmod 600 ~/.proxmox_token

Source the token in your scripts
source ~/.proxmox_token
This process creates a dedicated user `backup-user` with administrative privileges (consider using more restrictive privileges based on the principle of least privilege). It then generates an API token for that user. The token credentials are stored in a file (~/.proxmox_token) that is only readable by the owner (chmod 600). This file is then sourced by scripts, keeping secrets out of the main code.
What Undercode Say:
- Democratization of Complex Systems is the Future of IT Ops. Abstracting the intricate details of platforms like Proxmox through IaC and scripts empowers a wider range of personnel to manage critical infrastructure, reducing bottlenecks and tribal knowledge.
- Security is Shifting from Manual Configuration to Automated, Auditable Code. By defining firewall rules, storage mounts, and API permissions in version-controlled scripts, organizations create a self-documenting, repeatable, and testable security posture that is far less prone to human error than manual setup.
The project highlighted in the source text is a microcosm of a major industry shift. The core value isn’t just in the backup solution itself, but in the methodology. Packaging expertise into a `./install.sh` and `./setup.sh` workflow transforms a days-long, error-prone manual process into a minutes-long, consistent deployment. This has profound implications for cybersecurity: it reduces configuration drift, ensures compliance with security baselines from the moment of installation, and creates a clear audit trail. The focus moves from reacting to misconfigurations to proactively building secure systems by design. The true “hack” here is not a technical exploit, but a process innovation that bakes security and reliability directly into the operational lifecycle.
Prediction:
The methodology of abstracting complex infrastructure management through simplified automation will become the primary attack surface for advanced persistent threats (APTs). While this democratizes IT ops, it also creates a lucrative single point of failure. We predict a rise in “Supply Chain” attacks targeting these very types of convenience scripts and Terraform modules. Threat actors will invest in planting backdoors or vulnerabilities in popular, open-source automation code, knowing that once executed with high privileges, they can compromise entire environments. The future battleground will be in the integrity and security of the automation tools we increasingly rely on, necessitating rigorous code signing, verification, and software bill of materials (SBOM) practices for even the simplest of deployment scripts.
🎯Let’s Practice For Free:
IT/Security Reporter URL:
Reported By: Amit Barda – Hackers Feeds
Extra Hub: Undercode MoN
Basic Verification: Pass ✅


