Listen to this Post
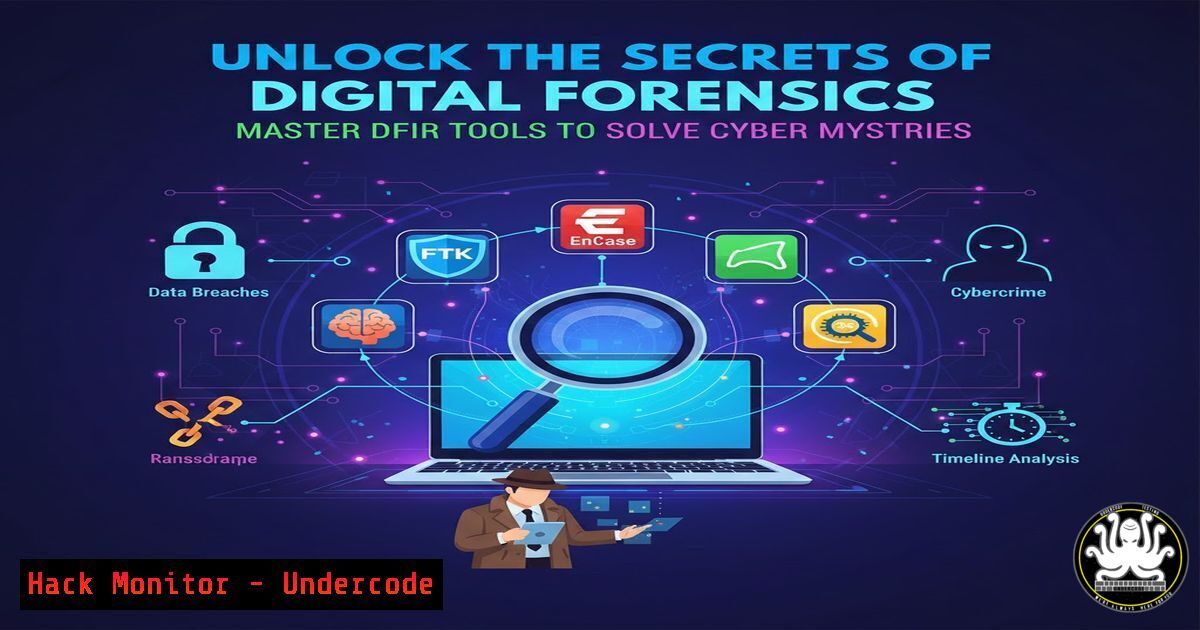
Introduction:
Digital Forensics and Incident Response (DFIR) is a critical cybersecurity discipline that involves investigating digital evidence to uncover malicious activities and respond to security incidents. With the rise in cybercrime, professionals skilled in DFIR are in high demand to protect organizational assets and ensure legal compliance. This article delves into the core concepts and hands-on tools that form the foundation of effective DFIR practices, based on real-world training and tools like Cellebrite UFED, Volatility, and Wireshark.
Learning Objectives:
- Understand the key components of DFIR, including evidence handling, memory forensics, and network analysis.
- Gain practical knowledge of using popular DFIR tools through step-by-step commands and configurations.
- Learn how to apply DFIR workflows to investigate incidents and strengthen cybersecurity postures.
You Should Know:
1. Digital Evidence Handling and Forensic Imaging
Step‑by‑step guide explaining what this does and how to use it.
Digital evidence handling ensures data is collected, preserved, and analyzed without alteration, maintaining integrity for legal proceedings. This involves creating forensic images of storage devices using tools like FTK Imager or Linux dd. For example, on Windows, use FTK Imager to acquire images: Download FTK Imager, select “File” > “Create Disk Image,” choose the source drive (e.g., \.\PHYSICALDRIVE0), and save as a raw or E01 file. On Linux, use the dd command for bit-by-bit copies: sudo dd if=/dev/sda of=/evidence/image.img bs=4M status=progress. Verify integrity with hashing: `md5sum /evidence/image.img` and compare with the original device hash.
2. Memory Forensics with Volatility for Malware Detection
Step‑by‑step guide explaining what this does and how to use it.
Memory forensics analyzes RAM dumps to detect stealthy malware, rootkits, and process injections. Volatility is a premier tool for this. First, capture memory using tools like DumpIt (Windows) or LiME (Linux). On Linux, compile LiME: `git clone https://github.com/504ensicsLabs/LiME`, then `cd LiME/src && make. Insert the kernel module:sudo insmod lime.ko “path=/tmp/memory.dump format=lime”. Analyze the dump with Volatility: Install via `sudo apt install volatility` or from source. Identify the profile:volatility -f memory.dump imageinfo. List processes:volatility -f memory.dump –profile=Win7SP1x64 pslist. Scan for APIs hooks:volatility -f memory.dump –profile=Win7SP1x64 apihooks`.
3. Network Forensics with Wireshark and TShark
Step‑by‑step guide explaining what this does and how to use it.
Network forensics involves capturing and inspecting traffic to identify breaches, data exfiltration, or DDoS attacks. Wireshark provides a GUI, while TShark offers CLI efficiency. Start by capturing packets on an interface: `sudo wireshark` or use TShark: sudo tshark -i eth0 -w capture.pcap. Apply filters to focus on threats, such as `tshark -r capture.pcap -Y “http.request.method==POST”` for POST requests. Detect ARP poisoning: tshark -r capture.pcap -Y "arp.duplicate-address-detected". Export HTTP objects: tshark -r capture.pcap --export-objects http,./output. For ongoing monitoring, set up alerts in Wireshark using coloring rules for suspicious IPs.
4. OS Forensics with Autopsy for Artifact Analysis
Step‑by‑step guide explaining what this does and how to use it.
OS forensics extracts artifacts from filesystems, registries, and logs to reconstruct user activities. Autopsy, built on The Sleuth Kit, automates this. Install Autopsy from sleuthkit.org, then launch and create a case. Add a data source (e.g., forensic image). Use modules to analyze web history, registry hives (for Windows), or shellbags. For Linux, analyze bash history: `cat ~/.bash_history` or use Autopsy’s keyword search for timestamps. To recover deleted files, Autopsy scans unallocated space—enable the “Deleted Files” module. Generate reports via “Generate Report” in HTML/PDF, including timeline views from `fls` and `ils` commands.
- Mobile Forensics with Cellebrite UFED for Data Extraction
Step‑by‑step guide explaining what this does and how to use it.
Mobile forensics retrieves data from devices like smartphones, crucial for cases involving app-based communications. Cellebrite UFED performs physical and logical extractions. Connect the device via USB and launch UFED. Select the model (e.g., iPhone or Android) and extraction type—physical extraction bypasses locks using exploits. For Android, enable USB debugging: `adb devices` to verify connection. UFED extracts files, contacts, and app data (e.g., WhatsApp). Analyze in UFED Physical Analyzer: timeline events using parsed SQLite databases. Decrypt backups: for iOS, use `idevicebackup2` extraction if jailbroken.
6. Incident Response Workflow and Containment Strategies
Step‑by‑step guide explaining what this does and how to use it.
Incident response workflows minimize damage through preparation, detection, containment, eradication, recovery, and lessons learned. Start by preparing tools like GRR for remote forensics or Sysinternals for Windows. Detection: Use SIEM queries (e.g., Splunk: index=main sourcetype=linux_secure FAILED LOGIN). Containment: On Linux, isolate a compromised host: sudo iptables -A INPUT -s <malicious_ip> -j DROP. On Windows, disable accounts: net user <username> /active:no. Eradication: Remove malware with scans (ClamAV: sudo clamscan -r /). Recovery: Restore from backups using `rsync` or Windows System Restore. Document lessons in a report.
7. Cloud Forensics with AWS and Azure Logging
Step‑by‑step guide explaining what this does and how to use it.
Cloud forensics deals with evidence in environments like AWS or Azure, where data is volatile and logs are key. Enable logging: in AWS, activate CloudTrail via CLI: aws cloudtrail create-trail --name MyTrail --s3-bucket-name my-bucket. Collect logs: aws cloudtrail lookup-events --start-time 2024-01-01 --max-results 10. For Azure, use Azure Monitor and Kusto queries: `SecurityEvent | where EventID == 4625` for failed logins. Preserve VM snapshots: AWS CLI: aws ec2 create-snapshot --volume-id vol-12345. Analyze network flow logs with tools like Zeek or custom Python scripts to detect anomalies.
What Undercode Say:
Key Takeaway 1: DFIR success hinges on a methodical approach to evidence handling—using verified commands like dd and FTK Imager ensures admissibility in legal contexts, preventing data tampering.
Key Takeaway 2: Hands-on tool proficiency, from Volatility for memory analysis to Wireshark for network traffic, is non-negotiable for real-world incident response, reducing mean time to recovery (MTTR).
Analysis: The DFIR landscape is rapidly integrating AI for automation, such as using machine learning in tools like Magnet AXIOM to prioritize artifacts, but human expertise remains vital for interpreting complex evidence. As threats evolve, DFIR professionals must adapt to encrypted communications and IoT devices, requiring continuous training in tools and methodologies. The emphasis on cloud forensics reflects the shift to hybrid environments, where API security and log management are critical.
Prediction:
The future of DFIR will see AI-driven tools automating routine tasks like log analysis and malware classification, speeding up investigations. However, sophisticated attacks like fileless malware will demand advanced memory forensics skills. With 5G and IoT expansion, DFIR will extend to edge devices, necessitating new protocols for evidence collection. Regulatory frameworks like GDPR will enforce stricter forensic standards, making DFIR training essential for organizational resilience against cyber threats.
▶️ Related Video (82% Match):
🎯Let’s Practice For Free:
IT/Security Reporter URL:
Reported By: Anuska Roy – Hackers Feeds
Extra Hub: Undercode MoN
Basic Verification: Pass ✅


