Listen to this Post
Introduction:
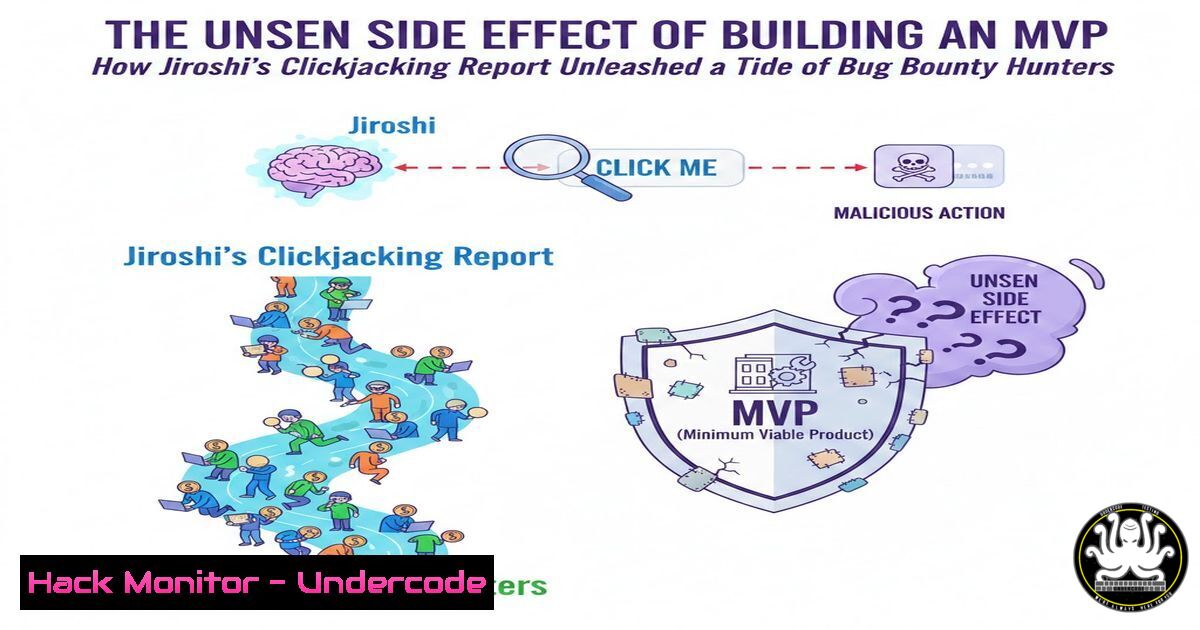
In the chaotic lifecycle of a Minimum Viable Product (MVP), founders prepare for bugs, crashes, and user feedback. However, few anticipate a distributed denial of service caused by ethical hackers. Following a public disclosure regarding a clickjacking vulnerability, the team at Jiroshi found their inboxes and server logs inundated with probes from penetration testers seeking bounties. This incident highlights the critical need for early-stage startups to implement a formal Vulnerability Disclosure Program (VDP) and log monitoring strategies long before they are ready to pay for bug reports, turning a security headache into a structured operational process.
Learning Objectives:
- Understand how to triage and respond to unsolicited penetration testing traffic on an MVP.
- Learn to create a legally sound Vulnerability Disclosure Policy using templates.
- Implement basic server-side logging and analysis to distinguish between benign probes and malicious attacks.
- Master the configuration of rate limiting and WAF rules to protect immature infrastructure.
You Should Know:
1. The “Unintentional Bug Bounty” Problem
When Muteen Nabi Kundangar shared the existence of a clickjacking report on Jiroshi, the security community responded exactly as trained: they probed the application. This resulted in thousands of log entries, ranging from automated scanner traffic (Nikto, Nuclei) to manual exploitation attempts.
Step‑by‑step guide: Analyzing the Influx with Linux
To understand what hit your server, you must first parse the access logs. Assuming you are running a Linux server (Nginx/Apache), here is how to identify the most common probing IPs and tools.
1. Identify Top Offending IPs:
Use `awk` to extract IP addresses and count them.
sudo awk '{print $1}' /var/log/nginx/access.log | sort | uniq -c | sort -nr | head -20
What this does: It lists the top 20 IP addresses hitting your server. A spike from a single IP not typical of your user base usually indicates a security researcher or automated scanner.
2. Detect Directory Bruteforcing:
Look for HTTP 404 errors, which indicate someone is looking for admin panels or backup files.
sudo grep " 404 " /var/log/nginx/access.log | awk '{print $7}' | sort | uniq -c | sort -nr | head -20
What this does: This shows the most requested URLs that returned a “Not Found” error, revealing what researchers are looking for (e.g., /wp-admin, /backup.zip, .env).
3. Identify Tool Signatures:
Check User-Agent strings to see if they are using standard pentesting tools.
sudo cat /var/log/nginx/access.log | grep -E 'nikto|nmap|nuclei|python-requests|Go-http-client' | awk '{print $12}' | sort | uniq -c | sort -nr
What this does: It filters logs for known scanner User-Agents, giving you a rough estimate of automated versus manual traffic.
2. Drafting a Disclosure Guideline (The Jiroshi Approach)
Since Jiroshi cannot currently offer monetary bounties, the founder created a disclosure guideline to manage expectations. This is a critical document that should live in a `security.txt` file and a `SECURITY.md` file in your repository.
Step‑by‑step guide: Creating Your Policy on GitHub
1. Create the Security Folder:
In the root of your repository, create a `.well-known` directory.
mkdir -p .well-known
2. Implement security.txt (RFC 9116):
Create a file called `security.txt` inside the `.well-known` folder.
nano .well-known/security.txt
Content Example:
 Contact information
Contact: mailto:[email protected]
 Encryption key for sensitive reports
Encryption: https://jiroshi.com/pgp-key.txt
 Our disclosure policy
Policy: https://jiroshi.com/.well-known/security-policy
 Out-of-scope items (MVP limitations)
Acknowledgments: https://jiroshi.com/hall-of-fame.txt
3. Create the Detailed Policy:
This policy, which you link in the security.txt, explicitly states that the project is an MVP and not eligible for cash bounties, but offers “Hall of Fame” credits.
3. Implementing “Virtual Patching” via WAF
With researchers actively probing, you need to protect the application without blocking legitimate users. Using a Web Application Firewall (WAF) like ModSecurity or Cloudflare can help.
Step‑by‑step guide: Rate Limiting with Nginx
If you are not behind a third-party WAF, you can implement basic rate limiting directly in Nginx to prevent researchers from bruteforcing your login or API endpoints.
1. Open your Nginx configuration:
sudo nano /etc/nginx/nginx.conf
2. Define a Limit Zone (inside the `http` block):
This creates a shared memory zone that tracks requests by IP address.
http {
limit_req_zone $binary_remote_addr zone=mvplimit:10m rate=5r/s;
 ... rest of config
}
What this does: It creates a 10MB zone called `mvplimit` that tracks IPs, limiting them to 5 requests per second.
- Apply the Limit (inside the `server` or `location` block):
server {
location /api/ {
limit_req zone=mvplimit burst=10 nodelay;
proxy_pass http://localhost:3000;
}
}
What this does: It applies the rate limit to the `/api/` endpoint. The `burst=10` allows a short queue of 10 excess requests before they are rejected, ensuring legitimate users aren’t penalized for short spikes.
4. Distinguishing “Researchers” from “Attackers”
Not all probing is malicious. Jiroshi’s logs were filled with people genuinely testing the clickjacking issue. You need a way to differentiate a bug hunter from a black hat.
Step‑by‑step guide: Honeypot Traps
Insert a hidden directory that no legitimate user would ever click, but every automated scanner will crawl.
1. Create a Honeypot Directory:
mkdir /var/www/html/wp-admin
echo "Access Denied" > /var/www/html/wp-admin/index.html
Note: This directory mimics a WordPress admin panel. Scanners looking for WordPress will hit this.
2. Monitor the Honeypot Logs:
Create a specific log rule to alert you when this directory is accessed.
sudo tail -f /var/log/nginx/access.log | grep "wp-admin"
What this does: It provides real-time alerts of anyone probing for WordPress vulnerabilities, indicating a scanner rather than a user.
5. Securing the Disclosure Channel
When researchers find a vulnerability, they need a secure way to report it. Using unencrypted email exposes the vulnerability details to anyone sniffing traffic.
Step‑by‑step guide: Setting Up a Secure Form
If you cannot set up PGP, use a simple encrypted paste service hosted internally.
1. Install PrivateBin (a zero-knowledge pastebin):
Using Docker for simplicity:
docker run -d --restart="always" --read-only -p 8080:8080 -v privatebin-data:/srv/data privatebin/nginx-fpm-alpine
2. Configure the Reporting Flow:
In your security.txt, direct researchers to this PrivateBin instance. They can paste the details, encrypt it client-side, and share the link with you via email. This ensures the vulnerability data is encrypted at rest and in transit, even if your email is compromised.
6. Log Rotation and Retention for Forensic Readiness
With the influx of requests, logs will fill up your disk quickly. You need to ensure you retain these logs for forensic analysis in case a probe turns into a breach.
Step‑by‑step guide: Configuring Logrotate
1. Edit Nginx Logrotate Config:
sudo nano /etc/logrotate.d/nginx
2. Configure Retention:
Ensure the configuration looks similar to this, retaining logs for 30 days:
/var/log/nginx/.log {
daily
missingok
rotate 30
compress
delaycompress
notifempty
create 0640 www-data adm
sharedscripts
postrotate
[ -f /var/run/nginx.pid ] && kill -USR1 `cat /var/run/nginx.pid`
endscript
}
What this does: Rotates logs daily, keeps 30 days of history, and compresses old logs to save space. This is vital if you need to go back and trace an attacker’s steps after a report comes in.
What Undercode Say:
- Transparency is a Shield: Jiroshi’s decision to publicize a security finding attracted attention, but transforming that attention into a structured `.well-known/security.txt` policy turns chaos into controlled communication. Startups must accept that “security through obscurity” fails the moment a vulnerability is mentioned publicly.
- Automation Over Manpower: Manually reviewing thousands of log entries is impossible for a lean team. Implementing simple rate limits and honeypots acts as an automated triage system, filtering out the noise of script kiddies and automated scanners so the founder can focus on actual critical vulnerabilities.
Prediction:
As “Headless CMS” and “Headless LMS” architectures gain popularity, we will see a rise in automated scanning tools specifically targeting GraphQL endpoints and API structures common in these MVPs. Future startups will integrate “Bug Bounty Readiness” as a KPI for their launch checklist, requiring a security policy and rate limiting to be in place before the first production deployment, rather than after the first public security report.
▶️ Related Video (70% Match):
🎯Let’s Practice For Free:
IT/Security Reporter URL:
Reported By: Muteen Nabi – Hackers Feeds
Extra Hub: Undercode MoN
Basic Verification: Pass ✅


