Listen to this Post
Introduction:
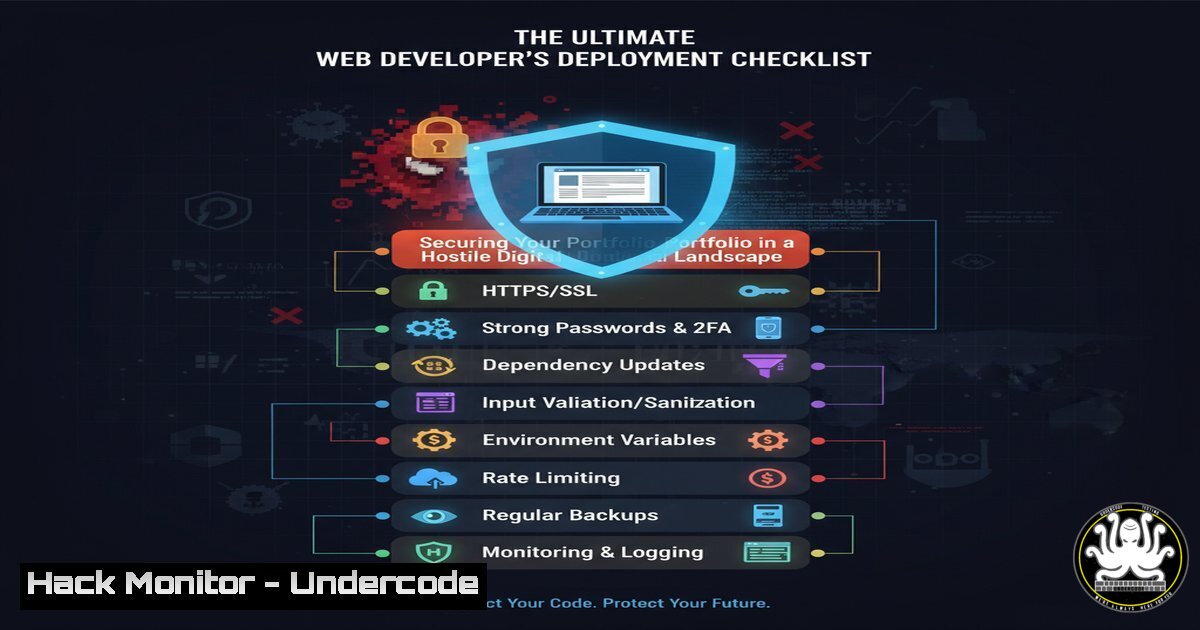
Deploying a web portfolio is a critical milestone for any developer, but it also exposes your work to a vast threat landscape. Moving from local development to a live platform introduces security risks that can compromise your site, your data, and your professional reputation. Understanding the security posture of platforms like Netlify and Vercel, and hardening your application, is no longer optional—it’s a fundamental skill.
Learning Objectives:
- Understand and implement critical security headers for your web applications.
- Master command-line tools for deployment, dependency auditing, and vulnerability scanning.
- Configure platform-specific security settings for Netlify and Vercel.
- Learn to audit your code and its dependencies for known vulnerabilities.
- Establish a pre-deployment security checklist to mitigate common attack vectors.
You Should Know:
1. Harden Your Application with Security Headers
Before deployment, securing your web application’s HTTP response headers is crucial to defending against common attacks like clickjacking and cross-site scripting (XSS).
Code Snippet: `netlify.toml` for Security Headers
[[bash]]
for = "/"
[headers.values]
X-Frame-Options = "DENY"
X-XSS-Protection = "1; mode=block"
X-Content-Type-Options = "nosniff"
Referrer-Policy = "strict-origin-when-cross-origin"
Content-Security-Policy = "default-src 'self'; script-src 'self' 'unsafe-inline' https:; style-src 'self' 'unsafe-inline' https:;"
Step-by-step guide:
This configuration file is used by Netlify to apply custom headers to all responses (for = "/").
– `X-Frame-Options: “DENY”` prevents your site from being embedded in an <iframe>, mitigating clickjacking attacks.
– `X-XSS-Protection` enables the browser’s built-in XSS filter.
– `X-Content-Type-Options: “nosniff”` stops the browser from interpreting files as a different MIME type.
– `Referrer-Policy` controls how much referrer information is included in requests.
– `Content-Security-Policy` is a powerful directive that whitelists sources of content, drastically reducing the risk of XSS. The provided policy only allows resources from the site’s own origin.
2. Command-Line Deployment and Dependency Auditing
Modern deployment platforms are integrated with the command line. Simultaneously, you must audit your project’s dependencies for vulnerabilities before every deployment.
Verified Commands:
 Install the Netlify CLI globally
npm install -g netlify-cli

Log in to Netlify via CLI (opens browser for authentication)
netlify login

Deploy your site to a production URL
netlify deploy --prod

In your project directory, audit npm dependencies for vulnerabilities
npm audit

Automatically fix any vulnerabilities that can be patched
npm audit fix

For a more thorough audit, use the 'snyk' CLI (requires free account)
snyk test
Step-by-step guide:
The `netlify-cli` allows for streamlined deployments from your terminal. After installing and authenticating, `netlify deploy –prod` pushes your built site live. Crucially, `npm audit` scans your `package-lock.json` against a database of known vulnerabilities, providing a report and a severity assessment. Running `npm audit fix` attempts to automatically update vulnerable packages. For larger projects, integrating a tool like Snyk provides deeper, continuous security monitoring.
3. Environment Variable Security for API Keys
Never hardcode API keys, database passwords, or other secrets in your frontend code. Use environment variables provided by your deployment platform.
Verified Commands (Netlify & Vercel CLI):
 Set an environment variable in the Netlify UI via CLI
netlify env:set MY_API_KEY "your_secret_api_key_here"

List all current environment variables
netlify env:list

In Vercel, using their CLI
vercel env add MY_API_KEY
Step-by-step guide:
Secrets stored in frontend code are exposed to anyone who views the page source. Deployment platforms allow you to set these variables securely in their dashboard or via CLI. For example, `netlify env:set` creates a variable that is injected into your build process at runtime. In your build script (e.g., a `build` command in package.json), you can reference these variables as process.env.MY_API_KEY. This keeps your secrets out of your version control and the client-side bundle.
4. Implementing Subresource Integrity (SRI)
If you load external libraries from CDNs, Subresource Integrity ensures the resource hasn’t been tampered with.
Code Snippet: HTML Script Tag with SRI
<script
src="https://cdnjs.cloudflare.com/ajax/libs/react/18.2.0/umd/react.production.min.js"
integrity="sha384-...sha384-..."
crossorigin="anonymous"></script>
Step-by-step guide:
SRI uses a cryptographic hash to verify that the fetched resource has been delivered without unexpected manipulation. To use it:
1. Host the library on a CDN that provides SRI hashes (like `cdnjs` or unpkg).
2. Generate the hash yourself using tools like openssl: openssl dgst -sha384 -binary FILENAME.js | openssl base64 -A.
3. Include the generated hash in the `integrity` attribute of your `