Listen to this Post
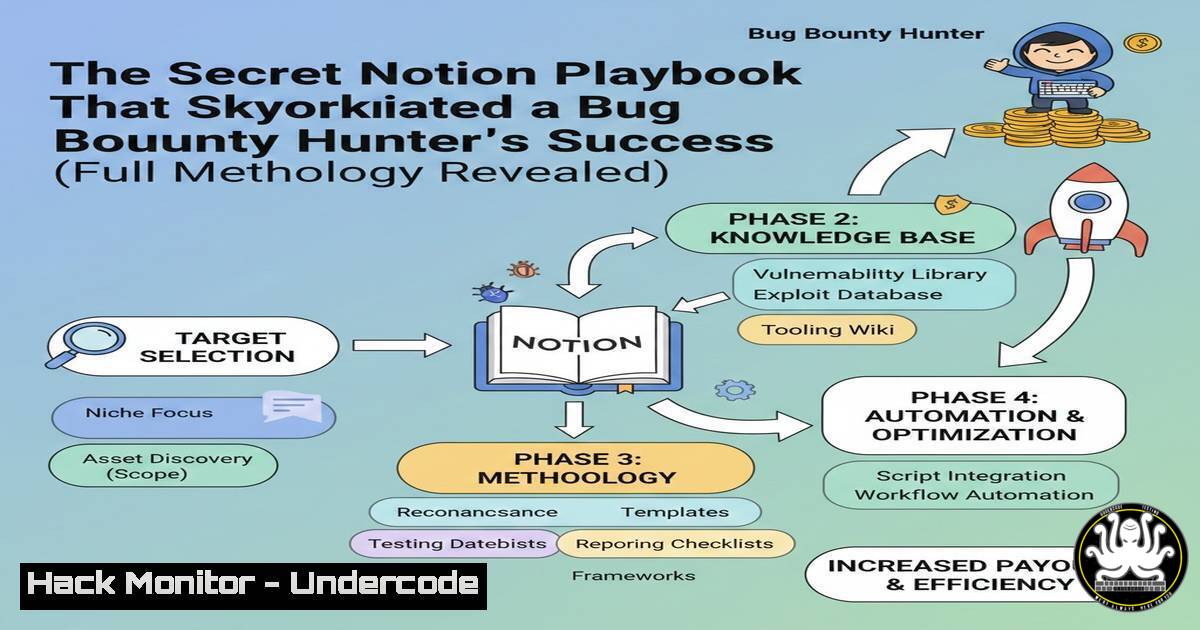
Introduction:
In the competitive realm of bug bounty hunting and penetration testing, a structured methodology is the critical differentiator between random poking and professional, high-yield security research. A recently shared Notion workspace provides a rare, unfiltered look into the real-world workflows, checklists, and logic flows used by an active practitioner. This article deconstructs that methodology, translating it into actionable steps, verified commands, and technical deep dives to systematize your own vulnerability discovery process, moving from haphazard testing to engineered precision.
Learning Objectives:
- Implement a professional, repeatable vulnerability research methodology from reconnaissance to reporting.
- Integrate automated tooling with manual, intelligent testing for comprehensive coverage.
- Develop a structured approach for testing complex attack surfaces like web APIs and business logic flaws.
You Should Know:
- Phase 1: Reconnaissance & Asset Discovery – Casting the Widest Net
Before launching any attack, you must know your target’s entire digital footprint. This phase focuses on discovering all associated domains, subdomains, IP ranges, and cloud assets that form the attack surface.
Step‑by‑step guide:
Start with passive enumeration to avoid detection. Use tools like `Amass` and `Subfinder` to gather subdomain data from public sources.
 Passive enumeration with Amass
amass enum -passive -d target.com -o subdomains_passive.txt
 Enrich with Subfinder
subfinder -d target.com -o subdomains_subfinder.txt
Merge and sort the results, then perform DNS resolution to filter live hosts. Use `httpx` or `httprobe` to identify active web servers and their technologies.
 Resolve and probe for HTTP/HTTPS services
cat all_subdomains.txt | httpx -title -tech-detect -status-code -o live_targets.txt
This creates your initial target list, annotated with technologies (e.g., PHP, Nginx, React) to guide subsequent testing.
- Phase 2: Automated Initial Scanning & Vulnerability Surfacing
Leverage automated scanners to quickly identify low-hanging fruit and common misconfigurations. This is not a replacement for manual testing but a force multiplier.
Step‑by‑step guide:
Run a lightweight but effective vulnerability scanner like `Nuclei` with community-curated templates.
 Scan live targets for known vulnerabilities
nuclei -l live_targets.txt -t ~/nuclei-templates/ -severity medium,high,critical -o nuclei_findings.txt
Concurrently, run a web fuzzer like `ffuf` to discover hidden directories, API endpoints, and files.
 Directory fuzzing
ffuf -w /usr/share/wordlists/common.txt -u https://target.com/FUZZ -mc 200,403 -o dir_scan.json
Crucially, always review the scanner output manually. False positives are common; your skill lies in interpreting and validating these initial leads.
- Phase 3: Manual Deep Dive & Business Logic Testing
This is where true expertise shines. Analyze the application’s functionality to understand its business logic and design test cases that automated tools will miss.
Step‑by‑step guide:
Map the application’s workflows (e.g., user registration -> email verification -> profile update -> purchase). Test each step for logic flaws.
Vertical/Horizontal Privilege Escalation: Can a user modify another user’s data by changing an ID parameter? Test with a simple curl command:
curl -H "Authorization: Bearer <YOUR_TOKEN>" https://target.com/api/user/123/profile
 Change the '123' to another user's ID.
Broken Object Level Authorization (BOLA): A subset of the above, common in APIs. Use a tool like `Burp Suite’s Autorize` extension to automate testing for authenticated endpoints.
Workflow Bypasses: Can you skip the payment step by manipulating a parameter or directly calling the “order confirmation” endpoint? Document every possible state transition and test its enforcement.
4. Phase 4: Payload Crafting & Injection Testing
Systematically test for classic vulnerabilities (SQLi, XSS, Command Injection) but with a focus on context-aware payloads.
Step‑by‑step guide:
For SQL Injection, move beyond ' OR '1'='1. Use time-based or out-of-band (OOB) techniques for blind SQLi.
 Time-based SQLi probe (MySQL)
curl "https://target.com/product?id=1' AND SLEEP(5)-- -"
For XSS, test with payloads that match the injection context: <script>, " onmouseover=, or JavaScript URIs (javascript:alert()). For DOM-based XSS, trace the source to sink flow in the browser debugger.
For Command Injection, use blind detection techniques with sleep commands or OOB callbacks with `interact.sh` or Burp Collaborator.
 Testing for blind command injection (Unix)
curl "https://target.com/status?ip=127.0.0.1$(sleep+5)"
5. Phase 5: API-Specific Security Assessment
Modern applications are API-driven, requiring a specialized assessment approach.
Step‑by‑step guide:
1. Documentation Analysis: Study Swagger/OpenAPI docs if available.
- Endpoint Discovery: Use `ffuf` on API base paths (
/api/v1/FUZZ) and parameter fuzzing.
3. Testing: Focus on:
Authentication/Authorization: Test JWT flaws (none algorithm, weak signing), missing rate limits on login.
Input Validation: Send malformed JSON, excessive payload size, or unexpected data types.
Mass Assignment: Send extra parameters in POST/PUT requests (e.g., "role":"admin") that the application might blindly bind to an object.
GraphQL-specific: Introspect the schema, look for introspection disclosure, and test for batch query attacks (asking for 1,000,000 objects in one request).
6. Phase 6: Cloud & Infrastructure Misconfiguration
The target’s backend infrastructure is often a treasure trove of misconfigurations.
Step‑by‑step guide:
S3 Buckets/GCP Storage: Check for publicly writable or listable cloud storage. Use `awscli` or manual HTTP requests.
 Check S3 bucket permissions
aws s3 ls s3://target-bucket/ --no-sign-request
Server Headers & Verbose Errors: Analyze headers for leaked info (cloud provider, internal IPs). Trigger errors to expose stack traces.
SSRF (Server-Side Request Forgery): Test all URL parameters. Use tools like `Collaborator Everywhere` in Burp Suite or attempt to access cloud instance metadata endpoints.
http://169.254.169.254/latest/meta-data/iam/security-credentials/
- Phase 7: Systematic Documentation & Proof-of-Concept (PoC) Creation
A flaw is only as good as your report. Clear, reproducible documentation is paramount.
Step‑by‑step guide:
- Record Everything: Use Burp Suite’s logging or “
- Craft the PoC: Create a minimal, self-contained reproduction. For a web vulnerability, this could be an HTML file. For an API flaw, a simple `curl` command sequence.
- Write the Report: Structure it as: , Vulnerability, Impact, Steps to Reproduce (numbered), PoC (code/screenshot), Remediation. Be concise and professional.
What Undercode Say:
- Methodology Over Tools: The tools change daily, but a rigorous, documented process is what turns a scanner operator into a security researcher. This Notion template’s real value is in enforcing that discipline.
- Context is King: The most advanced payload is useless if it doesn’t fit the application’s context. Understanding the technology stack and business logic is the precursor to effective testing.
Prediction:
The future of bug bounty hunting will see methodology templates like this evolve into integrated, semi-automated platforms that combine AI-assisted attack surface mapping with structured manual testing playbooks. However, AI will not replace the hunter’s creativity; it will instead handle the tedious reconnaissance and initial filtering, freeing researchers to focus on deep, complex logic flaw exploitation. Platforms will increasingly reward quality, narrative-rich reports over simple vulnerability counts, further emphasizing the need for the systematic approach outlined here. The researcher who masters both the automated pipeline and the manual, inquisitive deep dive will dominate the landscape.
▶️ Related Video (80% Match):
🎯Let’s Practice For Free:
IT/Security Reporter URL:
Reported By: Ahmed Abdelazez – Hackers Feeds
Extra Hub: Undercode MoN
Basic Verification: Pass ✅


