Listen to this Post
Introduction:
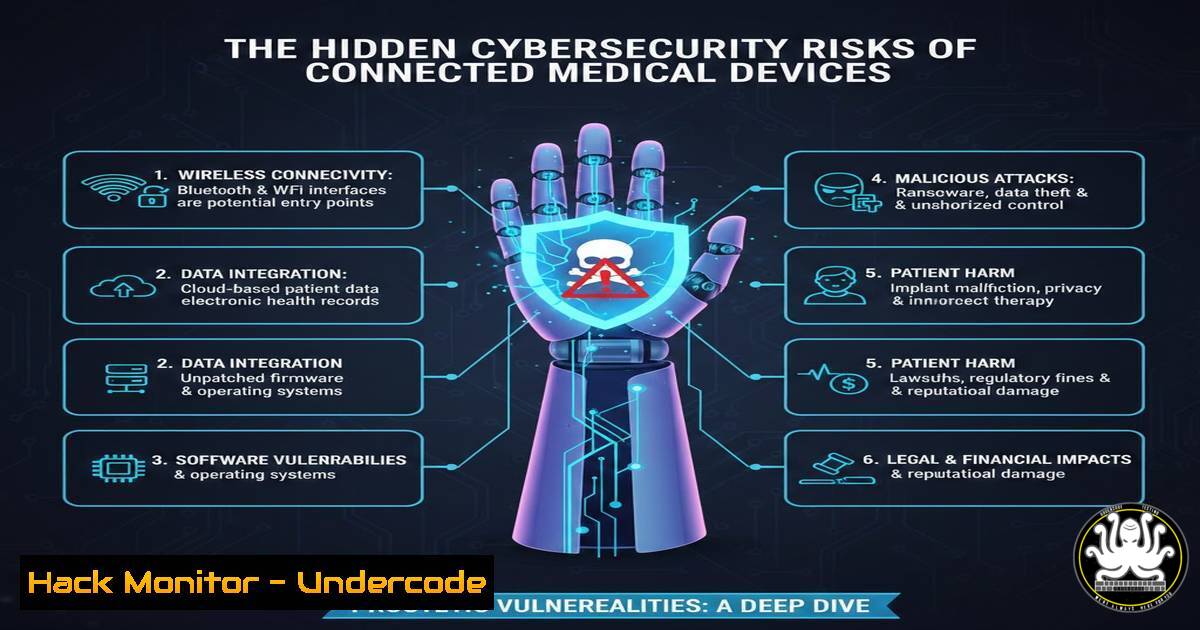
While the linked post highlights the remarkable craftsmanship behind creating lifelike, non-mobile prosthetic limbs for children, it inadvertently underscores a critical cybersecurity paradigm: the trade-off between advanced functionality and security. As medical devices evolve from static aesthetic replacements to “smart” Internet of Things (IoT) devices, they become vulnerable entry points into healthcare networks and potential targets for malicious attacks. Understanding how to assess, exploit, and secure such connected devices is essential for modern cybersecurity professionals.
Learning Objectives:
- Objective 1: Identify common attack surfaces in IoT medical devices, including wireless protocols and embedded systems.
- Objective 2: Execute basic reconnaissance and vulnerability scanning on a simulated network segment hosting a medical device.
- Objective 3: Implement fundamental network segmentation and firmware analysis techniques to mitigate risks associated with connected prosthetics and similar IoT devices.
You Should Know:
- Reconnaissance and Attack Surface Mapping of a Connected Prosthetic
Before any security assessment, professionals must map the device’s attack surface. A modern “mobile” prosthetic might communicate via Bluetooth Low Energy (BLE) for myoelectric control, Wi-Fi for data syncing, or even a proprietary Radio Frequency (RF) protocol. The goal is to identify all possible ways to interact with the device.
Step‑by‑step guide for initial network reconnaissance (simulated environment):
This should only be performed in a lab or on a network you own.
1. Identify the Device on the Network: Use `nmap` to scan your local subnet and discover the device’s IP address.
 Linux command to scan for devices on the 192.168.1.0/24 network
nmap -sn 192.168.1.0/24
2. Perform a Detailed Port Scan: Once the IP is identified (e.g., 192.168.1.50), scan for open ports and services. A prosthetic might have ports open for a web interface (80, 443), firmware updates (e.g., TFTP on port 69), or debug interfaces.
 Linux command for a comprehensive service and version scan
nmap -sV -p- 192.168.1.50
3. Analyze Wireless Communications (BLE): If the device uses BLE, use a tool like `hcitool` and `gatttool` on Linux with a BLE adapter to scan and interact.
 Scan for BLE devices
sudo hcitool lescan
 Connect to a discovered device (using its MAC address)
sudo gatttool -b <MAC_ADDRESS> -I
 Once in the interactive prompt, you can attempt to list primary services:
[<MAC_ADDRESS>][bash]> primary
2. Firmware Analysis and Vulnerability Identification
Firmware is the operating system of the prosthetic. Analyzing it can reveal hardcoded credentials, insecure API endpoints, or outdated software components. Often, firmware can be downloaded from the manufacturer’s support website or extracted from the device itself via debugging ports like UART or JTAG.
Step‑by‑step guide for basic firmware analysis:
This example assumes you have obtained a firmware file (e.g., firmware.bin).
1. Extract the Filesystem: Many IoT firmware images are compressed. Use `binwalk` on Linux to extract the contents.
 Linux command to extract files from the firmware binary
binwalk -e firmware.bin
2. Search for Hardcoded Secrets: Once extracted, navigate into the filesystem (often found in a folder like _firmware.bin.extracted/squashfs-root/) and use `grep` to search for sensitive strings.
 Navigate to the extracted root filesystem
cd _firmware.bin.extracted/squashfs-root/
 Search for potential passwords or API keys
grep -inr "password" .
grep -inr "api.key" .
grep -inr "192.168." .
3. Check for Outdated Components: Look for files like `.version` or use `strings` on binaries to identify software versions.
 Use strings on a binary and grep for a version
strings bin/app_server | grep -i "version"
3. Exploiting Insecure Network Services (Simulated)
If a reconnaissance scan reveals a vulnerable service, such as an outdated Telnet server with default credentials, an attacker could gain a foothold. In a prosthetic context, this could allow an attacker to alter movement patterns, disable the device, or exfiltrate sensitive patient data.
Step‑by‑step guide for testing common default credentials:
This is for educational purposes on authorized systems only.
1. Identify the Service: From your `nmap` scan, you might see port 23/tcp open (Telnet).
2. Attempt Connection and Login: Use a telnet client and try common default credentials like admin:admin, admin:password, or root:root.
 On Linux or Windows (using telnet client)
telnet 192.168.1.50
 You will be prompted for a login
3. Automate Credential Brute-forcing (Ethically): For authorized penetration tests, tools like `hydra` can be used to test a list of common passwords. Never use this on devices you do not own.
 Linux command to test telnet passwords from a list (passwords.txt)
hydra -l admin -P passwords.txt telnet://192.168.1.50
4. API Security Assessment for Cloud-Synced Prosthetics
Many advanced devices sync data to the cloud. This involves RESTful or GraphQL APIs. Insecure APIs could allow an attacker to access another user’s data or send malicious commands.
Step‑by‑step guide for basic API testing with `curl`:
- Intercept Traffic: Use a proxy like Burp Suite or OWASP ZAP to capture the traffic from the prosthetic’s companion app.
- Analyze Endpoints: Identify the API endpoint used for authentication and data syncing (e.g., `https://api.prosthetic-cloud.com/v1/user/data`).
- Test for IDOR (Insecure Direct Object References): Using
curl, try to manipulate a user identifier in the request. If the prosthetic uploads data foruser_id=123, change it to `124` and see if you can access another user’s information.Example curl command simulating a vulnerable API request curl -X GET "https://api.prosthetic-cloud.com/v1/user/data?user_id=124" \ -H "Authorization: Bearer <YOUR_VALID_TOKEN>"
5. Network Segmentation and Mitigation Strategies
The most effective defense is to prevent a compromised prosthetic from affecting the rest of the network or critical hospital infrastructure.
Step‑by‑step guide for configuring a basic firewall rule to segment IoT devices (Linux iptables):
This is a conceptual example for a gateway/router running Linux.
1. Create a Dedicated VLAN: Assume the prosthetic is on a separate subnet, e.g., 10.0.10.0/24.
2. Block Unauthorized Traffic: Use `iptables` to prevent the IoT subnet from initiating connections to the main corporate network (e.g., 192.168.1.0/24), while allowing it to communicate with necessary cloud services.
 Add a rule to the FORWARD chain
 Block traffic FROM the IoT subnet TO the main corporate subnet
sudo iptables -A FORWARD -s 10.0.10.0/24 -d 192.168.1.0/24 -j DROP
 Allow established connections back to the IoT device (if needed)
sudo iptables -A FORWARD -d 10.0.10.0/24 -m state --state ESTABLISHED,RELATED -j ACCEPT
On a Windows Server, similar functionality would be achieved using Windows Firewall with Advanced Security and creating inbound/outbound rules.
What Undercode Say:
- Key Takeaway 1: The drive for functionality and realism in medical devices like prosthetics must be balanced with rigorous security by design. A non-mobile prosthetic is inherently secure from remote cyber attacks, but a “smart” one introduces a potentially critical vulnerability.
- Key Takeaway 2: Security assessment of IoT medical devices requires a multi-disciplinary approach, spanning network reconnaissance, wireless protocol analysis, firmware reverse engineering, and API security testing. Proactive mitigation, such as network segmentation, is the most practical defense in a healthcare environment.
The LinkedIn post’s focus on the aesthetic and functional trade-off in prosthetics perfectly mirrors the core security dilemma: every added feature (mobility, cloud connectivity) is a potential new vulnerability. As medical devices become more sophisticated, they transform from passive objects into active, network-connected endpoints. This evolution demands that cybersecurity professionals apply the same rigorous testing—from port scanning with `nmap` to firmware analysis with binwalk—to a child’s prosthetic arm as they would to a corporate server. The ultimate goal is not to hinder innovation but to ensure that the pursuit of “invisible” functionality does not create “invisible” threats to patient safety and privacy.
Prediction:
We will witness a significant rise in targeted regulations and security standards specifically for Class III medical IoT devices, including advanced prosthetics. The FDA and its international counterparts will mandate security validation as part of the approval process, pushing manufacturers to adopt “secure by default” firmware practices and enabling over-the-air (OTA) update mechanisms to patch vulnerabilities swiftly. Concurrently, the first high-profile exploitation of a connected prosthetic will likely occur, serving as a pivotal wake-up call for the entire medical device industry.
▶️ Related Video (80% Match):
🎯Let’s Practice For Free:
IT/Security Reporter URL:
Reported By: Christine Raibaldi – Hackers Feeds
Extra Hub: Undercode MoN
Basic Verification: Pass ✅


