Listen to this Post
Introduction:
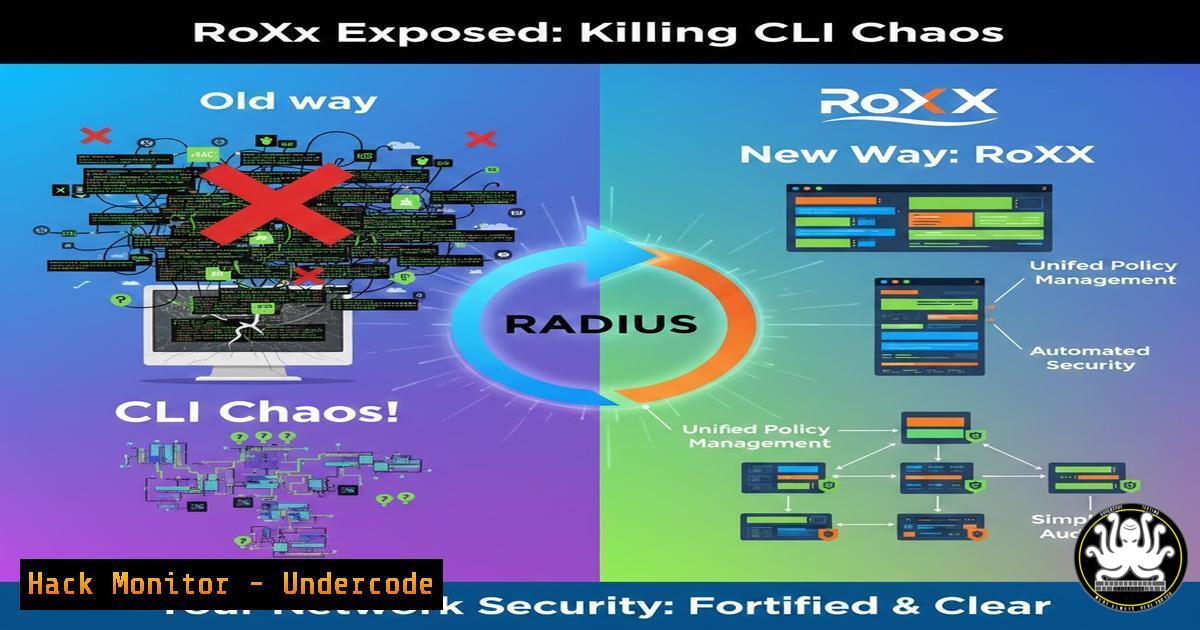
RADIUS (Remote Authentication Dial-In User Service) has been the silent backbone of network authentication for decades, yet its management has remained trapped in the era of cryptic text files and command-line incantations. RoXX emerges as a transformative solution, modernizing FreeRADIUS administration with a secure, containerized web interface and CLI that integrates contemporary security practices like MFA and SSO directly into legacy authentication workflows.
Learning Objectives:
- Understand the core architecture and security benefits of the RoXX management platform for FreeRADIUS.
- Learn how to deploy RoXX via Docker and perform fundamental user and configuration management.
- Integrate advanced authentication methods, including LDAP/Active Directory and TOTP-based MFA, through RoXX.
You Should Know:
1. Deploying RoXX: The Docker-First Revolution
RoXX is built for instant, consistent deployment using Docker containers, which package the application, its Python/FastAPI backend, and all dependencies into an isolated, portable unit. This eliminates “works on my machine” issues and simplifies scaling.
Step‑by‑step guide explaining what this does and how to use it.
Step 1: Prerequisites. Ensure you have `git` and `Docker` with `docker-compose` installed on your Linux server or workstation.
 On Ubuntu/Debian
sudo apt update && sudo apt install -y docker.io docker-compose git
sudo systemctl start docker && sudo systemctl enable docker
Step 2: Clone and Configure. Clone the repository and examine the core configuration file.
git clone https://github.com/[bash]/roxx  Use the actual repo URL from the shared link
cd roxx
cp .env.example .env
nano .env  Edit critical variables: SECRET_KEY, POSTGRES_PASSWORD, INITIAL_ADMIN_PASSWORD
Step 3: Launch. Use `docker-compose` to build and start all services (RoXX, PostgreSQL for data, and FreeRADIUS).
docker-compose up -d
Step 4: Verify. Check that the containers are running and access the web UI on http://<your-server-ip>:8000.
docker-compose ps
- Managing RADIUS Clients and Users via the Web UI
The RoXX web interface provides a central dashboard to manage network access policies, replacing manual edits of FreeRADIUS’s `clients.conf` and `authorize` files.
Step‑by‑step guide explaining what this does and how to use it.
Step 1: Log in. Access the UI and log in with the initial admin credentials set in your `.env` file.
Step 2: Add a RADIUS Client (Network Device). Navigate to “Clients.” Click “Add Client.” Enter the NAS (Network Access Server) IP, a shared secret, and specify the network. This automatically configures the backend FreeRADIUS server to accept authentication requests from this device.
Step 3: Create a User. Navigate to “Users.” Click “Add User.” Input a username (e.g., jdoe), select a hashing method (like bcrypt), and set a password. RoXX handles the secure storage of credentials in the database, moving them out of the traditional `users` file.
3. Leveraging the Command-Line Interface (CLI) for Automation
RoXX’s CLI provides powerful scripting and automation capabilities for bulk operations or integration into DevOps pipelines, offering parity with web UI functions.
Step‑by‑step guide explaining what this does and how to use it.
Step 1: Access the CLI. Execute commands from within the RoXX application container.
docker-compose exec roxx-app ./roxx_cli.py --help
Step 2: Create a User via CLI. Use a single command to add a user, ideal for scripting.
docker-compose exec roxx-app ./roxx_cli.py user add --username "svc_account" --password "Str0ngP@ss!" --hash-method bcrypt
Step 3: Export Configuration. Generate a backup or audit snapshot of your RADIUS client list.
docker-compose exec roxx-app ./roxx_cli.py client list --format json > radius_clients_backup.json
4. Hardening Authentication: Integrating LDAP/AD and Enforcing MFA
RoXX’s advanced auth modules allow you to bridge modern corporate directories and multi-factor authentication into your RADIUS flow, centralizing access control.
Step‑by‑step guide explaining what this does and how to use it.
Step 1: Configure LDAP/Active Directory. In the Web UI, navigate to “Authentication Sources.” Select “Add LDAP Source.” Fill in your server details, Base DN, and service account bind credentials.
 Example LDAP Configuration Snippet from RoXX
ldap:
server: "ldaps://dc.corp.local:636"
bind_dn: "CN=roxx-svc,OU=Service Accounts,DC=corp,DC=local"
bind_password: "{{ secure_vault_password }}"
user_search_base: "OU=Users,DC=corp,DC=local"
Step 2: Enable TOTP (MFA). In “Security Settings,” enforce TOTP for admin users. Existing admins will be prompted to enroll using an authenticator app (e.g., Google Authenticator, Authy) on next login.
Step 3: Test Authentication. Use the `radtest` command (from the FreeRADIUS container) against a user from your AD.
docker-compose exec radius-server radtest 'CORP\jdoe' 'userPassword' localhost 0 'testing123'
5. Security Auditing and Session Management
RoXX provides built-in logging and session controls to meet compliance needs and monitor administrative access to the critical RADIUS infrastructure.
Step‑by‑step guide explaining what this does and how to use it.
Step 1: Review Admin Audit Logs. Access the “Audit Log” section in the UI to see a timeline of all configuration changes, user additions, and admin logins (with IP addresses).
Step 2: Manage Active Sessions. As an admin, navigate to “Sessions” to view all active administrative logins to the RoXX UI. You can remotely invalidate suspicious sessions.
Step 3: Export Logs for SIEM. Configure RoXX’s logging to forward events to a central SIEM (Security Information and Event Management) system by modifying the `docker-compose.yml` to mount a log forwarding sidecar container or adjust Python logging to output in a syslog-compatible format.
What Undercode Say:
- Key Takeaway 1: RoXX successfully productizes and secures a critical but often-neglected infrastructure layer. By abstracting complex FreeRADIUS configurations into a governed UI and API, it drastically reduces misconfiguration risks—a leading cause of network breaches—while adding essential modern security layers like MFA for admins.
- Key Takeaway 2: The dual UI/CLI approach and Docker-native deployment make it a compelling tool for both legacy network teams seeking modernization and DevOps/Cloud teams requiring automated, codifiable network authentication for zero-trust architectures. It bridges a significant tooling gap.
The analysis suggests RoXX is more than a convenience tool; it’s a force multiplier for network security hygiene. Traditional RADIUS management is opaque, prone to error, and difficult to audit. RoXX injects visibility, accountability, and stronger identity controls directly into the process. Its real impact lies in transforming RADIUS from a “set-and-forget” back-end into a actively managed, policy-driven component of the security fabric. The integration of AD/LDAP and MFA is particularly strategic, allowing organizations to leverage existing IAM investments and extend stronger authentication to legacy network equipment like VPNs and Wi-Fi that rely on RADIUS.
Prediction:
RoXX represents the leading edge of a broader trend: the “productization” and security-hardening of foundational, internet-scale protocols (like RADIUS, DNS, DHCP) that have long been managed via fragile, artisan methods. We predict that within 2-3 years, management interfaces with robust API-first design, MFA-protected access, and seamless cloud/on-prem hybrid support will become the minimum expected standard for deploying these services in any enterprise. Open-source projects like RoXX will force commercial vendors to accelerate their own UI/security modernization or risk obsolescence. Furthermore, as network perimeters dissolve, the role of RADIUS will evolve within zero-trust frameworks, and tools like RoXX that provide granular policy management and deep audit trails will become critical for compliance and lateral movement prevention.
▶️ Related Video (72% Match):
🎯Let’s Practice For Free:
IT/Security Reporter URL:
Reported By: Thomassautier Python – Hackers Feeds
Extra Hub: Undercode MoN
Basic Verification: Pass ✅


