Listen to this Post
Introduction:
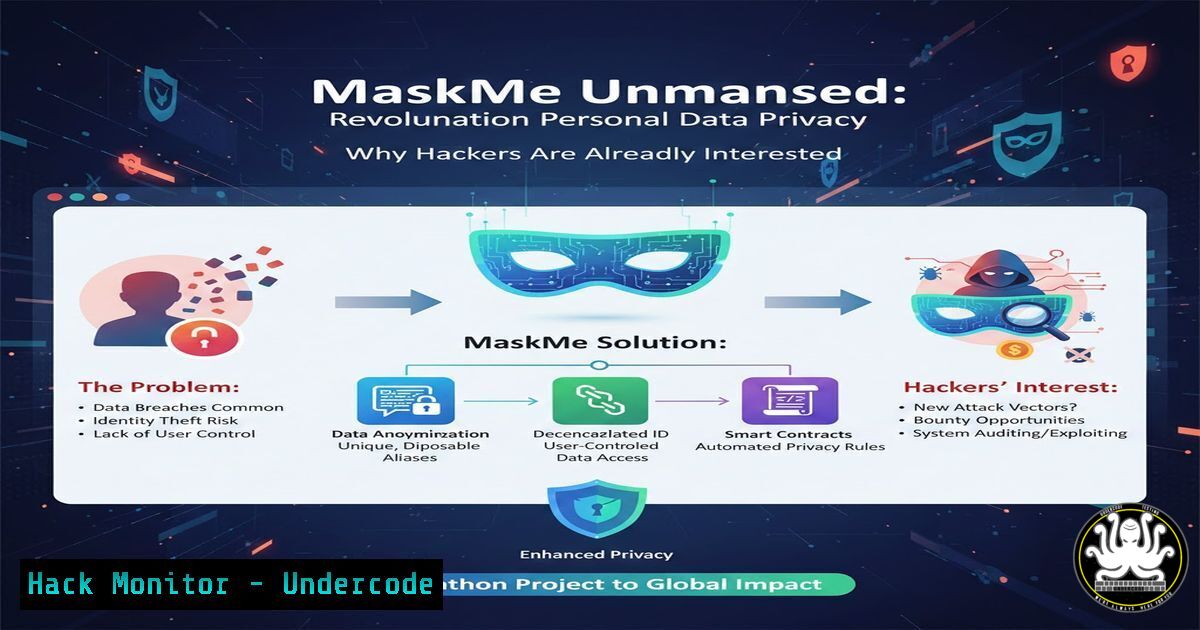
In an era of relentless data harvesting, every online signup represents a potential privacy failure. The Hackathon project “MaskMe” addresses this critical vulnerability head-on by engineering a system for disposable digital identities, blending application development with core cybersecurity principles to shield real user data from exposure, spam, and breach fallout.
Learning Objectives:
- Understand the architecture and security mechanisms behind a disposable identity (email/phone) proxy service.
- Learn to implement secure OTP handling and data encryption within a Node.js and MongoDB backend.
- Analyze the operational security (OpSec) benefits and potential attack vectors of such privacy tools.
You Should Know:
- Architectural Blueprint: Backend Security with Node.js & MongoDB
The core of MaskMe is a Node.js/Express API acting as a secure broker. It intercepts communication between a user and external services, using aliases. Security is paramount, requiring environment variables, encrypted data at rest, and strict CORS policies.
Step‑by‑step guide explaining what this does and how to use it.
Step 1: Project & Dependency Setup.
Initialize your Node.js project and install critical security-focused packages.
 Linux/macOS Terminal
mkdir maskme-backend && cd maskme-backend
npm init -y
npm install express mongoose crypto-js dotenv cors helmet
npm install -D nodemon
Step 2: Environment Configuration (.env file).
Never hardcode secrets. Use a `.env` file.
PORT=3000
MONGODB_URI=mongodb+srv://username:<password>@cluster.mongodb.net/maskme
ENCRYPTION_KEY=your_32byte_secure_key_here
Step 3: Basic Secure Server Setup (app.js/index.js).
Create the main application file with essential security middleware.
const express = require('express');
const mongoose = require('mongoose');
const cors = require('cors');
const helmet = require('helmet');
require('dotenv').config();

const app = express();

// Middleware for Security
app.use(helmet()); // Sets various HTTP headers for protection
app.use(cors({
origin: 'http://your-frontend-app.com' // Restrict to your frontend
}));
app.use(express.json());

// Database Connection with Error Handling
mongoose.connect(process.env.MONGODB_URI)
.then(() => console.log('MongoDB Atlas Connected Securely'))
.catch(err => console.error('Connection failed:', err));

// Routes will be defined here
const aliasRoutes = require('./routes/aliases');
app.use('/api/aliases', aliasRoutes);

app.listen(process.env.PORT, () => {
console.log(<code>MaskMe API running securely on port ${process.env.PORT}</code>);
});
- Data Model & Encryption: Shielding User Data in MongoDB Atlas
The system stores a mapping between real user data and disposable aliases. This mapping must be encrypted to prevent exposure even if the database is compromised.
Step‑by‑step guide explaining what this does and how to use it.
Step 1: Define the Alias Schema with Encryption Hook.
Create models/Alias.js. This uses a pre-save hook to encrypt the sensitive real data before it touches the database.
const mongoose = require('mongoose');
const cryptoJS = require('crypto-js');

const aliasSchema = new mongoose.Schema({
userId: { type: String, required: true },
aliasEmail: { type: String, required: true, unique: true },
aliasPhone: { type: String },
realEmail: { type: String, required: true }, // This will be encrypted
realPhone: { type: String }, // This will be encrypted
expiresAt: { type: Date, default: () => new Date(+new Date() + 72460601000) }, // Auto-expire in 7 days
isActive: { type: Boolean, default: true }
});

// ENCRYPT sensitive data before saving
aliasSchema.pre('save', function(next) {
const key = process.env.ENCRYPTION_KEY;
if (this.isModified('realEmail')) {
this.realEmail = cryptoJS.AES.encrypt(this.realEmail, key).toString();
}
if (this.isModified('realPhone') && this.realPhone) {
this.realPhone = cryptoJS.AES.encrypt(this.realPhone, key).toString();
}
next();
});

// DECRYPT when fetching (add a method)
aliasSchema.methods.decryptRealData = function() {
const key = process.env.ENCRYPTION_KEY;
const bytesEmail = cryptoJS.AES.decrypt(this.realEmail, key);
const bytesPhone = this.realPhone ? cryptoJS.AES.decrypt(this.realPhone, key) : null;
return {
realEmail: bytesEmail.toString(cryptoJS.enc.Utf8),
realPhone: bytesPhone ? bytesPhone.toString(cryptoJS.enc.Utf8) : null
};
};

module.exports = mongoose.model('Alias', aliasSchema);
- The OTP Proxy Mechanism: The Heart of the Service
This is the most critical function. When an OTP is sent to a disposable alias (email/phone), MaskMe must capture it, log it for the user, and not forward it to the real contact point, preventing exposure.
Step‑by‑step guide explaining what this does and how to use it.
Step 1: Simulate Inbound OTP Handling (API Endpoint).
Create a route (routes/otp.js) that would be the webhook target for your proxy numbers/email addresses. This is a simplified simulation.
const express = require('express');
const router = express.Router();
const OTPLog = require('../models/OTPLog'); // Assume a model for OTP logs

// POST /api/otp/inbound
// This endpoint would be called by a Twilio-like service for SMS or a mail parser for email
router.post('/inbound', async (req, res) => {
try {
const { toAlias, otpCode, service } = req.body; // Data from webhook

// 1. Log the OTP securely (do NOT log the actual code in plaintext in production for long)
const otpLog = new OTPLog({
alias: toAlias,
otpCodeHash: require('crypto').createHash('sha256').update(otpCode).digest('hex'), // Hash it
service,
receivedAt: new Date()
});
await otpLog.save();

// 2. In a real system, trigger a real-time update to the user's UI via WebSockets (e.g., Socket.io)
// io.to(<code>user:${userId}</code>).emit('new-otp', { alias: toAlias, service });

// 3. Send success. DO NOT forward the OTP elsewhere.
res.status(200).json({ message: 'OTP logged successfully' });

} catch (error) {
console.error('OTP Inbound Error:', error);
res.status(500).json({ error: 'Internal server error' });
}
});

module.exports = router;
Step 2: User Retrieves OTP (Secure Endpoint).
Users request OTPs sent to their alias.
// In routes/aliases.js
router.get('/:aliasId/otps', authMiddleware, async (req, res) => {
// authMiddleware verifies the user owns this alias
const alias = await Alias.findById(req.params.aliasId);
const otps = await OTPLog.find({ alias: alias.aliasEmail }).select('-otpCodeHash -__v'); // Return metadata only
res.json(otps);
});
4. Frontend Integration & Secure Communication with React+Vite
The frontend, built with React and Vite, must communicate securely with the backend API using HTTPS and authenticated requests.
Step‑by‑step guide explaining what this does and how to use it.
Step 1: Environment Variables for Vite (.env.development/.env.production).
VITE_API_BASE_URL=https://your-maskme-api.com/api
Step 2: Secure API Service Layer (src/services/api.js).
Use Axios with interceptors to attach auth tokens.
import axios from 'axios';

const api = axios.create({
baseURL: import.meta.env.VITE_API_BASE_URL,
});

// Add a request interceptor to inject the auth token
api.interceptors.request.use(
(config) => {
const token = localStorage.getItem('authToken'); // Consider more secure storage for production
if (token) {
config.headers.Authorization = <code>Bearer ${token}</code>;
}
return config;
},
(error) => Promise.reject(error)
);

export default api;
5. Cloud Deployment & Hardening on MongoDB Atlas
Deploying on services like Railway, Render, or AWS requires hardening. MongoDB Atlas provides security features that must be configured.
Step‑by‑step guide explaining what this does and how to use it.
Step 1: Network Access Restriction (MongoDB Atlas Console).
- Log into Atlas, go to your cluster.
- Under “Network Access,” only allow connections from your backend server’s IP address (e.g., Railway’s static IP). Never use `0.0.0.0/0` (allow all).
Step 2: Database User Privileges.
- Create a dedicated database user with the minimum required privileges (readWrite to the `maskme` database only, not
admin).
Step 3: Environment Security on Hosting Platform (Railway CLI example).
Set your secrets in the deployment platform’s dashboard, not in your codebase.Using Railway CLI to link variables railway link railway variables set MONGODB_URI="your_uri" ENCRYPTION_KEY="your_key"
What Undercode Say:
- Privacy as a Proactive Architecture: MaskMe isn’t just an app; it’s a paradigm shift from accepting data exposure to engineering privacy into the signup process itself. It treats personal contact information as a secret to be guarded, not an identifier to be shared.
- The Double-Edged Sword of Centralization: While protecting users from third parties, MaskMe itself becomes a high-value target—a honeypot of real identities. Its security is non-negotiable and requires encryption at rest, in transit, and rigorous access logging. A breach here would be catastrophic.
Analysis: This project brilliantly highlights the modern cybersecurity mindset: defense through obfuscation and minimization. By implementing disposable aliases, it drastically reduces the attack surface for credential stuffing, phishing, and spam. However, it centralizes risk, demanding enterprise-grade security from a student project. The use of a proxy for OTPs is its most innovative yet complex feature, introducing a new point of failure that must be meticulously audited for logic flaws. It exemplifies “privacy by design,” a principle now mandated by regulations like GDPR.
Prediction:
Tools like MaskMe will evolve from hackathon projects to mainstream privacy infrastructure within 3-5 years. We will see browser integrations and mobile OS-level support for disposable identities. Simultaneously, this will trigger an arms race; attackers will develop sophisticated techniques to detect and bypass these aliases, while regulatory bodies will grapple with classifying them—are they privacy tools or enablers of fraud? The underlying technology may also be co-opted by threat actors to create untraceable accounts, making attribution harder and forcing defense teams to adapt their threat intelligence and fraud detection models.
▶️ Related Video:
🎯Let’s Practice For Free:
IT/Security Reporter URL:
Reported By: Stiti Prangya – Hackers Feeds
Extra Hub: Undercode MoN
Basic Verification: Pass ✅


