Listen to this Post
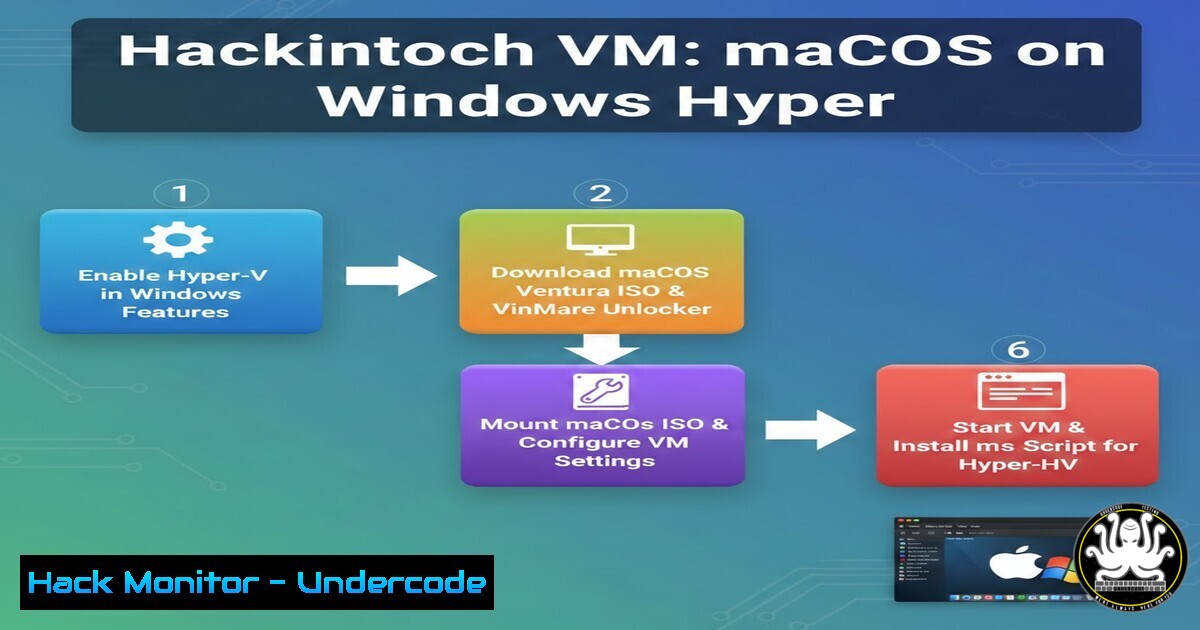
Introduction:
For cybersecurity professionals and IT engineers, the ability to test exploits, analyze malware, or develop cross-platform tools often requires access to multiple operating systems. While macOS is notoriously locked to Apple hardware, a sophisticated open-source project now allows you to run the latest versions of macOS on Microsoft Hyper-V. This setup leverages the OpenCore bootloader and specialized support packages to create a stable, virtualized Hackintosh environment directly within Windows Server or Windows 10/11 Pro, providing a critical sandbox for security research and development.
Learning Objectives:
- Understand the architecture of the OSX-Hyper-V project and its reliance on OpenCore.
- Configure a Windows Hyper-V virtual machine with the necessary hardware parameters to boot macOS.
- Execute post-installation configurations to enable graphics, networking, and stability within the guest OS.
You Should Know:
1. Understanding the Core Components: OpenCore and MacHyperVSupport
The OSX-Hyper-V project is not a simple ISO file; it is a complex bootloader configuration. It utilizes OpenCore, a sophisticated Hackintosh bootloader designed to mimic a real Mac’s firmware. To bridge the gap between Apple’s operating system and Microsoft’s hypervisor, the project includes the MacHyperVSupport kernel extension (kext). This kext patches the macOS kernel specifically to communicate with Hyper-V’s synthetic hardware components, such as the network adapter and storage controller, which are otherwise incompatible with macOS.
2. Step-by-Step Guide: Preparing the Hyper-V Host
Before booting macOS, you must configure a Generation 2 Virtual Machine in Hyper-V with specific settings that macOS requires.
Step 1: Create the Virtual Machine
Open PowerShell as an Administrator and run the following commands. This disables Secure Boot and sets the correct firmware type.
 Create a new Generation 2 VM with 4GB RAM and a virtual switch
New-VM -Name "macOS-Sequoia" -MemoryStartupBytes 4GB -BootDevice VHD -NewVHDPath "C:\VMs\macOS-Sequoia.vhdx" -NewVHDSizeBytes 80GB -Generation 2 -Switch "Default Switch"

Disable Secure Boot (macOS does not support it)
Set-VMFirmware -VMName "macOS-Sequoia" -EnableSecureBoot Off

Add a DVD drive to mount the installer
Add-VMDvdDrive -VMName "macOS-Sequoia" -Path "C:\Path\To\Your\Installer.iso"
Step 2: CPU Compatibility
macOS is sensitive to CPU topology. You must expose the correct features to the guest.
 Set processor compatibility to migrate to different hosts if needed
Set-VMProcessor -VMName "macOS-Sequoia" -CompatibilityForMigrationEnabled $true
 Expose virtualization extensions to the guest (required for some nested virtualization scenarios)
Set-VMProcessor -VMName "macOS-Sequoia" -ExposeVirtualizationExtensions $true
3. Configuring the OpenCore Bootloader
The GitHub project (OSX-HyperV) provides a pre-built OpenCore image. You must attach this as a DVD drive or copy it to an EFI partition.
Step 1: Download the Release
Navigate to the project’s GitHub repository (https://github.com/your-repo-link/OSX-HyperV/releases) and download the latest `OpenCore-HyperV.iso` file.
Step 2: Mount the ISO to the VM
Using Hyper-V Manager, go to the VM’s settings. Under “DVD Drive,” select “Image file” and browse to the downloaded OpenCore-HyperV.iso. Ensure this DVD drive is first in the boot order.
4. Booting and Installing macOS
Power on the VM. You will be greeted by the OpenCore boot menu. Select “Install macOS” from the OpenCore Picker.
Linux/Windows Command Equivalent Check:
While this is a visual process, verifying disk integrity post-installation is crucial. Inside macOS (once installed), you can open Terminal to verify the virtual disk:
 List all mounted disks and their partitions
diskutil list

Check the file system integrity of the main volume
sudo fsck_apfs -n /dev/disk0s2
5. Post-Installation: Enabling Networking and Graphics
Out of the box, the standard macOS installer lacks drivers for Hyper-V’s “Enhanced Session Mode.” The MacHyperVSupport kext handles this, but you may need to install additional tools.
Step 1: Install Hyper-V Integration Services
After booting into the installed macOS, you must install the Hyper-V integration components provided by the project. These are usually included in the same ISO as OpenCore. Mount the ISO inside macOS and run the `.pkg` installer. This enables dynamic memory, time synchronization, and the network driver.
Step 2: Verify Network Connectivity
Open Terminal in macOS and use native UNIX commands to confirm the interface is up.
 Display all network interfaces and their configuration
ifconfig

Test connectivity to the outside world (assuming NAT or bridge mode)
ping -c 4 google.com
6. Advanced Hardening for Cybersecurity Labs
If using this VM for malware analysis or penetration testing, you must isolate it.
Windows Host Configuration:
Create a dedicated internal or private Hyper-V switch to prevent the macOS VM from accessing your corporate network.
 Create a private virtual switch (VMs can talk to each other, but not the host)
New-VMSwitch -Name "IsolatedLab" -SwitchType Private

Attach the macOS VM to this isolated switch
Connect-VMNetworkAdapter -VMName "macOS-Sequoia" -SwitchName "IsolatedLab"
7. Troubleshooting Common Boot Failures
If the VM gets stuck at [EB|LOG:EXITBS:START], it indicates a CPU feature mismatch.
Linux/Windows Fix:
On the Windows Host, run the following to ensure Hyper-V is passing the correct CPU leaves:
 Ensure the VM is turned off first
Set-VMProcessor -VMName "macOS-Sequoia" -CompatibilityForOlderOperatingSystemsEnabled $true
This setting mimics an older Intel processor, which can sometimes bypass strict CPU checks during the macOS boot process.
What Undercode Say:
- Virtualization is the Ultimate Sandbox: Running macOS on Hyper-V provides an isolated environment that is snapshottable and disposable, ideal for testing malware without risking physical Apple hardware. The ability to roll back to a clean state using Hyper-V checkpoints is invaluable for exploit development.
- Open Source Bridges the Gap: The OSX-Hyper-V project is a testament to how open-source communities (OpenCore, Kexts) can reverse-engineer and enable enterprise-grade virtualization for consumer operating systems, giving security researchers tools previously reserved for data centers.
Prediction:
As Apple continues to shift towards ARM-based Silicon, the need for x86_64 macOS virtualization will decline, but the techniques used in projects like OSX-Hyper-V will become foundational for running ARM versions of macOS on Windows via emulation layers. We will likely see a surge in cross-platform CI/CD pipelines that can build and test iOS apps directly on Windows servers using these adapted virtualization frameworks, further blurring the lines between traditional hardware ecosystems.
▶️ Related Video (72% Match):
🎯Let’s Practice For Free:
IT/Security Reporter URL:
Reported By: Josephkanko Vous – Hackers Feeds
Extra Hub: Undercode MoN
Basic Verification: Pass ✅


