Listen to this Post
Introduction:
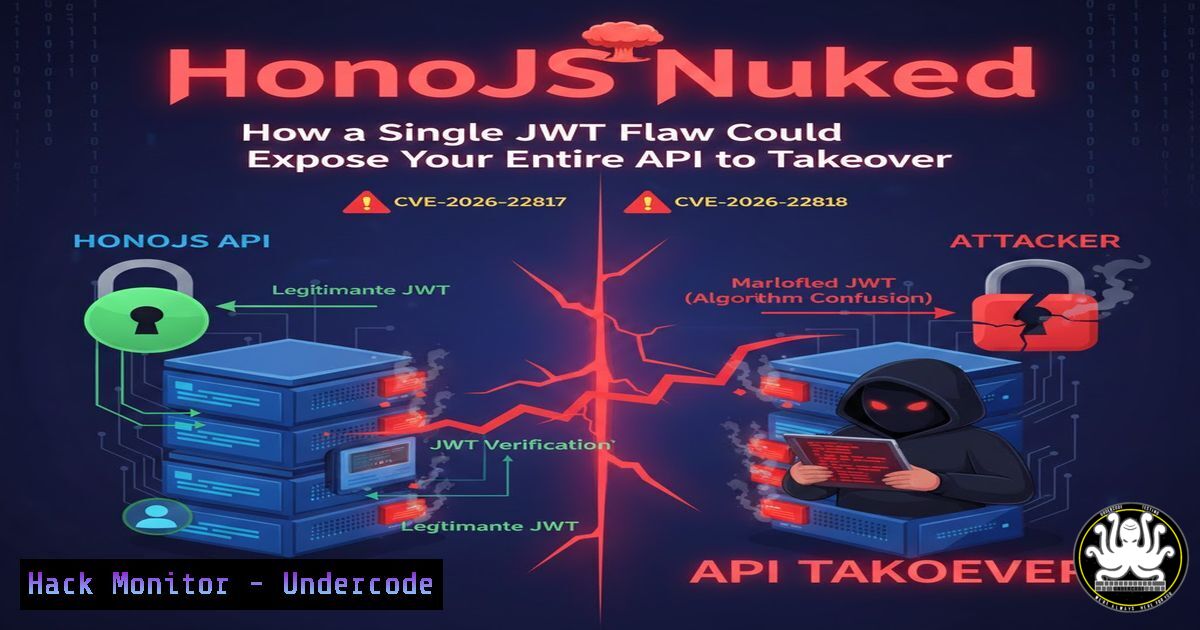
A critical security vulnerability in the popular HonoJS framework, dubbed an algorithm confusion attack, allows attackers to forge valid JSON Web Tokens (JWTs) and impersonate any user or admin. This flaw, rooted in improper JWKS (JSON Web Key Set) endpoint validation and key handling, undermines the core security model of modern API authentication, putting countless Node.js applications at immediate risk of complete compromise.
Learning Objectives:
- Understand the mechanics of the JWT algorithm confusion attack against HonoJS.
- Learn to identify and test for vulnerable implementations in your own API endpoints.
- Implement definitive mitigations and hardening steps for JWT validation in HonoJS and similar frameworks.
You Should Know:
- The Core Flaw: “None” Algorithms and Key Confusion
The vulnerability arises from how HonoJS’s `jwt` middleware validates tokens against a provided JWKS endpoint. Attackers can exploit a mismatch between the algorithm a server expects (e.g., RS256) and what they can force it to accept. By forging a token signed with the `none` algorithm or a symmetric HS256 algorithm while the server fetches an RS256 public key, attackers can bypass signature verification entirely.
Step-by-step guide explaining what this does and how to use it.
Step 1: Reconnaissance. Identify a HonoJS endpoint using JWT. A common header is Authorization: Bearer <token>. Use tools like `curl` to probe the `/auth` or `/api` routes.
curl -v https://target-api.com/protected-route
Step 2: JWKS Endpoint Discovery. The library often fetches keys from a well-known JWKS endpoint (e.g., /.well-known/jwks.json). Discover this via the `jku` header in a valid token or by brute-forcing common paths.
Step 3: Craft the Malicious Token. Using a tool like jwt_tool, forge a token setting the algorithm to `HS256` or `none` while pointing the `jku` header to the legitimate server’s JWKS URL.
python3 jwt_tool.py <JWT_TOKEN> -X a -pc "user" -pv "admin" -I -hc jku -hv "https://target-api.com/.well-known/jwks.json"
Step 4: Send the Forged Request. Submit the malicious token. A vulnerable server will see the jku, fetch its own valid RS256 public key, but then incorrectly use it to verify an HS256 signature, leading to acceptance of the forged token.
2. Exploitation Proof-of-Concept: From Zero to Admin
This section details a real-world exploitation path, moving from identification to privilege escalation.
Step-by-step guide explaining what this does and how to use it.
Step 1: Obtain a Low-Privilege Token. Register a normal user account and capture the login JWT.
Step 2: Decode and Analyze. Decode the token using `jwt.io` or the command line to understand its structure.
echo "<JWT_TOKEN>" | awk -F'.' '{print $2}' | base64 -d | jq
Step 3: Forge the Admin Token. Modify the payload, changing `”role”:”user”` to "role":"admin". Crucially, sign this new token using the HS256 algorithm with the public key (in PEM format) obtained from the JWKS endpoint.
 Convert JWKS to PEM (requires jq and openssl)
 ... key conversion steps ...
python3 -c "import jwt; print(jwt.encode({'role':'admin'}, open('public.pem').read(), algorithm='HS256'))"
Step 4: Access Privileged Endpoints. Use the forged token to access administrative API routes, demonstrating full compromise.
3. Server-Side Hardening: Fixing the Validation Logic
Mitigation requires enforcing strict algorithm validation on the server side. Here’s how to patch your HonoJS application.
Step-by-step guide explaining what this does and how to use it.
Step 1: Pin the Expected Algorithm. Do not rely on the token header. Explicitly specify the expected algorithm when verifying.
// VULNERABLE: Relies on header
const payload = await jwt.verify(token, key);

// FIXED: Explicit algorithm specification
const payload = await jwt.verify(token, key, 'RS256'); // Enforce RS256
Step 2: Implement a Custom Key Fetcher. Override the default key fetching logic to ignore the `jku` header and only use a trusted, statically configured JWKS URI.
import { createRemoteJWKSet } from 'jose'; // Use the 'jose' library for robust handling

const trustedJWKS = createRemoteJWKSet(new URL('https://your-trusted-issuer.com/.well-known/jwks.json'));

app.use('/api/', async (c, next) => {
const authHeader = c.req.header('Authorization');
const token = authHeader.split(' ')[bash];
const { payload } = await jwtVerify(token, trustedJWKS, { algorithms: ['RS256'] }); // Strict algorithm list
c.set('jwtPayload', payload);
await next();
});
Step 3: Disable `none` Algorithm Globally. Ensure your JWT library explicitly rejects the `none` algorithm.
- Cloud & API Gateway Configuration: The First Line of Defense
Before requests hit your application, cloud services can filter malicious tokens.
Step-by-step guide explaining what this does and how to use it.
Step 1: AWS API Gateway Request Validation. Create a mapping template to validate the JWT `alg` claim.
{
"methodArn": "$context.methodArn",
"authorizationToken": "$input.params().header.get('Authorization')",
"alg": "$context.authorizer.claims.alg"
}
Then, in your Lambda authorizer, reject any token where `alg` is not RS256.
Step 2: Azure API Policy. Apply an inbound policy to validate JWT claims.
<validate-jwt header-name="Authorization" failed-validation-httpcode="403">
<required-claims>
<claim name="alg" match="all">
<value>RS256</value>
</claim>
</required-claims>
<openid-config url="https://your-issuer.com/.well-known/openid-configuration" />
</validate-jwt>
5. Developer Action Plan: Audit, Patch, Monitor
Immediate steps for every development and security team.
Step-by-step guide explaining what this does and how to use it.
Step 1: Audit Dependencies. Scan your `package.json` for vulnerable HonoJS `jwt` library versions.
npm list hono
 Check for versions prior to the patched release (e.g., 4.5.3+).
Step 2: Upgrade Immediately. Update to the patched version of HonoJS and its JWT middleware.
npm update hono
Step 3: Implement Automated JWT Testing. Integrate static and dynamic tests using `npm audit` and dedicated security scanners in your CI/CD pipeline.
 Example GitHub Actions step
- name: Run JWT Security Scan
uses: shiftleft/scan-action@v2
with:
type: jwt
What Undercode Say:
- The Supply Chain is the New Battlefield. This wasn’t a flaw in your code, but in a trusted dependency. It highlights the catastrophic ripple effect a single library vulnerability can have across the ecosystem, mandating a shift-left security posture with rigorous Software Bill of Materials (SBOM) management.
- Cryptographic Agility is a Double-Edged Sword. Supporting multiple algorithms for migration purposes is a common feature, but without strict, context-aware enforcement, it becomes a critical vulnerability. Security configurations must be explicit and deny-by-default.
Prediction:
The HonoJS flaw is a canonical example of the “algorithm confusion” attack pattern that will see a dramatic rise in the next 18-24 months. As frameworks increasingly abstract complex cryptography for developer convenience, misconfigurations and logical flaws in these abstractions will become the primary attack vector for API breaches. We predict a wave of similar CVEs targeting other Node.js (Fastify, Express) and Python (FastAPI) frameworks, leading to a industry-wide push for mandatory, standardized JWT validation libraries and increased scrutiny of JWKS implementations in cloud identity services. The era of trusting token headers is over; explicit verification will become the non-negotiable standard.
▶️ Related Video (78% Match):
🎯Let’s Practice For Free:
IT/Security Reporter URL:
Reported By: Devansh Batham – Hackers Feeds
Extra Hub: Undercode MoN
Basic Verification: Pass ✅


