Listen to this Post
Introduction:
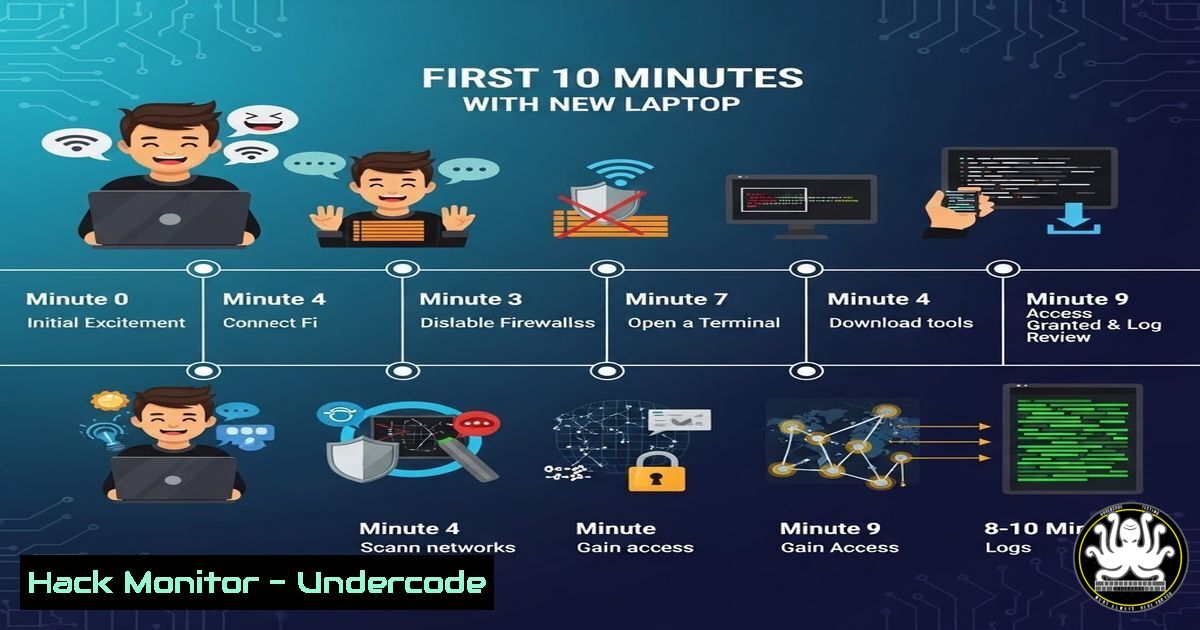
A lighthearted social media post detailing the “horror” of giving a new laptop to a hacker friend actually provides a perfect blueprint for initial device compromise and supply chain risk assessment. While the original post highlights physical humor (a cracked screen) and basic security concerns (USB-C, BIOS, open ports), it underscores a critical reality: the first few minutes of accessing a device define the entire security posture. This article extracts the technical cybersecurity threats hidden within that anecdote, transforming jokes into a practical guide on initial access vectors, hardware backdoors, and forensic triage.
Learning Objectives:
- Understand the risks associated with USB-C connectivity and Thunderbolt ports (DMA attacks).
- Learn how to inspect BIOS/UEFI for tampering and backdoors.
- Identify and analyze open network ports and running services on a fresh system.
- Simulate an attacker’s initial reconnaissance commands on Linux and Windows.
You Should Know:
1. The USB-C Conundrum: DMA and “Juice Jacking”
The post mentions someone freaking out about “USB-C security.” This is a legitimate concern due to Direct Memory Access (DMA) attacks. Thunderbolt 3/4 ports over USB-C allow peripherals to access system memory directly, bypassing the OS security.
Step‑by‑step guide to mitigating USB-C/Thunderbolt attacks:
- Linux (Kernel Hardening): To prevent DMA attacks during boot and runtime, you can enforce IOMMU (Input–Output Memory Management Unit) protection.
- Check current status: `dmesg | grep -i “DMAR”`
– To forcefully enable IOMMU, edit GRUB: `sudo nano /etc/default/grub`
– Find the line `GRUB_CMDLINE_LINUX_DEFAULT` and add: `intel_iommu=on` (for Intel) or `amd_iommu=on` (for AMD). - Update GRUB: `sudo update-grub`
– Windows: Use Group Policy to block Thunderbolt devices until the user logs in. - Navigate to: Computer Configuration > Administrative Templates > System > Device Installation > Device Installation Restrictions.
- Enable “Allow administrators to override device installation policy.”
2. BIOS/UEFI Forensics: Hunting for Backdoors
The “BIOS backdoor” panic is valid. Persistent malware like “LoJax” has demonstrated the ability to write malicious code to the SPI flash memory of the UEFI/BIOS. Once infected, it survives OS reinstallation and hard drive swaps.
Step‑by‑step guide to inspecting BIOS:
- Checking for Write Protection (Hardware Level): Before trusting a device, check if BIOS write protection is physically enabled on the motherboard (often a physical switch on enterprise laptops).
- Verifying Signatures (Linux): Use `fwupd` to check for firmware updates and verify signatures against the LVFS (Linux Vendor Firmware Service).
– `sudo fwupdmgr get-devices` (Lists all firmware-capable devices)
– `sudo fwupdmgr refresh` (Updates metadata)
– `sudo fwupdmgr get-updates` (Checks for signed firmware updates; unsigned or mismatched updates are a red flag). - CHIPSEC Analysis: Advanced users can run CHIPSEC, a framework for analyzing platform firmware security.
– `git clone https://github.com/chipsec/chipsec.git`
– `cd chipsec && python setup.py build_ext -i`
– `sudo python chipsec_main.py` (Runs a suite of security checks against the UEFI/BIOS).
3. Network Recon: The Open Ports Panic
The post mentions screaming about “open ports.” On a fresh laptop, open ports are often legitimate services (RDP, SSH, SMB) left enabled by default by the manufacturer or IT department, creating an immediate attack surface.
Step‑by‑step guide to auditing open ports (Simulating Attacker Recon):
– Windows (PowerShell):
– Check listening ports and associated processes:
– `Get-NetTCPConnection -State Listen`
– For detailed PID info: `netstat -ano | findstr LISTENING`
– Linux (Netstat/SS):
– `sudo netstat -tulpn` (Shows all listening TCP/UDP ports with process names)
– `sudo ss -tulwn` (Faster, modern alternative)
– Mitigation: Immediately close unnecessary ports.
– Windows Firewall: `New-NetFirewallRule -DisplayName “Block_135” -Direction Inbound -LocalPort 135 -Protocol TCP -Action Block`
– Linux (UFW): `sudo ufw deny 445/tcp` (Blocks SMB if not needed)
4. Wireless Interfaces and Proximity Attacks
The post mentions someone simply “sitting down” with the laptop. Physical proximity allows for a range of attacks, including connecting to open wireless interfaces.
Step‑by‑step guide to hardening wireless interfaces:
- Bluetooth Scanning (Attacker View): To see if the laptop is discoverable and vulnerable to attacks like BlueBorne:
– `sudo hciconfig hci0 up` (Activate Bluetooth interface)
– `hcitool scan` (Scan for devices; the new laptop would appear if discoverable). - Wi-Fi Adapter Monitor Mode (Attacker View): Check if the card supports packet injection (for de-auth attacks).
– `iwconfig` (Check wireless interface name, e.g., wlan0)
– `sudo airmon-ng start wlan0` (Enable monitor mode) - Defense:
- Set Wi-Fi to “Hidden” mode only when necessary.
- Disable Bluetooth entirely when not in use: `sudo rfkill block bluetooth`
5. Supply Chain Verification: Checking for Tampering
The original post implies the laptop was a new gift. A key cybersecurity principle is Supply Chain Security. Attackers can intercept laptops in transit to install hardware keyloggers or physical implants.
Step‑by‑step guide to hardware integrity checks:
- Visual Inspection: Check for micro-soldered devices on the motherboard, especially inline with the keyboard ribbon cable (keyloggers).
- Checking Boot Integrity (Linux – IMA/EVM):
- Check if the kernel supports Integrity Measurement Architecture: `cat /sys/kernel/security/ima/policy`
– Verify that the boot process was measured in the TPM (Trusted Platform Module): `sudo cat /sys/kernel/security/tpm0/binary_bios_measurements` (This output is binary; use `tpm2_eventlog` to parse it).
6. Auditing Outbound Connections (The “Zombie” Check)
Before the hacker even “uses” the laptop, malware already present in the firmware or recovery partition could be phoning home.
Step‑by‑step guide to checking outbound connections:
- Windows (Resource Monitor): Open `resmon.exe` -> Network tab -> TCP Connections. Look for connections to unknown IP addresses from trusted processes (e.g., `svchost.exe` connecting to a foreign IP).
- Linux (Netstat/LSOF):
– `sudo lsof -i` (Lists all network connections with processes)
– `sudo netstat -atpn | grep ESTABLISHED` (Check active connections) - DNS Audit: Check for suspicious DNS queries that might indicate data exfiltration.
– `sudo tcpdump -i any port 53 -nv` (Live capture of DNS traffic)
What Undercode Say:
- Humor Highlights Reality: The social media post, while hyperbolic, accurately maps to the MITRE ATT&CK initial access vectors (T1195 – Supply Chain Compromise, T1200 – Hardware Additions).
- Defense in Depth at Boot: Security must start at the hardware layer. If the BIOS is compromised, no amount of endpoint detection software running on the OS can be trusted.
- Zero Trust for Hardware: Treat every new USB device and peripheral as potentially malicious until verified. The first connection a new laptop makes should be to a trusted update server, not a random peripheral.
Analysis: The reaction of the hacker in the post (panicking about ports and BIOS) is the correct professional response. It demonstrates a shift from “endpoint security” to “perimeter security” at the device level. Modern attacks are increasingly targeting firmware and hardware layers because they bypass traditional antivirus. The 10 minutes after unboxing a laptop are the most critical. If an attacker has physical access during that window—or if the supply chain was compromised before unboxing—the integrity of the machine is fundamentally untrustworthy. Users must treat brand-new devices with the same suspicion as unknown USB drives, performing a full audit of the digital and physical trust boundaries before connecting to a production network.
Prediction:
We will see a rise in “Hardware Security Assessment” as a standard IT onboarding procedure. Future laptops will likely ship with “secure boot” certificates that must be verified via blockchain-based supply chain ledgers before the OS is allowed to decrypt the hard drive. The line between “hardware manufacturer” and “security vendor” will continue to blur as firmware attacks become the primary vector for state-sponsored persistent access.
▶️ Related Video (80% Match):
🎯Let’s Practice For Free:
IT/Security Reporter URL:
Reported By: Larisa M – Hackers Feeds
Extra Hub: Undercode MoN
Basic Verification: Pass ✅


