
Listen to this Post
Introduction:
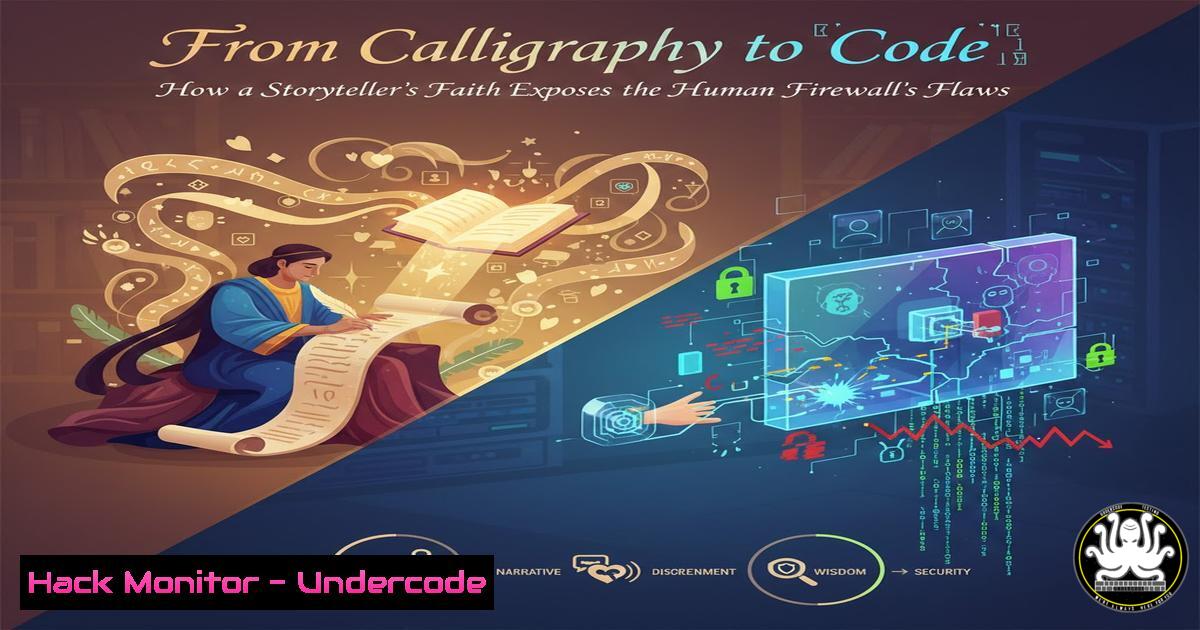
In a recent social media post, a calligraphy artist shared a story centered on the Islamic principle of Tawakkul—having complete trust in God. While this is a profound spiritual concept, it presents a dangerous analogy in the world of cybersecurity. Blind faith in digital systems is a critical vulnerability, and the “human firewall” is often the weakest link. This article deconstructs why proactive, knowledge-based defense must replace passive hope in securing our digital lives.
Learning Objectives:
- Understand the critical security risks of password reuse and weak credential policies.
- Learn to implement multi-factor authentication (MFA) across key platforms.
- Master basic network reconnaissance to identify your own publicly exposed services.
- Develop an incident response plan for a suspected personal data breach.
- Harden a personal Windows or Linux system against common attack vectors.
You Should Know:
- The Perils of Password Reuse and Credential Stuffing
The principle of “trust” in a single, simple password is a primary cause of mass account compromises. Attackers use lists of usernames and passwords from previous breaches to “stuff” credentials into other services, knowing that most people reuse passwords.
Step‑by‑step guide:
Step 1: Check if Your Credentials Are Already Compromised. Use a service like Have I Been Pwned to safely check your email addresses against known data breaches. This is not a password checker but an email breach validator.
Step 2: Audit Your Own Passwords. Use your password manager’s built-in security audit feature (e.g., in Bitwarden or 1Password) to identify weak, reused, or compromised passwords.
Step 3: Migrate to a Password Manager and Generate Strong Passwords. For every online account, generate a unique, long, and complex password. A command-line method to generate a random password on a Linux system is:
`openssl rand -base64 24`
This command uses OpenSSL’s cryptographically secure random number generator to create a 24-character (after base64 encoding) strong password.
- Enforcing Multi-Factor Authentication (MFA) – Your Digital Shield
MFA is the single most effective control you can implement to protect your accounts. It ensures that a stolen password is useless without a second physical or time-based factor.
Step‑by‑step guide:
Step 1: Identify Critical Accounts. Prioritize email, financial, social media, and cloud storage accounts.
Step 2: Enable MFA in Account Settings. Look for “Two-Factor Authentication,” “2-Step Verification,” or “Security Key” options. Avoid SMS-based codes if possible, as they are vulnerable to SIM-swapping attacks. Opt for an authenticator app (like Google Authenticator or Authy) or a physical security key (like a YubiKey).
Step 3: Generate and Securely Store Backup Codes. Every MFA setup provides backup codes. Print these out and store them in a safe, physical location, or save them in an encrypted file.
3. Discovering Your Digital Footprint with Network Reconnaissance
Just as an artist knows their canvas, you must know your digital exposure. Attackers scan the internet for open ports and vulnerable services. You should do this to your own external IP address to see what they see.
Step‑by‑step guide (Using Nmap on Linux):
Step 1: Find Your Public IP Address. You can use a service like `icanhazip.com` from your terminal: `curl icanhazip.com`
Step 2: Perform a Basic Service Scan. Using the `nmap` command, scan your public IP for the most common services. Replace `YOUR_PUBLIC_IP` with the address from Step 1.
`nmap -sV -sC YOUR_PUBLIC_IP`
-sV: Probes open ports to determine service/version info.
-sC: Runs a script scan using default safe scripts to gather more information.
Step 3: Analyze the Results. If you see unexpected open ports (e.g., port 22/SSH, 3389/RDP, 5900/VNC), you must investigate. An exposed and poorly secured RDP service is a top initial access vector for ransomware groups.
4. Creating a Personal Incident Response Plan
Hope is not a strategy when you’ve been hacked. A predefined plan is critical.
Step‑by‑step guide:
Step 1: Detection & Analysis. You receive a fraud alert from your bank or notice unusual account activity. Immediately document everything: timestamps, IP addresses (if provided), and the nature of the activity.
Step 2: Containment & Eradication.
Disconnect: If a personal device is compromised, disconnect it from the network (Wi-Fi/Ethernet).
Change Passwords: From a clean, trusted device, change the passwords for the compromised account and any linked or similarly passworded accounts.
Revoke Sessions: In account settings (e.g., Google Security), revoke all active sessions to log out all other devices.
Step 3: Post-Incident Activity. Once secured, analyze how the breach occurred. Was it a phishing link? A reused password? Use this to strengthen your defenses.
5. Hardening Your Personal Operating System
A default OS installation is not a secure one. Proactive hardening is required.
Step‑by‑step guide (For Windows 11 using Command Prompt/PowerShell):
Step 1: Enable BitLocker Drive Encryption. This protects data at rest if your device is lost or stolen. Run PowerShell as Administrator and use:
`Manage-Bde -On C: -RecoveryPasswordProtector`
(Note: This requires a TPM or a USB key for systems without TPM).
Step 2: Harden the Built-in Firewall. Block all inbound connections by default and only allow specific required ones.
`netsh advfirewall set allprofiles state on`
`netsh advfirewall set allprofiles firewallpolicy blockinbound,allowoutbound`
Step 3: Disable Unnecessary Services. For example, if you don’t use the Remote Registry service, disable it to reduce attack surface.
`sc config RemoteRegistry start= disabled`
Step‑by‑step guide (For a Debian-based Linux system):
Step 1: Configure Uncomplicated Firewall (UFW). Deny all incoming traffic by default and allow only what you need, like SSH.
`sudo ufw default deny incoming`
`sudo ufw allow ssh`
`sudo ufw enable`
Step 2: Disable SSH Root Login. This is a critical step for any system with SSH exposed.
Edit the SSH config file: `sudo nano /etc/ssh/sshd_config`
Find the line `PermitRootLogin yes` and change it to PermitRootLogin no.
Restart the service: `sudo systemctl restart ssh`
What Undercode Say:
- Spiritual Trust ≠ Digital Security. The core message of Tawakkul is about accepting outcomes after taking permissible means (asbab). In cybersecurity, the “permissible means” are the proactive, technical controls—MFA, strong passwords, and system hardening. Blind digital faith is negligence, not piety.
- The Human Element is the New Battlefield. The post’s focus on personal storytelling and motivation highlights that our digital vulnerabilities are deeply human. Social engineering, phishing, and poor personal security hygiene are the primary attack vectors today. Technical defenses are useless if the human element is not trained and vigilant.
The original post, while beautiful in its sentiment, serves as a powerful metaphor for a pervasive flaw in security posture. The future of cyber defense requires a cultural shift from passive hope to active resilience. We must move beyond the “story” of being secure and start writing the technical reality of it through continuous education and the rigorous application of fundamental security practices. The creator helps those who help themselves, and in cyberspace, that means building your own fortress.
Prediction:
The convergence of AI-powered social engineering and the expanding Internet of Things (IoT) will make the “human firewall” challenge exponentially worse. We will see hyper-personalized phishing campaigns generated in real-time using data from breaches and public social posts like the one analyzed. Furthermore, the concept of Tawakkul—or any passive philosophical trust—will be actively exploited by threat actors to create a false sense of security, making user education and technical enforcement not just best practices, but absolute necessities for digital survival. The future hack will not just steal your data, but will manipulate your very sense of reality and trust.
🎯Let’s Practice For Free:
IT/Security Reporter URL:
Reported By: Muavvidh Buhary – Hackers Feeds
Extra Hub: Undercode MoN
Basic Verification: Pass ✅


